


how-to root from a cutting...
airydana
14 years ago
Sort by:Oldest
Comments (18)
Related Stories
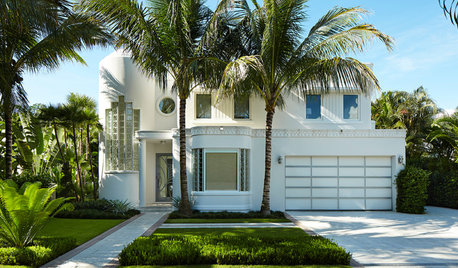
ARCHITECTURERoots of Style: Art Deco and Art Moderne
Get to know the similarities and differences between these architectural styles of the 1920s and 1930s
Full Story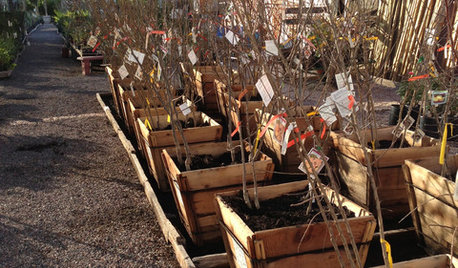
GARDENING GUIDESThe Beauty of Bare-Root Plants
Plant dormant trees and shrubs in fall using the easy, affordable bare-root method and enjoy beautiful results in spring
Full Story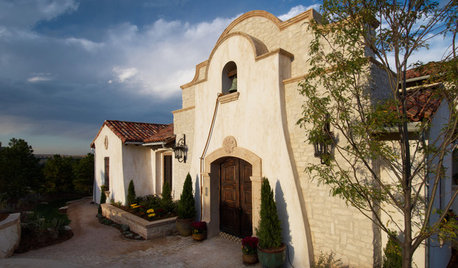
ARCHITECTURERoots of Style: Mission
Spanish colonial missions inspired a style of architecture still popular in the United States
Full Story
GREEN BUILDINGLiving Roofs Put Down Roots
No longer solely the domain of hippies — or hobbits — a green roof can be a hardworking partner in making your house sustainable
Full Story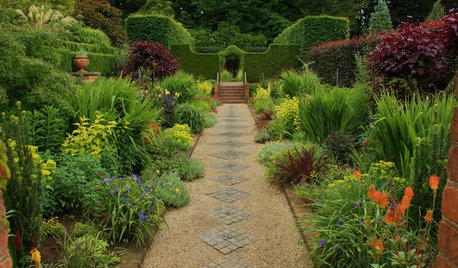
GARDENING AND LANDSCAPINGGeometry Roots Great Garden Design
To learn why some garden designs seem particularly pleasing to the eye, look to mathematical shapes and patterns
Full Story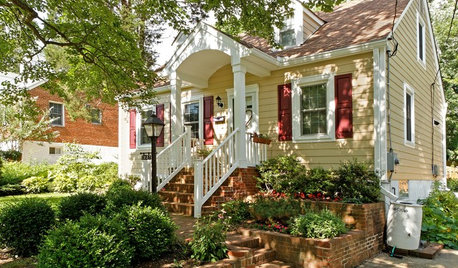
ARCHITECTURERoots of Style: Do You Live in a Minimalist Traditional House?
Cottages, bungalows, farmhouses ... whatever you call them, houses in this style share several characteristics. See how many your house has
Full Story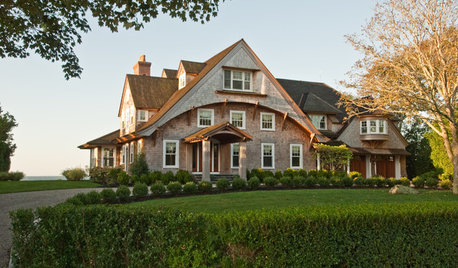
ARCHITECTURERoots of Style: Shingle Style Is Back — Here's How to Spot It
Intimate or rambling, in the coast or by the sea, Shingle homes are seeing a revival. Has your home joined in?
Full Story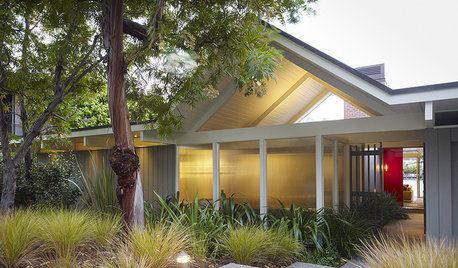
ARCHITECTURERoots of Style: Midcentury Styles Respond to Modern Life
See how postwar lifestyles spawned a range of styles, including minimalist traditional, ranch, split level and modern shed. What's next?
Full Story
TRADITIONAL ARCHITECTURERoots of Style: Château Architecture Strides Through a Century
Live like a lord with design details that recall French estates of old, even if they're scaled down and updated for today
Full Story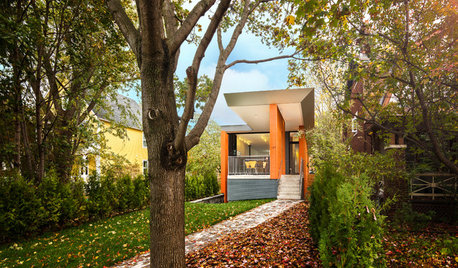
MODERN HOMESHouzz Tour: A Modern Home Rooted in Its Place
It's partially buried in the earth, but with a cantilevered roof and strong colors, this Ottawa home is anything but shy
Full StorySponsored
Columbus Design-Build, Kitchen & Bath Remodeling, Historic Renovations
jeff_al
rhizo_1 (North AL) zone 7
Related Professionals
West Milford Landscape Architects & Landscape Designers · Edmond Landscape Architects & Landscape Designers · Lyons Landscape Architects & Landscape Designers · Wakefield Landscape Contractors · Costa Mesa Landscape Contractors · Hayward Landscape Contractors · Lemay Landscape Contractors · Maywood Landscape Contractors · Middletown Landscape Contractors · Mission Bend Landscape Contractors · Tacoma Landscape Contractors · Teaneck Landscape Contractors · Fort Worth Siding & Exteriors · Oak Creek Siding & Exteriors · Oak Park Siding & Exteriorshaley45
jeff_al
tedevore
tsmith2579
airydanaOriginal Author
squirrellypete
airydanaOriginal Author
sundog7
heaven4441
squirrellypete
Elizabeth Guyton
rhizo_1 (North AL) zone 7
tedevore
squirrellypete
happy_macomb
uah3080