


Great new bulb that needs a little help...
frank27603
15 years ago
Related Stories
ORGANIZINGGet the Organizing Help You Need (Finally!)
Imagine having your closet whipped into shape by someone else. That’s the power of working with a pro
Full Story
KITCHEN DESIGNDesign Dilemma: My Kitchen Needs Help!
See how you can update a kitchen with new countertops, light fixtures, paint and hardware
Full Story
LIFEDecluttering — How to Get the Help You Need
Don't worry if you can't shed stuff and organize alone; help is at your disposal
Full Story
HOUSEKEEPINGWhen You Need Real Housekeeping Help
Which is scarier, Lifetime's 'Devious Maids' show or that area behind the toilet? If the toilet wins, you'll need these tips
Full Story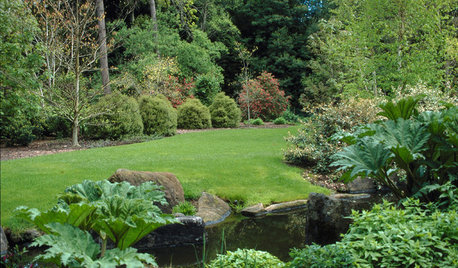
GARDENING GUIDESYou Don't Need Prairie to Help Pollinators
Woodlands, marshes, deserts — pollinators are everywhere
Full Story
HOUZZ TOURSHouzz Tour: A Modern Loft Gets a Little Help From Some Friends
With DIY spirit and a talented network of designers and craftsmen, a family transforms their loft to prepare for a new arrival
Full Story
LIVING ROOMSA Living Room Miracle With $1,000 and a Little Help From Houzzers
Frustrated with competing focal points, Kimberlee Dray took her dilemma to the people and got her problem solved
Full Story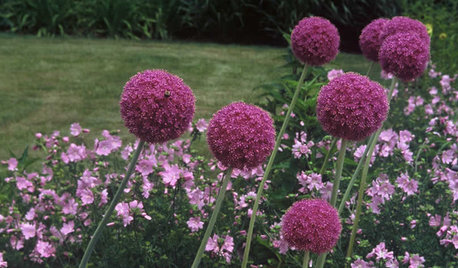
GARDENING GUIDES6 Unsung Bulbs for Fall Planting
Don't hang up your spade after summer — plant these unusual bulbs in fall for a spectacular spring show
Full Story
mymanga
palmcoastgarden
Related Professionals
Bethlehem Landscape Contractors · McKinney Landscape Contractors · Beverly Hills Landscape Contractors · Brockton Landscape Contractors · Columbine Landscape Contractors · Coram Landscape Contractors · East Hanover Landscape Contractors · Firestone Landscape Contractors · Long Beach Landscape Contractors · New Cassel Landscape Contractors · Norwalk Landscape Contractors · Stony Brook Landscape Contractors · White Bear Lake Landscape Contractors · Redan Swimming Pool Builders · Visalia Swimming Pool Buildersjodik_gw
frank27603Original Author
mariava7
jodik_gw
frank27603Original Author
mariava7
jodik_gw
jumpin4joy
larschar
frank27603Original Author
jodik_gw
larschar
anna_in_quebec
ryan820
Pat z6 MI
Pat z6 MI
jodik_gw
frank27603Original Author
blancawing
jodik_gw
mariae
frank27603Original Author