


Japanese garden
waterbug_guy
9 years ago
Featured Answer
Sort by:Oldest
Comments (22)

waterbug_guy
9 years agolast modified: 9 years agowaterbug_guy
9 years agolast modified: 9 years agoRelated Professionals
Windham Landscape Architects & Landscape Designers · Ballwin Landscape Architects & Landscape Designers · Lyons Landscape Architects & Landscape Designers · Anderson Landscape Contractors · Dickinson Landscape Contractors · Ellicott City Landscape Contractors · La Verne Landscape Contractors · Old Saybrook Landscape Contractors · Tuscaloosa Landscape Contractors · Birmingham Carpenters · Cordele Carpenters · Leominster Carpenters · Ridgewood Carpenters · Tucson Carpenters · Worcester Carpentersaztreelvr
9 years agolast modified: 9 years agowaterbug_guy
9 years agolast modified: 9 years agowaterbug_guy
9 years agolast modified: 9 years agowaterbug_guy
9 years agolast modified: 9 years ago
ernie85017, zn 9, phx
9 years agolast modified: 9 years agowaterbug_guy
9 years agolast modified: 9 years agoruns_with_scissors6
9 years agolast modified: 9 years agowaterbug_guy
9 years agolast modified: 9 years agowaterbug_guy
9 years agolast modified: 9 years agoruns_with_scissors6
9 years agolast modified: 9 years agowaterbug_guy
9 years agolast modified: 9 years ago
grant_in_arizona
9 years agolast modified: 9 years agowaterbug_guy
9 years agolast modified: 9 years agoruns_with_scissors6
9 years agolast modified: 9 years agowaterbug_guy
9 years agolast modified: 9 years agowaterbug_guy
9 years agolast modified: 9 years ago
MaryMcP Zone 8b - Phx AZ
9 years agogrant_in_arizona
9 years ago
Francisco Gallardo
4 years ago
Related Stories
GROUND COVERSNative Alternatives to English Ivy, Japanese Pachysandra and Periwinkle
These shade-loving ground covers are good for the environment and say something about where you are
Full Story
GARDENING AND LANDSCAPINGGreat Design Tree: Japanese Maple
Lacy form and fiery fall color make Japanese maple a welcome tree for garden or patio
Full Story
RED FOLIAGEGreat Design Plant: Japanese Blood Grass
This dramatic, ruby-tinged grass bridges the gap between red and green, short and tall plants
Full Story
LANDSCAPE DESIGNLay of the Landscape: Create the Beauty of a Japanese Garden
Balance, enclosures and the forms of nature combine in serene Japanese garden design. Bring the look home with some of these principles
Full Story
INSPIRING GARDENSStroll Through a Magnificent Japanese Garden, Newly Renovated
Get a glimpse of the Huntington's Japanese Garden today along with its storied past in a glossy new book
Full Story
PATIOSBackyard Ideas: Writer's Studio and a Japanese-Inspired Garden
A nearby Japanese garden inspires a feature-packed backyard and studio for a work-from-home Portland writer
Full Story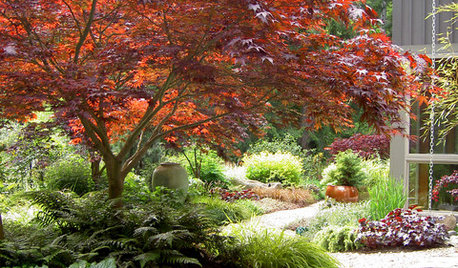
TREES11 Japanese Maples for Breathtaking Color and Form
With such a wide range to choose from, there’s a beautiful Japanese maple to suit almost any setting
Full Story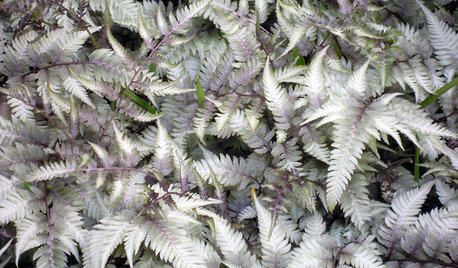
GARDENING GUIDESGreat Design Plant: Japanese Painted Fern Weaves a Garden Tapestry
Bring striking colors and texture to your woodland garden with Athyrium niponicum var. pictum
Full Story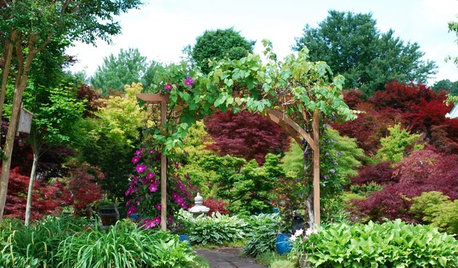
GARDENING GUIDES12 Japanese Maples for a Sunny Garden
The right maple in the right place shines in hot summer sun
Full Story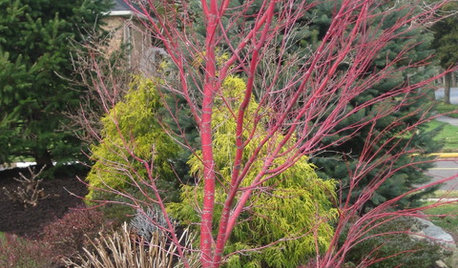
TREESGreat Design Plant: Coral Bark Japanese Maple, a Winter Standout
Go for garden gusto during the chilly season with the fiery red stems of this unusual Japanese maple
Full StoryMore Discussions
Mike McGarvey