


Mounting tillandsias
bruggirl
19 years ago
Featured Answer
Sort by:Oldest
Comments (11)

martha56
19 years agoluxum
19 years agoRelated Professionals
Hyattsville Landscape Architects & Landscape Designers · Seabrook Landscape Architects & Landscape Designers · Willowick Landscape Architects & Landscape Designers · Springfield Landscape Contractors · Middletown Landscape Contractors · Syracuse Fence Contractors · Chesterfield Fence Contractors · Coral Gables Fence Contractors · Guilford Fence Contractors · King City Fence Contractors · Richmond West Fence Contractors · Silver Spring Fence Contractors · Baltimore Siding & Exteriors · Cherry Hill Siding & Exteriors · Brookfield Siding & Exteriorsmartha56
19 years ago
madabouteu
19 years agomartha56
19 years agobarbarat
19 years agoJessMonkie
19 years agomadabouteu
19 years agogrega
19 years agoowlz
17 years ago
Related Stories
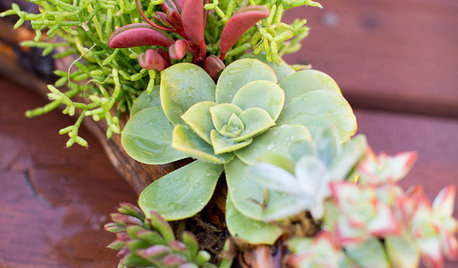
DIY PROJECTSMake a Beautiful and Long-Lasting Driftwood Centerpiece
Add succulents to found wood for an easy arrangement that looks straight from a designer florist's shelf
Full Story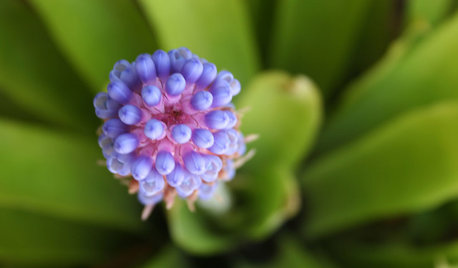
GARDENING GUIDESBromeliads: The Ultimate Collector’s Plants
Once you discover bromeliads’ exotic beauty, wide-ranging colors and intriguing patterns, you’ll never go back
Full Story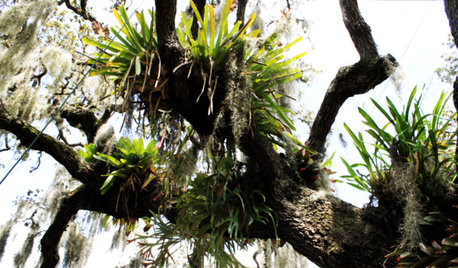
GARDENING GUIDESGot a Hot, Humid Landscape? Add Tropical Flair With Air Plants
Turn tree trunks and walls into lush canvases with plants adapted to the canopies of the rainforest
Full Story
CONTAINER GARDENSFreshen Up the Bath With Lush and Healthy Plants
Learn how to choose and care for plants that will do well in your space
Full Story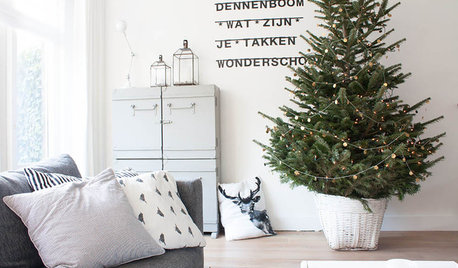
HOLIDAYSHouzz Call: Show Us Your Christmas Tree!
How lovely are your branches? Post a picture and share your stories
Full Story
MOST POPULARHouzzers Deck the Halls
From traditional to quirky to innovative, readers show their Christmas tree style
Full Story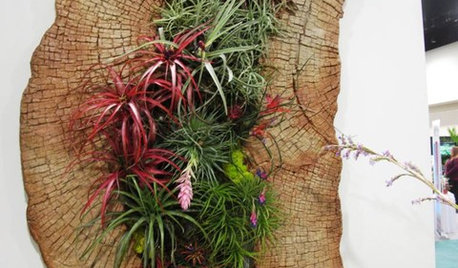
DECORATING GUIDESAir Plants Go Easy on Indoor Gardeners
If your best intentions leave stalks barely breathing, embrace blissfully easy air plants to bring a living garden to your home
Full Story
HOUSEPLANTSRetro Houseplants Get a New Look
The wild and crazy houseplants of the 1970s make a splash in today's interiors
Full Story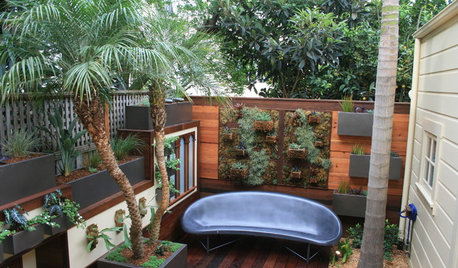
GARDENING AND LANDSCAPINGRoom of the Day: An Outdoor Space for Living and Playing
This small San Francisco backyard is packed with fun features
Full StoryMore Discussions
luxum