


Homemade Rearing/Eclosing Cage
butterflymomok
13 years ago
Related Stories
LIFEHouzz Call: Show Us Your Nutty Home Fixes
If you've masterminded a solution — silly or ingenious — to a home issue, we want to know
Full Story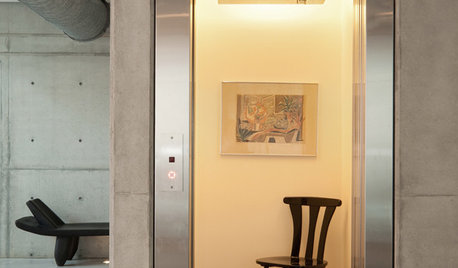
REMODELING GUIDESHome Elevators: A Rising Trend
The increasing popularity of aging in place and universal design are giving home elevators a boost, spurring innovation and lower cost
Full Story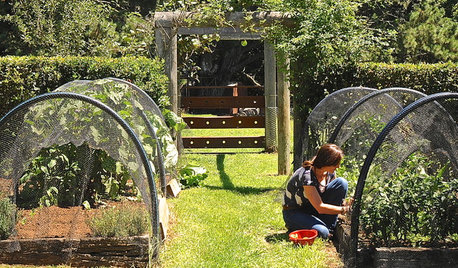
FARM YOUR YARDHouzz Call: Home Farmers, Show Us Your Edible Gardens
We want to see where your tomatoes, summer squashes and beautiful berries are growing this summer
Full Story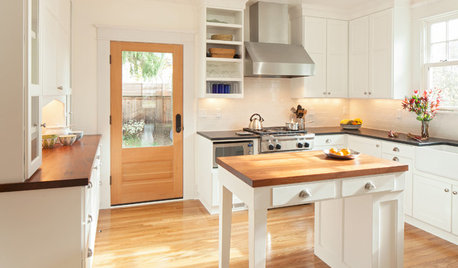
SELLING YOUR HOUSEHow to Stage Your Kitchen for a Home Sale
Attract buyers with a kitchen that’s clean, bright and welcoming — no expensive overhaul required
Full Story
HEALTHY HOMEHow to Childproof Your Home: A Grandmother’s Wisdom
Change kids’ behaviors, not your entire house, to keep the designs you like and prepare children for reality
Full StoryMore Discussions

susanlynne48
jeanner
bandjzmom
susanlynne48
butterflymomokOriginal Author
runmede
KC Clark - Zone 2012-6a OH
Mary Leek
butterflymomokOriginal Author
Mary Leek
butterflymomokOriginal Author
Mary Leek
butterflymomokOriginal Author
Mary Leek
Mary Leek
butterflymomokOriginal Author
Mary Leek
butterflymomokOriginal Author
butterflymomokOriginal Author
butterflymomokOriginal Author
Mary Leek
cghpnd
Debra.Ann567
butterflymomokOriginal Author
Chanell Gautreaux
HU-236611800