


All Play and No Work...
hanzrobo
10 years ago
Related Stories
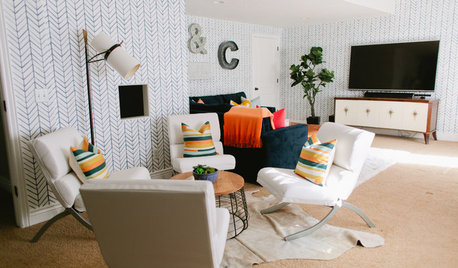
BASEMENTSRoom of the Day: A Playful Basement Makeover Suits All Ages
Fun decor creates comfy places for watching movies, playing pool, letting loose and having fun
Full Story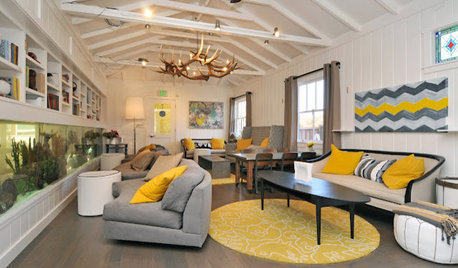
MORE ROOMSPlay-Space Secrets for All-Ages Homes
Don't let a generation gap put holes in your interior design. These tips from family-friendly businesses can give your rooms all-ages appeal
Full Story
COLORPlay Tricks With Color in Your All-White Room
Splash something unexpected into your sea of white to call attention to a favorite piece or just for fun
Full Story
DECORATING GUIDESRoom of the Day: Playing All the Angles in an Art Lover’s Living Room
Odd angles are no match for a Portland designer with an appreciation of art display and an eye for good flow
Full Story

SHOP HOUZZShop Houzz: All-Star Tables
Find tables of all shapes and sizes that stylishly multitask for dining, working and playing
Full Story0

GUESTHOUSESA Hideaway for All Ages Perched Among the Trees in Maine
A modern Adirondack ‘treehouse’ is designed as a place for playing games, reading, sleeping over and enjoying forest views
Full Story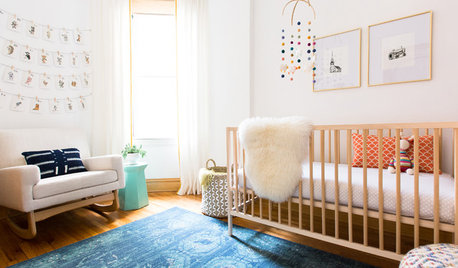
NURSERY IDEASRoom of the Day: Nursery Design Is All in the Family
Loving touches abound in this playful, modern, gender-neutral bedroom in Chicago
Full Story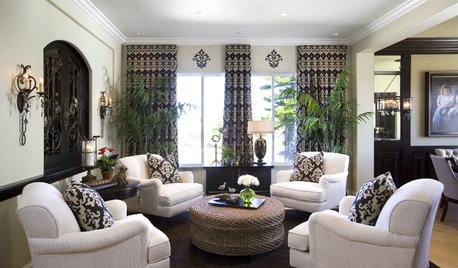
LIVING ROOMS8 Living Room Layouts for All Tastes
Go formal or as playful as you please. One of these furniture layouts for the living room is sure to suit your style
Full Story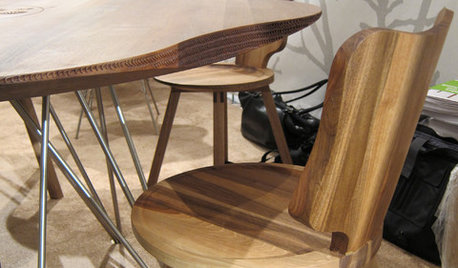
Killy's Top Picks From ICFF 2011: It's All In the Details
Take a Look at the Artistry, Craftsmanship and Playful Details of These Faves
Full Story


ChasingCenturies (Arizona 9b)
rosemariero6
Related Professionals
Tempe Landscape Architects & Landscape Designers · Ilchester Landscape Architects & Landscape Designers · Manchester Landscape Contractors · Columbine Landscape Contractors · El Sobrante Landscape Contractors · Maywood Landscape Contractors · Northport Landscape Contractors · Genesee General Contractors · Monroe General Contractors · Statesboro General Contractors · Westminster General Contractors · Cedar Park Carpenters · Deerfield Beach Carpenters · Huntington Decks, Patios & Outdoor Enclosures · Medford Decks, Patios & Outdoor Enclosuresbob61
TT, zone 5b MA
bikerdoc5968 Z6 SE MI
hanzroboOriginal Author
bikerdoc5968 Z6 SE MI
tsugajunkie z5 SE WI ♱
squishyplant
stephanie_kay
greendale
hanzroboOriginal Author
bikerdoc5968 Z6 SE MI
Beachplants
nil13