


Landscaping in stages - how to minimize cost & disruption
gwlolo
11 years ago
Sort by:Oldest
Comments (5)
Related Stories
MY HOUZZMy Houzz: Japanese Minimalism Blends With Classic New Orleans Style
African art and indoor plants complement the clean and modern aesthetic of two landscape architects
Full Story
HOUZZ TOURSHouzz Tour: Modern Minimalism in a Multigenerational Home
Connections are paramount in an extended family's new house in Dallas. What furnishings would you choose to enhance them?
Full Story
HOUZZ TOURSHouzz Tour: Minimalism Suits an Arizona Ranch House
Leaving only what wouldn't blow off in a hurricane, an architect designs a modern take on Southwest style
Full Story
GARDENING AND LANDSCAPINGTake a Winter Walk on the Safe Side
Learn how to handle snow, ice and other cold-weather landscape factors to minimize falls and damage
Full StoryDECORATING GUIDESStaging vs. Decorating: What's the Difference?
Unlike decorating, staging your home isn't about personal style — it's about creating ambiance and appeal for buyers
Full Story
SELLING YOUR HOUSE6 Tips for Staging Historic Homes
Putting a period home on the market requires a unique level of attention to detail. Here's how to preserve its historic appeal
Full Story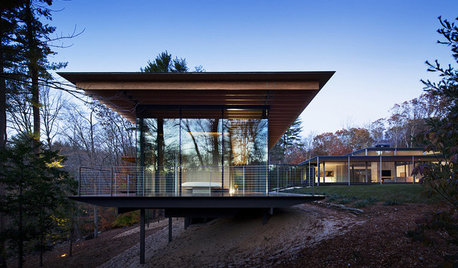
ARCHITECTUREDesign Workshop: How to Make a Home Sit Lightly on the Land
Piers, cantilevers, towers and more can help minimize a home’s environmental impact on its site
Full Story
LANDSCAPE DESIGNTake Your Garden on a Rural Route With Plant-Dominant Designs
Let plants take center stage for a garden that recalls idyllic pastures fashioned by nature's hand
Full Story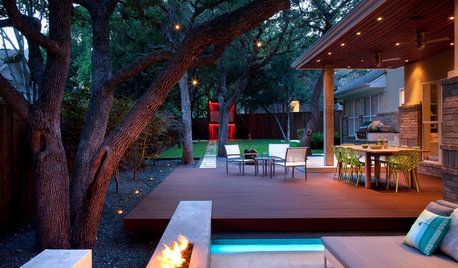
GREAT HOME PROJECTSLight Your Landscape for Drama and Function
New project for a new year: Install outdoor lighting to highlight special features and keep nighttime walks safe
Full Story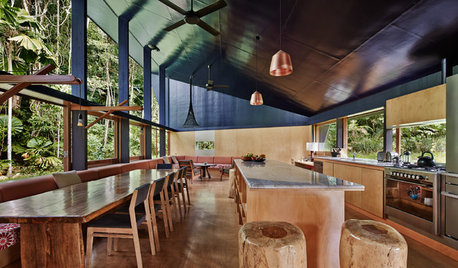
HOUZZ TOURSWorld of Design: 9 Energy-Smart Australian Homes
With their innovative features and diverse surroundings, these 9 award-winning homes have struck gold on the Aussie design stage
Full Story
gobluedjm 9/18 CA
hoovb zone 9 sunset 23
Related Professionals
Derry Landscape Architects & Landscape Designers · South Orange Landscape Architects & Landscape Designers · Pelham Landscape Contractors · Berwyn Landscape Contractors · Hurricane Landscape Contractors · Lancaster Landscape Contractors · Lorain Landscape Contractors · Rochester Landscape Contractors · St. Louis Landscape Contractors · Oxon Hill Landscape Contractors · Grandview Swimming Pool Builders · Thousand Oaks Swimming Pool Builders · Valinda Swimming Pool Builders · Decatur Window Contractors · Edmonds Window ContractorsgwloloOriginal Author
peachymomo
hoovb zone 9 sunset 23