


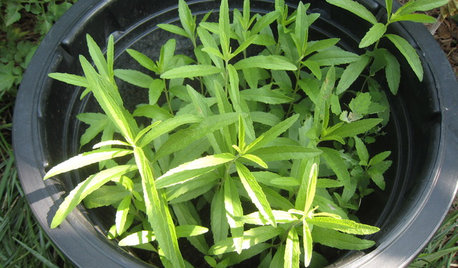
Sasanqua seed germination
freak65candy
18 years ago
Sort by:Oldest
Comments (4)
Related Stories

FLOWERSGreat Design Plant: Sasanqua Camellia
Pretty fall flowers belie this plant's hardworking nature and relative tough attitude toward disease
Full Story
GARDENING GUIDESHow to Plant a New Lawn From Seed
Choose from more grass varieties and save money over sod by starting your lawn from seed
Full Story
CONTAINER GARDENS8 Easy Container Plants to Grow From Seed
Get beautiful blooms and herbs in summer by starting these choice garden picks from seed in spring
Full Story
GARDENING GUIDESSeeds or Seedlings? How to Get Your Garden Started
Growing delicious herbs and vegetables starts with knowing your goals and when you want to plant
Full Story
GARDENING GUIDESUnleash Your Guerilla Gardener
Toss some seed bombs around the yard for easy, beneficial plantings
Full Story
ROCKY MOUNTAINS GARDENINGRocky Mountain Gardener's February Checklist
Get smart with your seeds, strike with oil to manage pests and practice proficient pruning — your trees and shrubs will thank you
Full Story0
FALL GARDENINGBe Your Own Wildflower Nursery
Gather seeds from your garden in fall, and you'll have a selection of plants for next year — without spending a dime
Full Story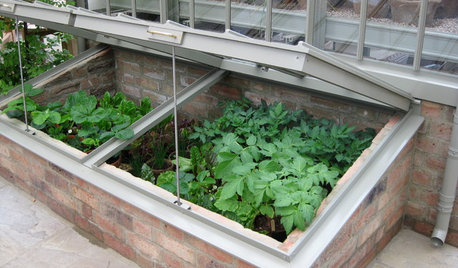
WINTER GARDENINGExtend Your Growing Season With a Cold Frame in the Garden
If the sun's shining, it might be time to sow seeds under glass to transplant or harvest
Full Story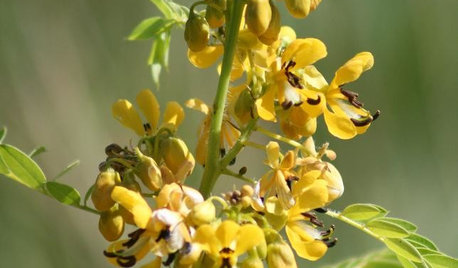
GARDENING FOR BUTTERFLIESGreat Design Plant: Senna Hebecarpa Puts on a Magical Show
Furry white tongues that develop into seeds? That's just one of this bee-bringing summer perennial's many talents
Full Story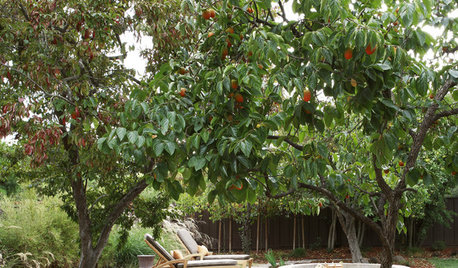
SOUTHWEST GARDENINGTexas Gardener's December Checklist
Northern neighbors may be hibernating, but in the South it's time to lavish care on fruit trees, flower seeds and bulbs
Full StoryMore Discussions
forrestal
Virginia_Bill
Related Professionals
Cottonwood Landscape Architects & Landscape Designers · Saint Louis Park Landscape Architects & Landscape Designers · Gainesville Landscape Contractors · Beachwood Landscape Contractors · Biloxi Landscape Contractors · Firestone Landscape Contractors · Long Branch Landscape Contractors · Merced Landscape Contractors · Mesa Landscape Contractors · Mount Sinai Landscape Contractors · Northbridge Landscape Contractors · Red Oak Landscape Contractors · Sugar Hill Landscape Contractors · Cooper City Swimming Pool Builders · Weatherford Swimming Pool Builderssummer99
Arl_Tom