


Amending Soil for Sedum / Rock Garden
aezarien
14 years ago
Sort by:Oldest
Comments (12)
Related Stories
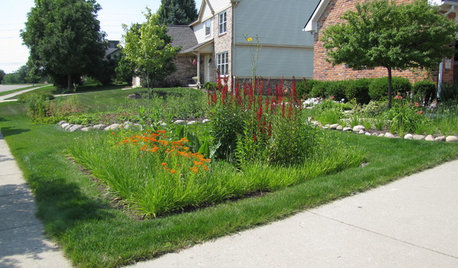
LANDSCAPE DESIGNHow to Shape a Rain Garden and Create the Right Soil for It
Learn how to grade, lay out and amend the soil in your rain garden to support your plants
Full Story
GARDENING GUIDESGreat Design Plant: Sedum (Stonecrop)
Terrific at filling gaps and in a wide range of colors and shapes, sedum is a problem solver in the garden
Full Story
GARDENING GUIDESGet the Dirt on Your Garden’s Soil
Understand how your soil supports your plants so you can ensure your garden’s success
Full Story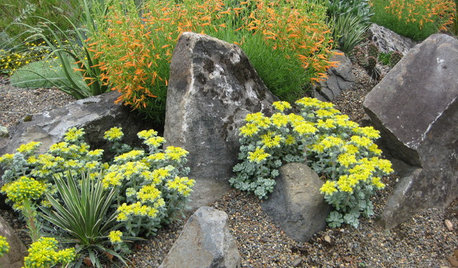
GARDENING GUIDESGreat Design Plant: Broadleaf Stonecrop (Sedum Spathulifolium)
If you want showy flowers and drought tolerance, this succulent is right up your zone-5 alley
Full Story
GARDENING GUIDESGardening Solutions for Heavy Clay Soils
What’s a gardener to do with soil that’s easily compacted and has poor drainage? Find out here
Full Story
GARDENING GUIDESHave Acidic Soil in Your Yard? Learn to Love Gardening Anyway
Look to acid-loving plants, like conifers and rhododendrons, to help your low-pH garden thrive
Full Story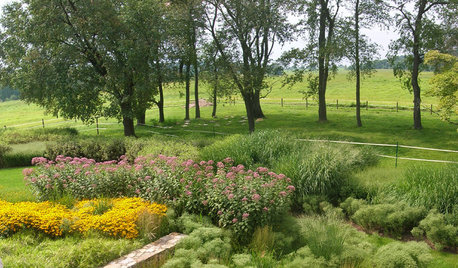
GARDENING GUIDESHow to Stop Worrying and Start Loving Clay Soil
Clay has many more benefits than you might imagine
Full Story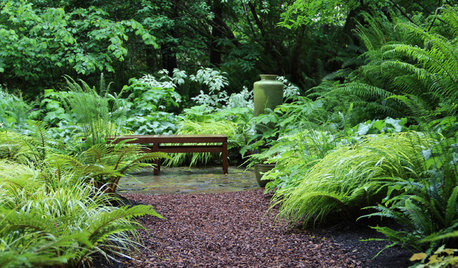
GARDENING GUIDES10 Solutions for Soggy Soil
If a too-wet garden is raining on your parade, try these water-loving plants and other ideas for handling all of that H2O
Full Story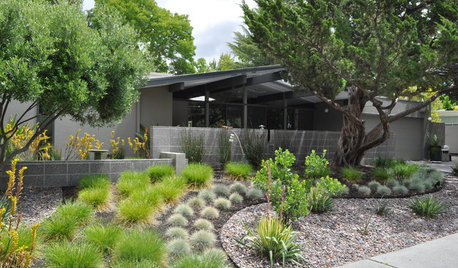
GARDENING GUIDESHow to Pick a Mulch — and Why Your Soil Wants It
There's more to topdressing than shredded wood. Learn about mulch types, costs and design considerations here
Full Story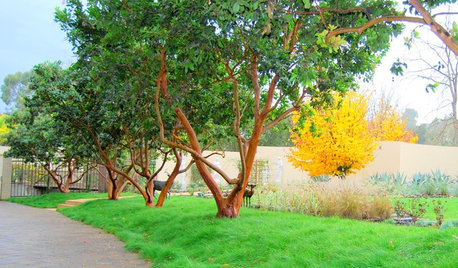
GARDENING GUIDESGarden Myths to Debunk as You Dig This Fall and Rest Over Winter
Termites hate wood mulch, don’t amend soil for trees, avoid gravel in planters — and more nuggets of garden wisdom
Full StoryMore Discussions
safariofthemind
aezarienOriginal Author
Related Professionals
Graham Landscape Architects & Landscape Designers · Lake Oswego Landscape Architects & Landscape Designers · Manhattan Beach Landscape Architects & Landscape Designers · Tomball Landscape Architects & Landscape Designers · Winder Landscape Architects & Landscape Designers · East Patchogue Landscape Architects & Landscape Designers · Aberdeen Landscape Contractors · Davidson Landscape Contractors · Kaneohe Landscape Contractors · Lantana Landscape Contractors · Las Vegas Landscape Contractors · Mount Kisco Landscape Contractors · Pahrump Landscape Contractors · Rancho Santa Margarita Landscape Contractors · Twin Falls Landscape Contractorssafariofthemind
aezarienOriginal Author
safariofthemind
aezarienOriginal Author
aezarienOriginal Author
aezarienOriginal Author
safariofthemind
aezarienOriginal Author
safariofthemind
aezarienOriginal Author