


My Indoor Propagation Box
aezarien
15 years ago
Sort by:Oldest
Comments (12)
Related Stories
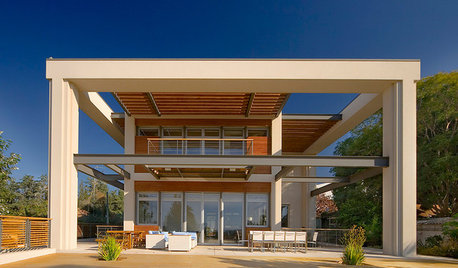
REMODELING GUIDESNesting Boxes: Houses With Homes of Their Own
Framing one box with another creates a whole new style of modern indoor-outdoor living
Full Story
HOUSEPLANTS8 Essentials for Healthy Indoor Plants
Houseplants add so much to our homes — and can thrive when grown in the right conditions. Keep these tips in mind
Full Story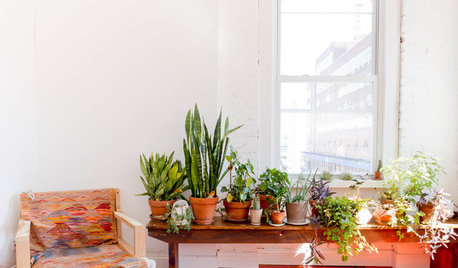
HOUSEPLANTSIndoor Winter Gardens for Cheerier Days
Bring plants inside for drab-days mood boosting — not to mention cleaner indoor air and protection for your greenery
Full Story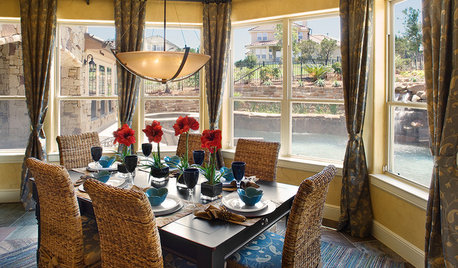
HOUSEPLANTSHow to Force Amaryllis Bulbs Indoors
Enjoy vibrant red blossoms even as gardens turn snowy white, by teaching this hardy repeat performer to ignore the calendar
Full Story
TASTEMAKERSModko Litter Boxes Address the Mess
A design duo has reinvented the much-maligned cat box, with an award-winning result
Full Story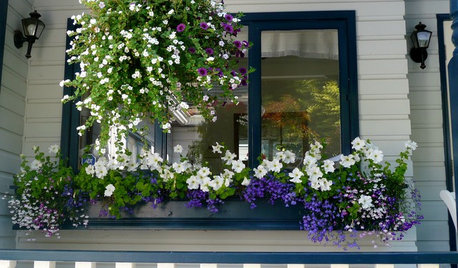
GARDENING GUIDESWindow Boxes Captivate on the Curb
For home appeal that reaches to the street, dress up your windows with boxes brimming with blossoms, vines or the freshest foliage
Full Story
HOUZZ TOURSHouzz Tour: Minimalist Modern Box House in São Paulo
An architect and tastemaker transforms a building with a creative pedigree with his stark interior and funky, cool decor
Full Story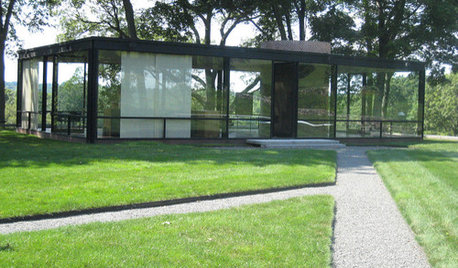

ARCHITECTUREHouzz Tour: A Vintage Home Wrapped Up in a Box
A work-at-home couple completes an eye-catching contemporary renovation that builds on an Arts and Crafts home
Full Story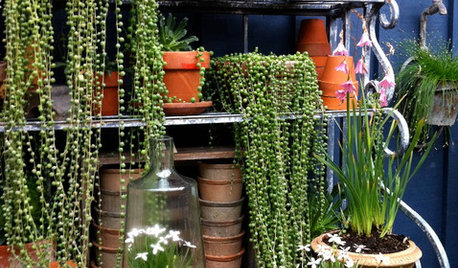
HOUSEPLANTSCascading Succulents Bring Fun Shapes to Your Indoor Garden
For eye-catching spillers with delicate beauty and minimal needs, it's hard to beat these 2 trailing houseplants
Full Story
ncgardengirl
aezarienOriginal Author
Related Professionals
Citrus Heights Landscape Architects & Landscape Designers · Chattanooga Landscape Architects & Landscape Designers · Forest Park Landscape Architects & Landscape Designers · Chelmsford Landscape Contractors · Cudahy Landscape Contractors · Eureka Landscape Contractors · Fort Myers Landscape Contractors · Longmont Landscape Contractors · North Canton Landscape Contractors · Olympia Landscape Contractors · Painesville Landscape Contractors · Ponte Vedra Beach Landscape Contractors · The Woodlands Landscape Contractors · Vallejo Landscape Contractors · Westford Landscape Contractorsgnomey
ncgardengirl
aezarienOriginal Author
DYH
gnomey
aezarienOriginal Author
DYH
aezarienOriginal Author
Evergrne
countrygirlsc, Upstate SC