


My first & second Bird bath/table
joycevallee
19 years ago
Sort by:Oldest
Comments (8)
Related Stories

FURNITURESecond-Life Sofas Show First-Rate Style
With unexpected upholstery, antique sofas can live happily in modern interiors
Full Story
GARDENING FOR BIRDSWhat to Know About Birds Nesting in Your Yard
Learn how to observe, record data and help ornithologists with NestWatch’s citizen science project understand bird trends
Full Story
GARDENING FOR BIRDSWild Birds Transform a Woman’s Garden and Life
How Sharon Sorenson created a wildlife haven and became the Bird Lady of Southern Indiana
Full Story
GARDENING GUIDESBackyard Birds: Invite Entertaining Hummingbirds Into Your Garden
Hummingbirds — unique to the Americas — zip through open landscapes seasonally or year-round. Here’s how to attract them
Full Story
COMMUNITYGet a Bird's-Eye View of America's Housing Patterns
See the big picture of how suburban developments are changing the country's landscape, with aerial photos and ideas for the future
Full Story
MOST POPULARFirst Things First: How to Prioritize Home Projects
What to do when you’re contemplating home improvements after a move and you don't know where to begin
Full Story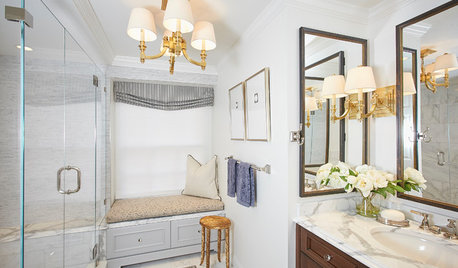
ROOM OF THE DAYRoom of the Day: Small Master Bath Makes an Elegant First Impression
Marble surfaces, a chandelier and a window seat give the conspicuous spot the air of a dressing room
Full Story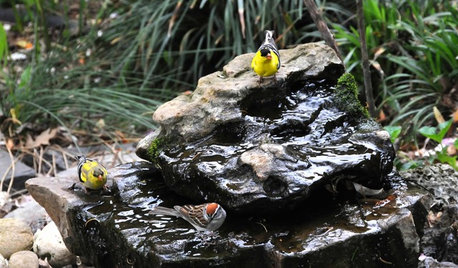
OUTDOOR PROJECTSBring In the Birds With a Homemade Bubble Rock
An avian expert from Southern Indiana shows how to make a burbling fountain that migrating birds will love
Full Story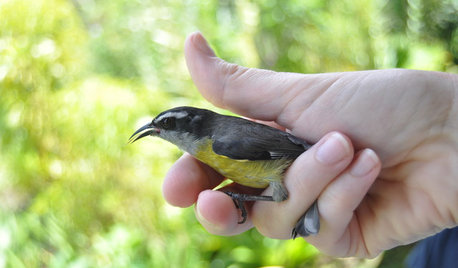
GARDENING FOR BUTTERFLIESBring on the Birds: Natural Habitat Ideas for Gardens of All Sizes
Provide nesting, watering and perching spots inspired by the Costa Rican jungle and watch the birds flock on over
Full Story
KITCHEN DESIGNKitchen of the Week: Function and Flow Come First
A designer helps a passionate cook and her family plan out every detail for cooking, storage and gathering
Full Story
Ladonna43
karmah
Related Professionals
Forest Park Landscape Architects & Landscape Designers · Fort Lee Landscape Architects & Landscape Designers · Saint Charles Landscape Architects & Landscape Designers · Waterbury Landscape Contractors · Brookfield Landscape Contractors · Concord Landscape Contractors · Goodlettsville Landscape Contractors · Kearny Landscape Contractors · Lakewood Landscape Contractors · Newnan Landscape Contractors · Pahrump Landscape Contractors · Vineyard Landscape Contractors · Waipahu Landscape Contractors · Casselberry Landscape Contractors · Clearfield Landscape ContractorsCramItWitWalnutsUgly
annsb
Posie
shaybass
babanna
joycevalleeOriginal Author