


Seed starters chapter 2
shellyga
16 years ago
Sort by:Oldest
Comments (51)
Related Stories
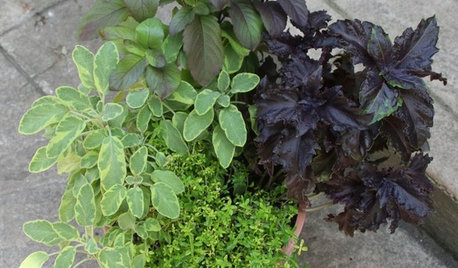
CONTAINER GARDENS8 Easy Container Plants to Grow From Seed
Get beautiful blooms and herbs in summer by starting these choice garden picks from seed in spring
Full Story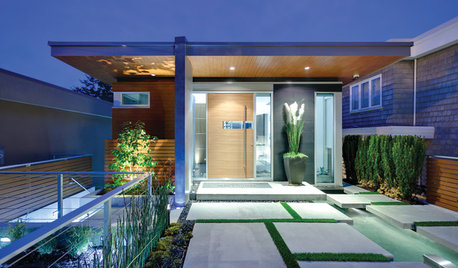
EVENTSSee 8 Stunning Abodes From 2 Modern Home Tours in Canada
Can’t make it to British Columbia for 2 upcoming modern home tours? No sweat. Here’s a sneak peek
Full Story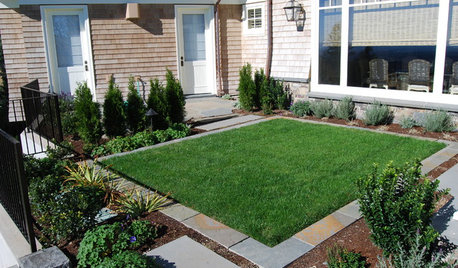
GARDENING GUIDESHow to Prep Your Ground for a Healthy New Lawn
Seed or sod that falls on weedy, lumpy soil is a wasted effort. Follow these steps to ensure that your new lawn will thrive
Full Story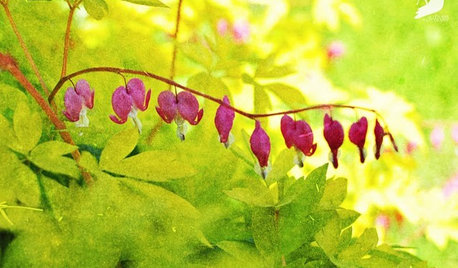
GARDENING AND LANDSCAPINGGarden Musts for April
There's plenty to do in your garden this month without mucking around in the mud. Think seeds and let the rain do its work
Full Story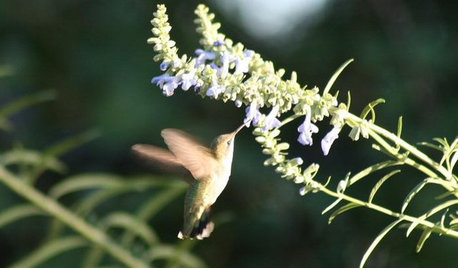
GARDENING GUIDESHow to Find the Right Native Plants for Your Yard
Find plant maps, sale sites and guides that make going native in the garden easier than ever
Full Story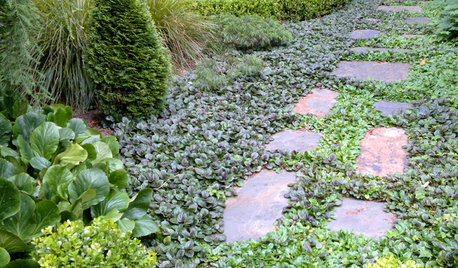
GROUND COVERSGround Force: 10 Top Ground Covers for Your Garden
Protect your soil from weeds and drought this summer with a living mulch of ground covers
Full Story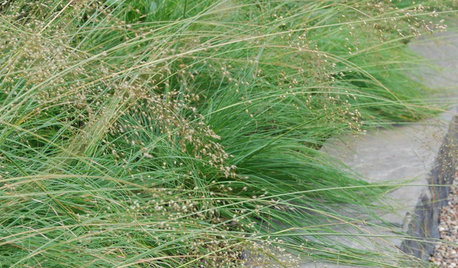
GARDENING GUIDESGreat Design Plant: Sporobolus Heterolepis
Prairie dropseed is one of the most elegant native grasses that’s slowly vanishing from the wild
Full Story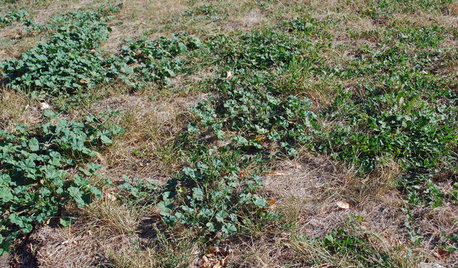
GARDENING GUIDESWeed War: When and How to Use Chemical Herbicides
Before you spray, arm yourself with knowledge about which weed killers — natural or synthetic — are right for your yard
Full Story
WINTER GARDENING10 Native Wildflowers to Beautify Your Winter Garden
They stand strong in wind, feed wildlife and are easy to grow. But you may want to add these plants for their looks alone
Full Story
BATHROOM DESIGNThe Funniest Bathrooms on Houzz
Check out these creative loos for a chuckle, then share your own fun bathroom designs
Full StorySponsored
Columbus Area's Luxury Design Build Firm | 17x Best of Houzz Winner!
More Discussions

berrytea4me
virgo45
Related Professionals
Simpsonville Landscape Architects & Landscape Designers · Fort Myers Landscape Contractors · Medford Landscape Contractors · Milford Mill Landscape Contractors · North Plainfield Landscape Contractors · Pahrump Landscape Contractors · Santa Ana Landscape Contractors · Secaucus Landscape Contractors · St. Louis Landscape Contractors · Yukon Landscape Contractors · San Pablo Landscape Contractors · Country Club Hills General Contractors · Jackson General Contractors · Manalapan General Contractors · Seabrook General ContractorsshellygaOriginal Author
Nancy Barginear
berrytea4me
lilynut
shellygaOriginal Author
virgo45
daredevil
shellygaOriginal Author
berrytea4me
berrytea4me
mthorebgarden
shive
berrytea4me
opnjmprs
opnjmprs
lilynut
Nancy Barginear
berrytea4me
nikki42
opnjmprs
shellygaOriginal Author
lilynut
daredevil
virgo45
shive
berrytea4me
thelwig55
Nancy Barginear
virgo45
opnjmprs
shellygaOriginal Author
ladylovingdove
berrytea4me
opnjmprs
zengeos
opnjmprs
lilynut
zengeos
lilynut
davemichigan
Julia WV (6b)
joshuaslc
alameda/zone 8/East Texas
marricgardens
virgo45
Nancy Barginear
swontgirl_z5a
Julia WV (6b)