


2007 Projects
sazzyrose
16 years ago
Sort by:Oldest
Comments (38)
Related Stories

LIFE8 Home Projects Perfect for Holiday Downtime
Start the new year on the right foot by using some free time now to organize, store and clean
Full Story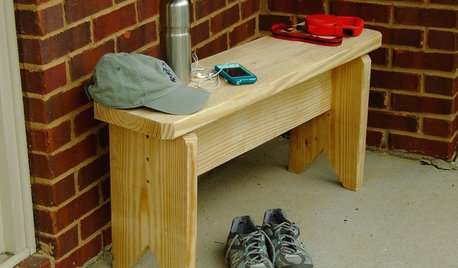
DIY PROJECTSNeat Little Project: Create a Simple Entry Bench
Fill small niches with your own handiwork, a useful and versatile bench you can make in an afternoon
Full Story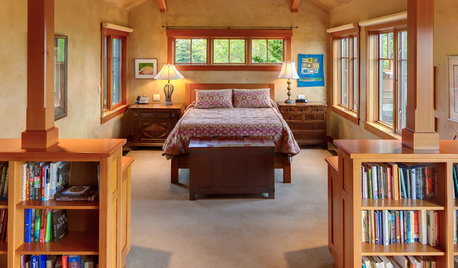
BEDROOMSNew This Week: 3 Must-Try Ideas for Your Bedroom Project
Sleek built-ins, simple white walls and a holistic approach can take your bedroom from boring to brag-worthy
Full Story
WORKING WITH PROS8 Things Interior Designers Want You to Know
Get the scoop on certifications, project scope, working from afar and more
Full Story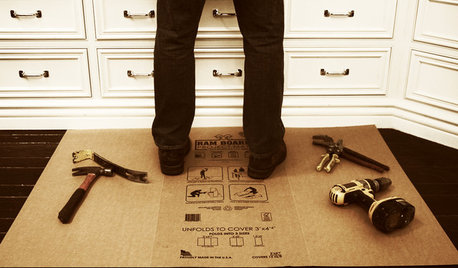
BATHROOM DESIGNOut With the Old Tile: 8 Steps to Prep for Demolition
This isn't a light DIY project: You'll need heavy-duty tools and plenty of protection for your home and yourself
Full Story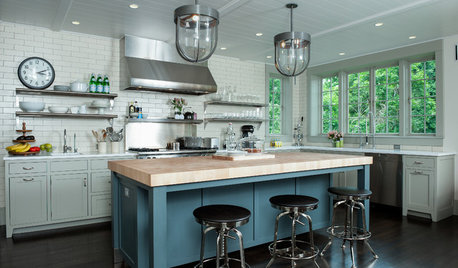
KITCHEN DESIGNExpert Talk: Design Lessons From 9 Stunning Kitchens
Architects share a behind-the-scenes look at the design decisions for some of their most interesting kitchen projects
Full Story
KITCHEN DESIGNHow Much Does a Kitchen Makeover Cost?
See what upgrades you can expect in 3 budget ranges, from basic swap-outs to full-on overhauls
Full Story
GREEN BUILDINGHouzz Call: What Have You Salvaged for Home Use?
If your floors, furniture, exterior materials or other home elements have a past life, we'd like to hear the story
Full Story
REMODELING GUIDESHouzz News: Remodeling Heats Up
With the U.S. economy showing signs of recovery, homeowners invest in quality, livability and "a place to make their own"
Full Story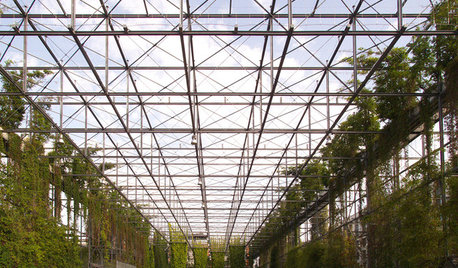
URBAN GARDENSA Vertical Park in Zurich Greens Up the Grid
This breathtaking mix of steel and vines in Switzerland shows promise for greener, healthier cities around the world
Full StorySponsored
More Discussions
Crazy_Gardener
sazzyroseOriginal Author
Related Professionals
Citrus Heights Landscape Architects & Landscape Designers · Panama City Landscape Architects & Landscape Designers · Hartford Landscape Contractors · Woburn Landscape Contractors · Peabody Landscape Contractors · Tempe Landscape Contractors · Battle Ground Landscape Contractors · Biloxi Landscape Contractors · Bristol Landscape Contractors · Eustis Landscape Contractors · Fort Hunt Landscape Contractors · Marlborough Landscape Contractors · Weslaco Landscape Contractors · West Coon Rapids Landscape Contractors · Wixom Window Contractorsnorthspruce
Laurie_z3_MB
savona
Crazy_Gardener
northspruce
Crazy_Gardener
skeevesgirl
northspruce
xtreme_gardener
prairierose
valleyrimgirl
prairierose
marciaz3 Tropical 3 Northwestern Ontario
Crazy_Gardener
Pudge 2b
Laurie_z3_MB
xtreme_gardener
marciaz3 Tropical 3 Northwestern Ontario
prairierose
redpeony
Laurie_z3_MB
xtreme_gardener
Laurie_z3_MB
valleyrimgirl
savona
valleyrimgirl
marciaz3 Tropical 3 Northwestern Ontario
savona
Laurie_z3_MB
garden_chicken
valleyrimgirl
garden_chicken
Konrad___far_north
valleyrimgirl
north53 Z2b MB
sierra_z2b