


Improved Baggie Questions
timmy2green
13 years ago
Related Stories
Design Dilemmas: 5 Questions for Houzzers!
Post Ideas for Landscaping for a Modern Home, Updating a Rental and More
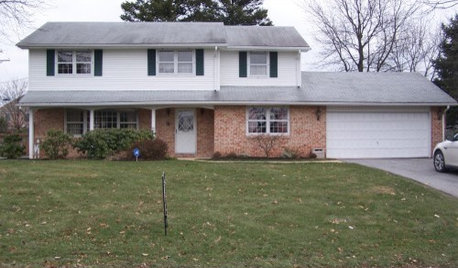
Full StoryREMODELING GUIDESConsidering a Fixer-Upper? 15 Questions to Ask First
Learn about the hidden costs and treasures of older homes to avoid budget surprises and accidentally tossing valuable features
Full Story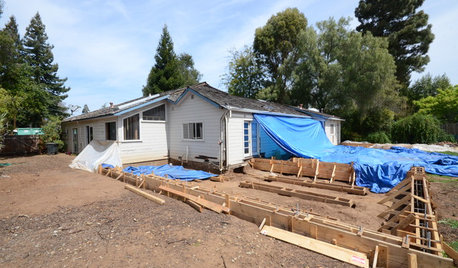
REMODELING GUIDESSurvive Your Home Remodel: 11 Must-Ask Questions
Plan ahead to keep minor hassles from turning into major headaches during an extensive renovation
Full Story
FEEL-GOOD HOMEThe Question That Can Make You Love Your Home More
Change your relationship with your house for the better by focusing on the answer to something designers often ask
Full Story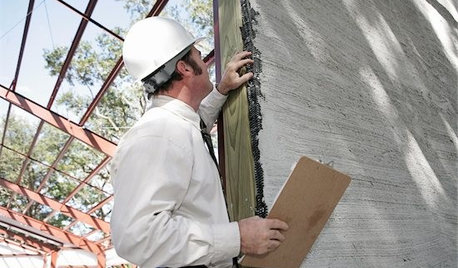
MOVINGHiring a Home Inspector? Ask These 10 Questions
How to make sure the pro who performs your home inspection is properly qualified and insured, so you can protect your big investment
Full Story
LIGHTING5 Questions to Ask for the Best Room Lighting
Get your overhead, task and accent lighting right for decorative beauty, less eyestrain and a focus exactly where you want
Full Story
WORKING WITH PROS10 Questions to Ask Potential Contractors
Ensure the right fit by interviewing general contractors about topics that go beyond the basics
Full Story
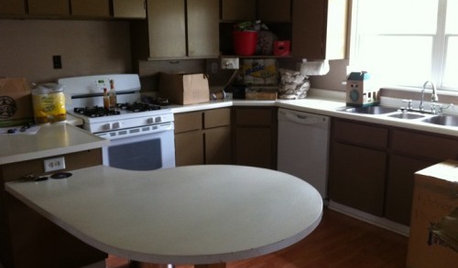
REMODELING GUIDESPlanning a Kitchen Remodel? Start With These 5 Questions
Before you consider aesthetics, make sure your new kitchen will work for your cooking and entertaining style
Full StoryMore Discussions
tbucketer
timmy2greenOriginal Author
Related Professionals
Alpharetta Landscape Contractors · Columbine Landscape Contractors · Conroe Landscape Contractors · Leicester Landscape Contractors · Pacifica Landscape Contractors · San Antonio Landscape Contractors · Santa Ana Landscape Contractors · Tinton Falls Landscape Contractors · Wayland Landscape Contractors · Wells Landscape Contractors · Canton Decks, Patios & Outdoor Enclosures · Prescott Decks, Patios & Outdoor Enclosures · Saint Louis Park Decks, Patios & Outdoor Enclosures · Arcadia Fence Contractors · New Haven Fence Contractorsdanab_z9_la
timmy2greenOriginal Author
danab_z9_la
Tony
danab_z9_la
Tony
danab_z9_la
Tony
timmy2greenOriginal Author
danab_z9_la
danab_z9_la
foolishpleasure
iammarcus
danab_z9_la
iammarcus