


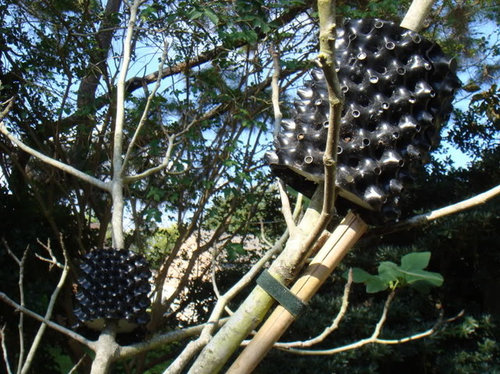
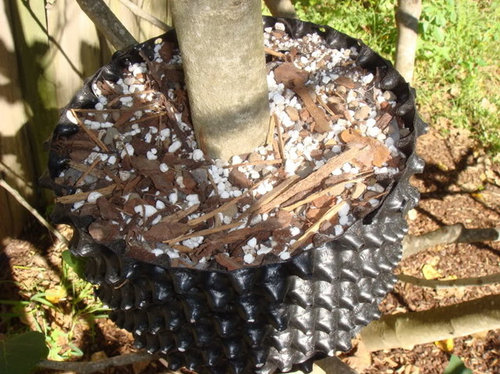
Air-Layering with Air-Pots
bjs496
16 years ago

Sort by:Oldest
Comments (13)
Related Stories
HEALTHY HOMEA Guide to Indoor Air Purifiers
Get the lowdown on air filtration systems for your house and the important ratings to look out for
Full Story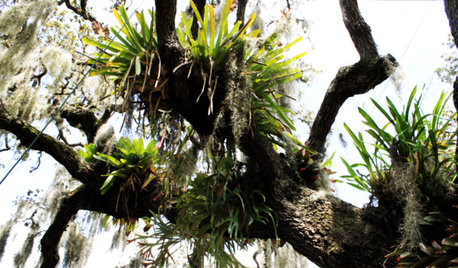
GARDENING GUIDESGot a Hot, Humid Landscape? Add Tropical Flair With Air Plants
Turn tree trunks and walls into lush canvases with plants adapted to the canopies of the rainforest
Full Story
DECORATING GUIDES10 Ways to Hide That Air Conditioner
Feeling boxed in designing around your mini-split air conditioner? Try one of these clever disguises and distractions
Full Story
PRODUCT PICKSGuest Picks: Hot Air Balloons Help Decor Soar
Flying onto wallpaper, pillows, lighting and more, hot air balloons lift rooms up, up and away
Full Story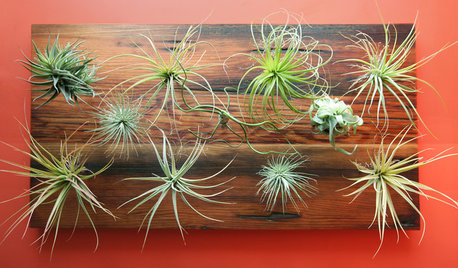
URBAN GARDENSDirt Optional: Amazing Air Plants for Wall or Tree
Succulents and air plants are stunning on winter walls — and the Christmas tree
Full Story
REMODELING GUIDESWake Up Rooms With the Power of Fresh Air
Even the trendiest interior designs can feel stale when your home is in permanent lockdown. Look to windows and doors for the solution
Full Story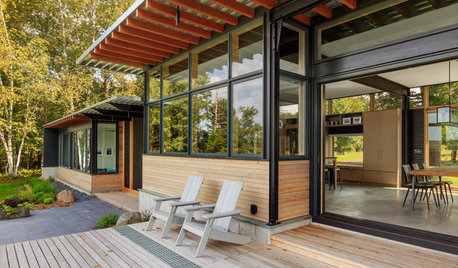
LIFE6 Ways to Cool Off Without Air Conditioning
These methods can reduce temperatures in the home and save on energy bills
Full Story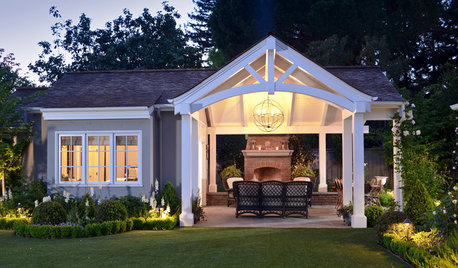
GARDENING AND LANDSCAPING3-Season Rooms: Open-Air Living in a Guest Cottage Pavilion
Comfy furniture, a fireplace and a vaulted ceiling make dining and hanging out a joy in this California outdoor room
Full Story
COLORBenjamin Moore Floats Breath of Fresh Air as Its Color of 2014
Touted as a new neutral, this baby blue can stand on its own or support bolder colors. Here's how to use it
Full Story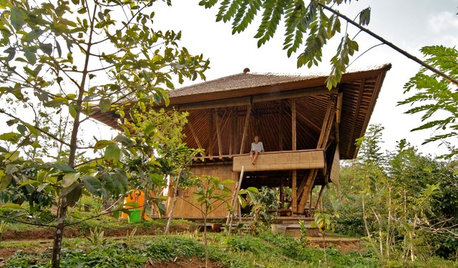
MOST POPULARMy Houzz: Open-Air Living in the Mountains of Bali
Community, jaw-dropping beauty and sustainability come together in a tropical paradise for a London expat
Full StoryMore Discussions
hlyell
bjs496Original Author
Related Professionals
Brentwood Landscape Architects & Landscape Designers · Ferndale Landscape Architects & Landscape Designers · Southfield Landscape Architects & Landscape Designers · Camp Verde Landscape Contractors · Hollywood Landscape Contractors · Kettering Landscape Contractors · New Providence Landscape Contractors · Painesville Landscape Contractors · Suitland Landscape Contractors · Waltham Landscape Contractors · Bensenville Landscape Contractors · Kyle Decks, Patios & Outdoor Enclosures · Owings Mills Decks, Patios & Outdoor Enclosures · Centereach Fence Contractors · Georgetown Fence Contractorshlyell
murkwell
loslunasfarms
plumfan
murkwell
bjs496Original Author
plumfan
plumfan
bjs496Original Author
murkwell
bjs496Original Author