


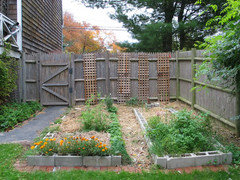
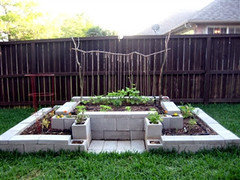
Anyone here use cement blocks for raised beds?
AdamM321
20 years ago
Featured Answer
Sort by:Oldest
Comments (27)

Steve_Dale
20 years agomicropropagator
19 years agoRelated Professionals
Paradise Landscape Architects & Landscape Designers · Surprise Landscape Contractors · Surprise Landscape Contractors · Franklin Landscape Contractors · Hoover Landscape Contractors · Laguna Hills Landscape Contractors · Panama City Beach Landscape Contractors · Riverview Landscape Contractors · Vashon Landscape Contractors · Whitehall Landscape Contractors · Holland Roofing & Gutters · Sand Springs Roofing & Gutters · La Jolla Roofing & Gutters · Glenn Heights Swimming Pool Builders · Placerville Swimming Pool Builderslet_it_rain
19 years ago
Jennifer Kosco
19 years agosunupworker
19 years agoazzelda
19 years agoMissouri_Greenwitch
19 years agolonowl
19 years agoAdamM321
19 years agoswanz
19 years agomid_tn_mama
19 years agodixielib
19 years agoBostonian
19 years agoBostonian
19 years agooldherb
17 years agoAdamM321
17 years agogirlndocs
17 years ago
prairiemoon2 z6b MA
17 years agosuburbanfarmgirl
13 years agoplaidbird
13 years agoyamchin_cox_net
12 years agooliveoyl3
12 years agosmichel
12 years agobosaapje
12 years agosmichel
12 years agojolj
11 years ago


Related Stories
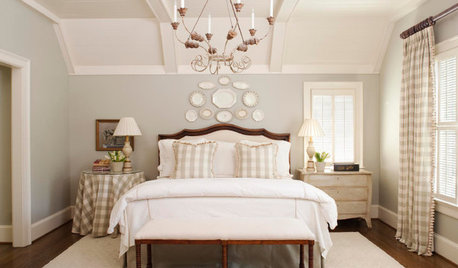
BEDROOMSThe Cure for Houzz Envy: Master Bedroom Touches Anyone Can Do
Make your bedroom a serene dream with easy moves that won’t give your bank account nightmares
Full Story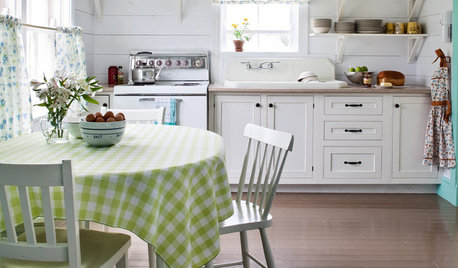
KITCHEN DESIGNThe Cure for Houzz Envy: Kitchen Touches Anyone Can Do
Take your kitchen up a notch even if it will never reach top-of-the-line, with these cheap and easy decorating ideas
Full Story
LAUNDRY ROOMSThe Cure for Houzz Envy: Laundry Room Touches Anyone Can Do
Make fluffing and folding more enjoyable by borrowing these ideas from beautifully designed laundry rooms
Full Story
KITCHEN CABINETSChoosing New Cabinets? Here’s What to Know Before You Shop
Get the scoop on kitchen and bathroom cabinet materials and construction methods to understand your options
Full Story
DECORATING GUIDESHere's How to Steer Clear of 10 Top Design Don'ts
Get interiors that look professionally styled even if you're taking the DIY route, by avoiding these common mistakes
Full Story
SPRING GARDENINGInspiring Raised Beds for Fall and Spring Planting
Make Your Next Vegetable Garden Even Better with Beautiful Boxes and Paths
Full Story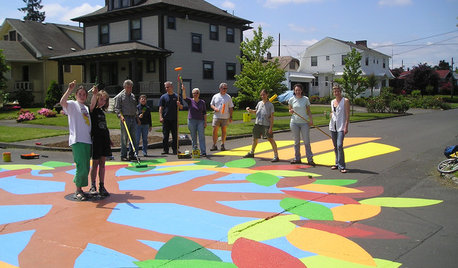
COMMUNITYCommunity Building Just About Anyone Can Do
Strengthen neighborhoods and pride of place by setting up more public spaces — even small, temporary ones can make a big difference
Full Story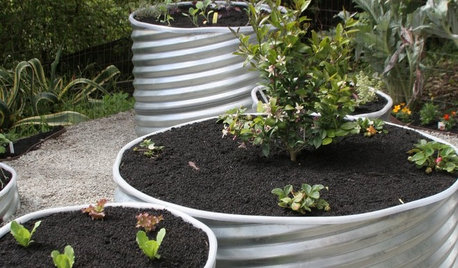
GARDENING GUIDES8 Materials for Raised Garden Beds
Get the dirt on classic and new options for raised vegetable and plant beds, to get the most from your year-round garden
Full Story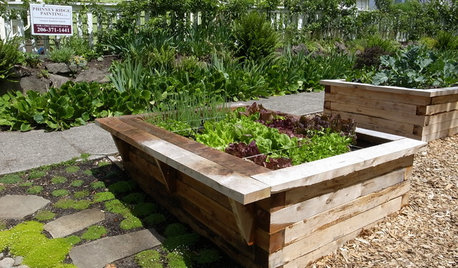
FARM YOUR YARDHow to Build a Raised Bed for Your Veggies and Plants
Whether you’re farming your parking strip or beautifying your backyard, a planting box you make yourself can come in mighty handy
Full Story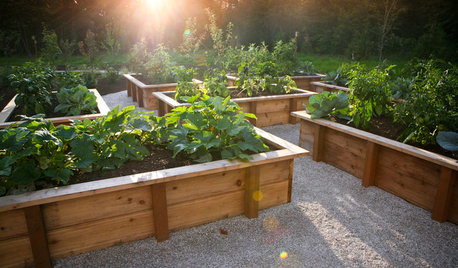
GARDENING AND LANDSCAPINGRaised Beds Lift Any Garden
From good old-fashioned wood garden boxes to modern metal troughs, raised beds can make any landscape space look great
Full StorySponsored
bjfleming712_comncast_net