


Easy, inexpensive cold frame
fredt7
18 years ago
Sort by:Oldest
Comments (7)
Related Stories
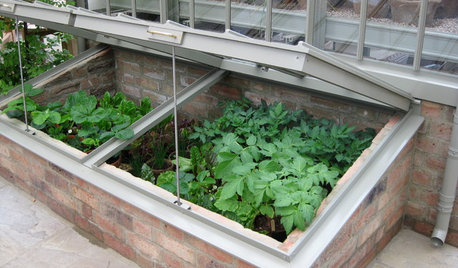
WINTER GARDENINGExtend Your Growing Season With a Cold Frame in the Garden
If the sun's shining, it might be time to sow seeds under glass to transplant or harvest
Full Story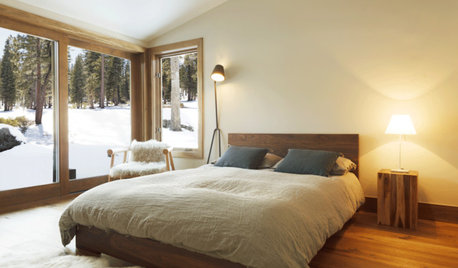
WINDOW TREATMENTSEasy Green: 9 Low-Cost Ways to Insulate Windows and Doors
Block drafts to boost both warmth and energy savings with these inexpensive but effective insulating strategies
Full Story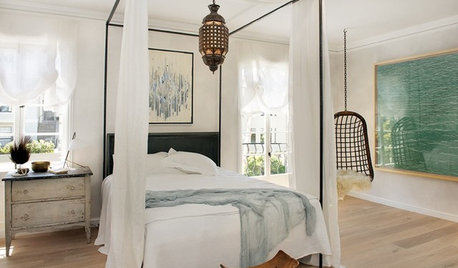
FURNITURESleep Easy: Your Guide to Bed Frame Styles
Dream of snuggling in a sleigh bed or luxuriating under a canopy? Read about these and other popular bed frame styles
Full Story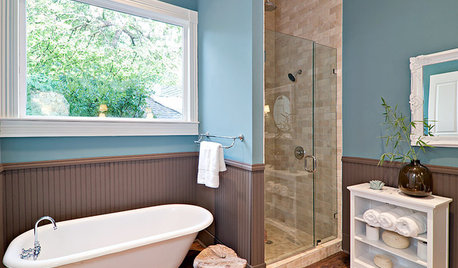
4 Easy Ways to Renew Your Bathroom Without Remodeling
Take your bathroom from drab to fab without getting out the sledgehammer or racking up lots of charges
Full Story
ARCHITECTURE15 Smart Design Choices for Cold Climates
Keep your home safe and comfortable in winter by choosing the right home features and systems
Full Story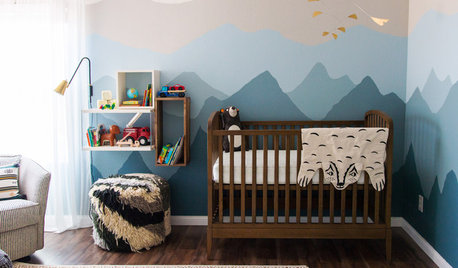
NURSERY IDEASRoom of the Day: An Ombré Nursery Inspired by a Cold-Weather ‘Babymoon’
A designer with a background in art paints a scene that her baby boy can grow up with
Full Story
DECORATING GUIDES6 Easy Ways to Skillfully Hang Your Art
Get your art out of the box, off the floor or out of the closet — these simple hanging strategies will let you put it where it belongs
Full Story
Easy Ways to Dress Up Your Home for Fall
Give your interior a warm autumn feeling with branches, leaves and a burst of orange
Full Story
CONTAINER GARDENS3 Steps to Creating Quick, Easy and Colorful Succulent Containers
Take a bright container, add a colorful succulent or two and have a professional, summery design in minutes
Full Story
KITCHEN COUNTERTOPSKitchen Counters: High-Tech Solid Surfaces Make Maintenance Easy
Sculpted by heat and nonporous by nature, solid-surface countertops bring imagination and low maintenance to the kitchen
Full Story
vnginger
mrsboomernc
Related Professionals
Hershey Landscape Architects & Landscape Designers · Kapaa Landscape Architects & Landscape Designers · Forest City Landscape Architects & Landscape Designers · Hartford Landscape Contractors · Belmont Landscape Contractors · Broadlands Landscape Contractors · Davis Landscape Contractors · El Reno Landscape Contractors · Suitland Landscape Contractors · Welby Landscape Contractors · West Allis Landscape Contractors · Pekin Fence Contractors · West Columbia Fence Contractors · Glen Burnie Window Contractors · Webster Groves Window Contractorswoody_ga
fredt7Original Author
mrsboomernc
montedjones
yotetrapper