


tomato seedling problems
dkmc
16 years ago
Featured Answer
Comments (6)

regencylass
16 years agolast modified: 9 years ago
dkmc
16 years agolast modified: 9 years agoluv2garden_2008
16 years agolast modified: 9 years agomrswaz
16 years agolast modified: 9 years agofood-not-lawns_hotmail_com
13 years agolast modified: 9 years ago
Related Stories

EDIBLE GARDENSSummer Crops: How to Grow Tomatoes
Plant tomato seedlings in spring for one of the best tastes of summer, fresh from your backyard
Full Story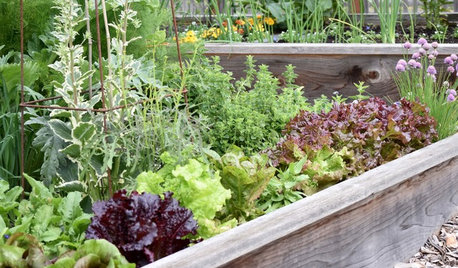
GARDENING GUIDESSeeds or Seedlings? How to Get Your Garden Started
Growing delicious herbs and vegetables starts with knowing your goals and when you want to plant
Full Story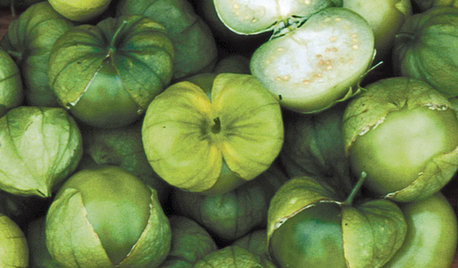
SUMMER FRUITS AND VEGETABLESSummer Crops: How to Grow Tomatillos
Grow this Mexican native for the freshest salsa verde — and for fewer problems than its tomato cousins
Full Story0
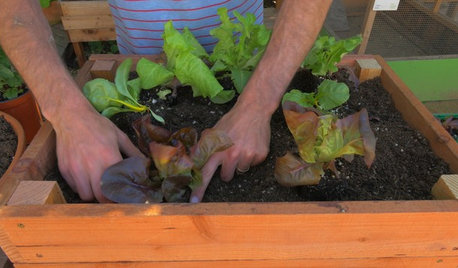
HOUZZ TVHouzz TV: How to Make and Plant a Veggie Box
See how to start edibles from seed, then transfer the seedlings to a box on stilts to make harvesting more fun
Full Story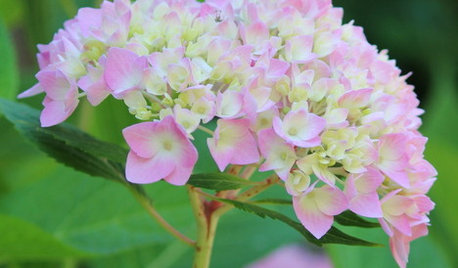
GARDENING GUIDESCalifornia Gardener's June Checklist
Update your hydrangeas, catch up on tomatoes and more ways to enjoy your California garden in June
Full Story
FARM YOUR YARDHouzz Call: Home Farmers, Show Us Your Edible Gardens
We want to see where your tomatoes, summer squashes and beautiful berries are growing this summer
Full Story
GARDENING GUIDESGreat Garden Combo: 3 Wonderful Plants for a Deer-Resistant Screen
Protect your privacy and keep deer at bay with a planting trio that turns a problem garden area into a highlight
Full Story
DECORATING GUIDESFrom Queasy Colors to Killer Tables: Your Worst Decorating Mistakes
Houzzers spill the beans about buying blunders, painting problems and DIY disasters
Full Story
EDIBLE GARDENS8 Surefire Vegetables and Herbs for Beginning Gardeners
Learn the edible plants that are popular and easy to grow in a backyard or container garden
Full Story
EDIBLE GARDENS7 Edible, Pretty Wonders of the Plant World
It's OK to like them just for their looks, but these flowers, trees and greens have a tasty side too
Full StorySponsored
Columbus Area's Luxury Design Build Firm | 17x Best of Houzz Winner!

tommie_jo