


Hey-J Could you fix some pictures?
koidom
16 years ago
Sort by:Oldest
Comments (18)
Related Stories
KITCHEN DESIGN6 Kitchen Fixes for Nomads
Renting? Some Affordable Ways to Make That Kitchen Feel Like Your Own
Full Story
EXTERIORSWhere Front Yards Collide: Property Lines in Pictures
Some could be twins; others channel the Odd Couple. You may never look at property boundaries the same way again
Full Story
MORE ROOMSCould Your Living Room Be Better Without a Sofa?
12 ways to turn couch space into seating that's much more inviting
Full Story
REMODELING GUIDES10 Home Fixes That Require a Pro
With some home improvements, your best tool might be the phone. Here are some areas in which it pays to make the call
Full Story
DIY PROJECTSHow to Fix Up a Thrifted Lamp
Save money and earn DIY cred by rewiring and snazzing up a damaged lamp you scored on the cheap
Full Story
LIFEHouzz Call: Show Us Your Nutty Home Fixes
If you've masterminded a solution — silly or ingenious — to a home issue, we want to know
Full Story
SELLING YOUR HOUSEFix It or Not? What to Know When Prepping Your Home for Sale
Find out whether a repair is worth making before you put your house on the market
Full Story
DECORATING GUIDESQuick Fix: Find Wall Studs Without an Expensive Stud Finder
See how to find hidden wall studs with this ridiculously easy trick
Full Story
TRIMHow to Fix a Mirror-Above-the-Mantel Dilemma
Got an unmovable mirror over your fireplace? Use trim to turn it into a feature that will turn heads
Full Story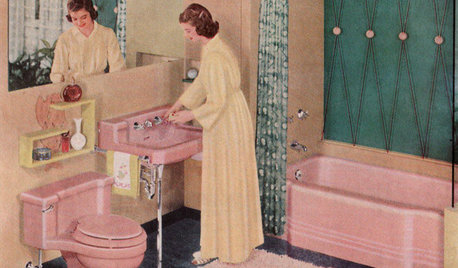
MOST POPULARHomeowners Give the Pink Sink Some Love
When it comes to pastel sinks in a vintage bath, some people love ’em and leave ’em. Would you?
Full Story

Janice
koidomOriginal Author
Related Professionals
Citrus Heights Landscape Architects & Landscape Designers · Marina Landscape Architects & Landscape Designers · Richmond Heights Landscape Architects & Landscape Designers · Zion Landscape Architects & Landscape Designers · Tempe Landscape Contractors · Clark Landscape Contractors · Vacaville Landscape Contractors · Antioch Landscape Contractors · Easton Driveway Installation & Maintenance · Lakewood Driveway Installation & Maintenance · Parker Driveway Installation & Maintenance · Peoria Fence Contractors · Bloomington Fence Contractors · Canoga Park Fence Contractors · Lakeville Solar Energy SystemsJanice
Janice
koidomOriginal Author
Janice
bean_counter_z4
Janice
Janice
koidomOriginal Author
Janice
koidomOriginal Author
User
bean_counter_z4
Janice
Janice
bean_counter_z4
Janice