


More gazing balls for the garden...
donrawson
10 years ago
Sort by:Oldest
Comments (11)
Related Stories
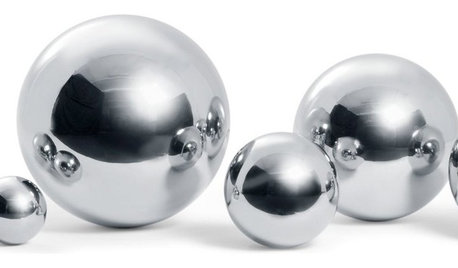
GARDENING AND LANDSCAPINGReflect on Your Garden's Mystery With Gazing Balls
Conjure a sense of magic with metallic garden spheres, which expand the view and your landscape's design potential
Full Story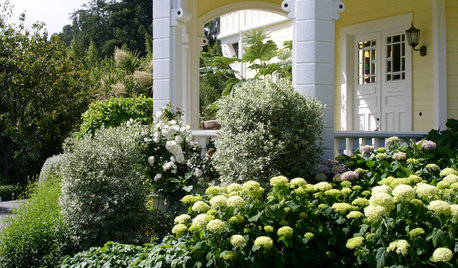
GARDENING AND LANDSCAPINGHave a Ball With Hydrangeas
Even if you don't tinker with the hue by changing the soil, hydrangeas have an entertaining range of uses in all kinds of landscapes
Full Story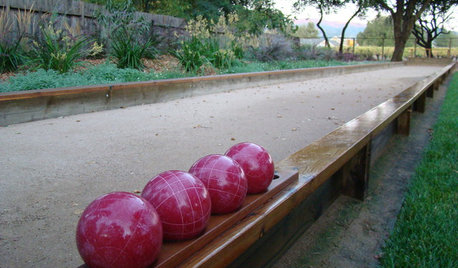
GREAT HOME PROJECTSWhat to Know About Adding a Backyard Bocce Ball Court
A regulation court in a relaxed setting helps you get the most from the Italian pastime. Here's what it takes to build one at home
Full Story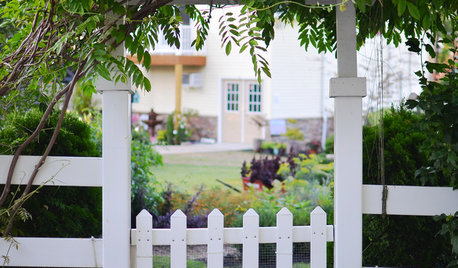
BUDGET DECORATING14 Ways to Make More Money at a Yard Sale — and Have Fun Too
Maximize profits and have a ball selling your old stuff, with these tips to help you plan, advertise and style your yard sale effectively
Full Story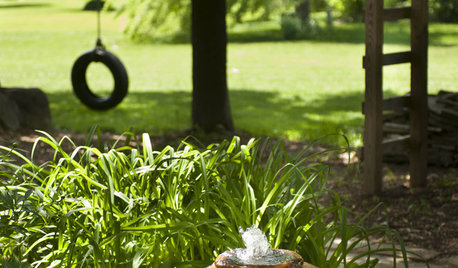
GARDENING AND LANDSCAPINGHow to Give Your Garden More Soul
Feel more at home in your garden by giving it deep, personal meaning
Full Story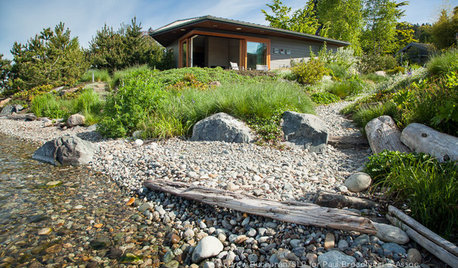
INSPIRING GARDENSLawn Gives Way to a More Natural Lakeside Garden
Meadow grasses, beach pebbles and driftwood replace turfgrass in a nature-friendly landscape on Lake Washington’s shore
Full Story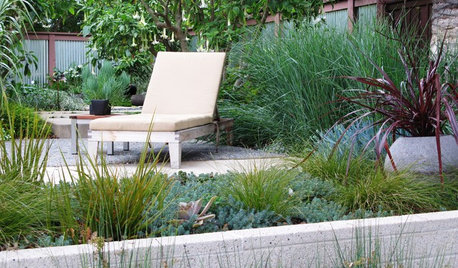
LANDSCAPE DESIGNGet More From Your Garden by Mixing Things Up
Consider an eclectic outdoor style with defined hardscapes softened by exuberant, informal plantings
Full Story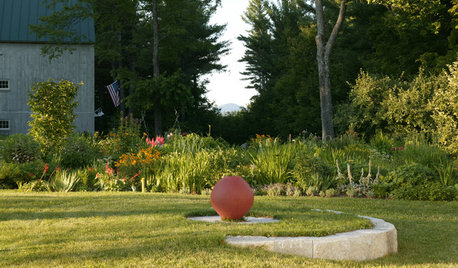
LANDSCAPE DESIGNWhen Less Is Really More in Your Garden
8 ways you can make a powerful garden statement by embracing simplicity and surroundings
Full Story
GARDENING GUIDESSmall Gem Lawns: More Impact From Less Grass
Instead of letting the lawn sprawl, make it a shapely design element in your yard. You’ll reap benefits both practical and aesthetic
Full Story
MOST POPULAR16 Ways to Get More From Your Small Backyard
Make a tight or awkward yard a real destination with these design tricks from the pros
Full StoryMore Discussions


Terri9094
hostanista
Related Professionals
Medford Landscape Contractors · Burlington Landscape Contractors · Dinuba Landscape Contractors · Mission Bend Landscape Contractors · Oklahoma City Landscape Contractors · Wells Landscape Contractors · White Bear Lake Landscape Contractors · Alexandria Driveway Installation & Maintenance · Brea Driveway Installation & Maintenance · Easton Driveway Installation & Maintenance · Los Gatos Driveway Installation & Maintenance · Riverside Driveway Installation & Maintenance · Buena Park Fence Contractors · Guilford Fence Contractors · East Lake Solar Energy Systemsmctavish6
jan_on zone 5b
donrawsonOriginal Author
almosthooked zone5
littlebug5
miketropic
bragu_DSM 5
Terri9094
newhostalady Z6 ON, Canada