


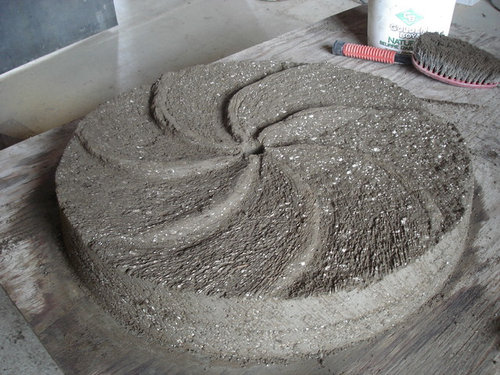
hypertufa project
almosthooked zone5
10 years ago
Sort by:Oldest
Comments (26)
Related Stories

CHRISTMASMake a Traditional Fresh Holiday Wreath the Easy Way
Even beginners can follow these simple steps, layering greenery and bright berries to create a beautiful holiday welcome
Full Story
GARDENING AND LANDSCAPINGHow to Give Your Garden More Soul
Feel more at home in your garden by giving it deep, personal meaning
Full Story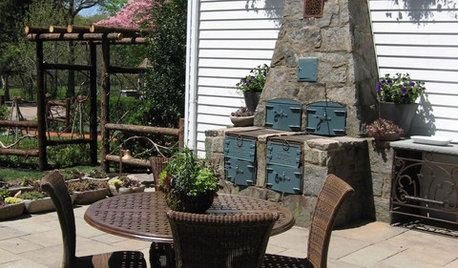
PATIOSA 1920s Grill Inspires a Patinated Patio
This outdoor room is brand new, but the salvaged iron and stone pieces conjure an air of the past
Full Story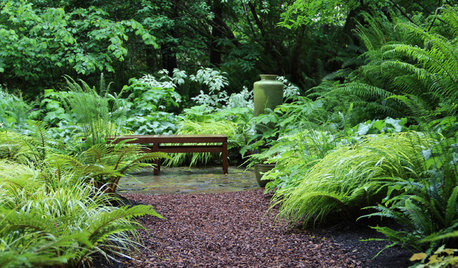
GARDENING GUIDES10 Solutions for Soggy Soil
If a too-wet garden is raining on your parade, try these water-loving plants and other ideas for handling all of that H2O
Full Story


sidney1515
paul_
Related Professionals
Canton Landscape Architects & Landscape Designers · Zion Landscape Architects & Landscape Designers · McKinney Landscape Contractors · Mission Bend Landscape Contractors · Skokie Driveway Installation & Maintenance · Lexington Fence Contractors · Milwaukie Fence Contractors · Albany Solar Energy Systems · Chino Hills Solar Energy Systems · Dracut Solar Energy Systems · Frankfort Solar Energy Systems · Hayward Solar Energy Systems · Rosemount Solar Energy Systems · Tustin Solar Energy Systems · West Jordan Solar Energy SystemsUser
coll_123
almosthooked zone5Original Author
coll_123
mctavish6
bkay2000
almosthooked zone5Original Author
coll_123
coll_123
coll_123
bkay2000
almosthooked zone5Original Author
paula_b_gardener 5b_ON
User
esther_b
serenitycove
Jon 6a SE MA
sidney1515
sidney1515
bkay2000
coll_123
paul_
almosthooked zone5Original Author
User