


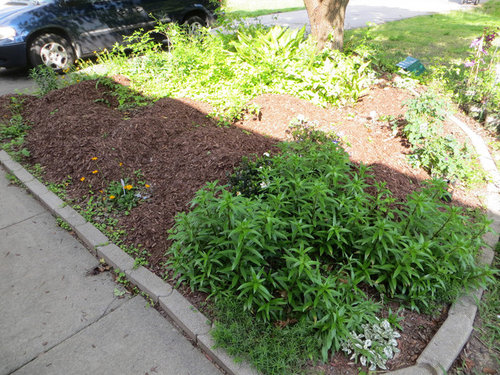
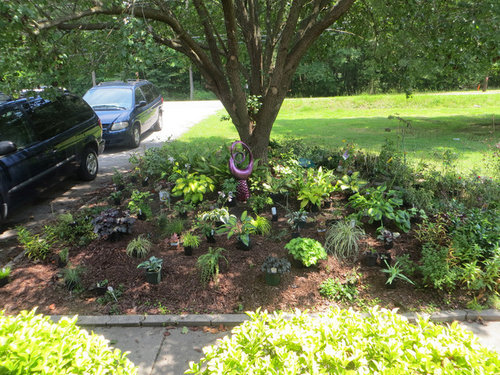
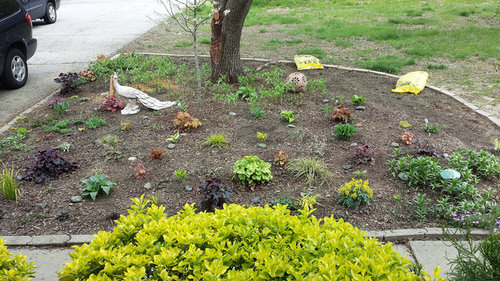
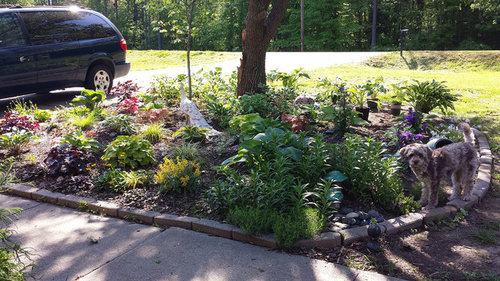
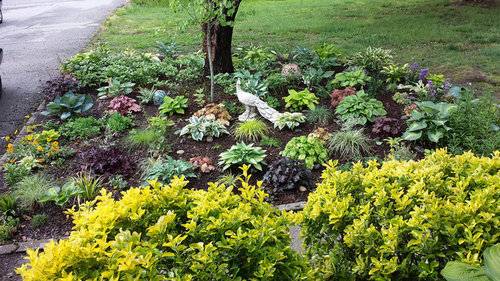
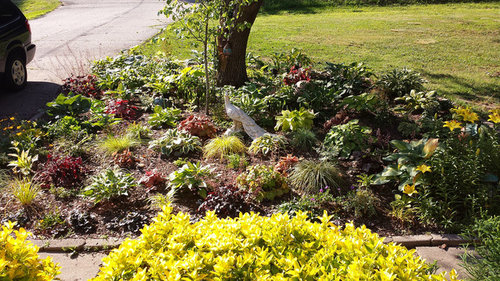
Hosta bed evolution - start to finish!
funnthsun z7A - Southern VA
9 years ago

Sort by:Oldest
Comments (4)
Related Stories
GARDENING GUIDES10 Tips to Start a Garden — Can-Do Ideas for Beginners
Green up your landscape even if you're short on time, money and knowledge, with these manageable steps for first-time gardeners
Full Story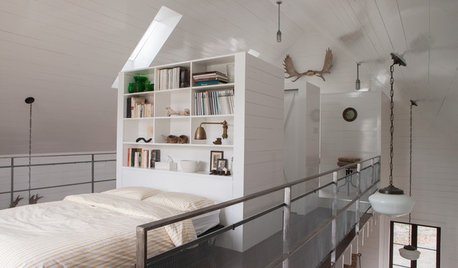
BEDROOMSGet More From Your Bed (Storage, for Starters)
Find space for all your stuff — and maybe even a seat, a writing desk or another sleep spot — by cozying up to a multipurpose bed
Full Story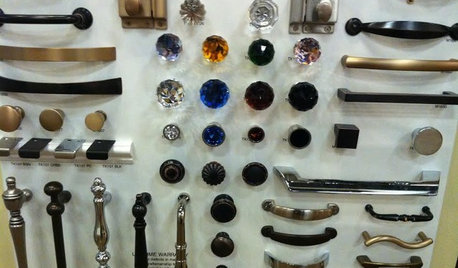
KITCHEN DESIGNGet a Grip on Kitchen Cabinets With the Right Knobs and Pulls
Here's how to pair the right style, type and finish of cabinet hardware with your kitchen style
Full Story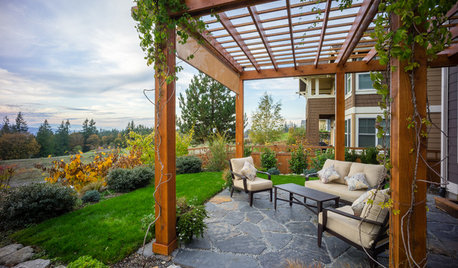
FALL GARDENINGWhy Fall Is the Best Time for Planting
Spring is overrated for planting. Starting plants in autumn has advantages for both garden and gardener
Full Story
GARDENING GUIDESWhat Are Your Spring Gardening Plans?
Tearing out the lawn? Planting edibles? Starting from scratch? Tell us what you plan to change in your garden this year
Full Story
GREEN BUILDINGGoing Solar at Home: Solar Panel Basics
Save money on electricity and reduce your carbon footprint by installing photovoltaic panels. This guide will help you get started
Full Story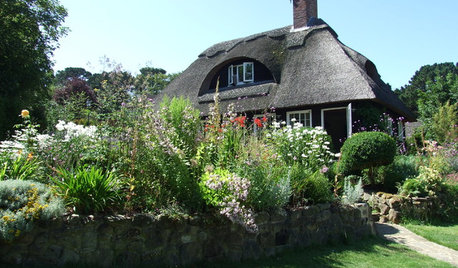
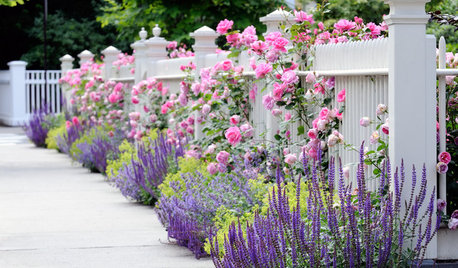
INSPIRING GARDENS12 Storybook Cottage Gardens
If you want a bewitching cottage garden but aren’t sure where to start, these ideas will get you planting in no time
Full Story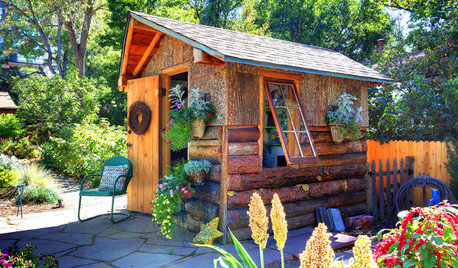
SUMMER GARDENINGPhoto Gallery: Summer Gardens Take a Bow
Home gardeners amazed us with photos of their flower beds, sheds and outdoor rooms. Take a look and get ideas for fall planting time
Full Story
GARDENING GUIDESNew Ways to Think About All That Mulch in the Garden
Before you go making a mountain out of a mulch hill, learn the facts about what your plants and soil really want
Full Story
LANDSCAPE DESIGNGive Your Garden an Industrial Edge
Create intriguing contrast by borrowing from the factory to dress up your organic setting
Full Story
shrubbish
User
Related Professionals
Forest Acres Landscape Architects & Landscape Designers · Taylorsville Landscape Architects & Landscape Designers · Arlington Landscape Contractors · Fort Wayne Landscape Contractors · Hawaii Landscape Contractors · Huntley Landscape Contractors · Wells Landscape Contractors · Daphne Driveway Installation & Maintenance · Fairmount Fence Contractors · Homestead Fence Contractors · Naperville Fence Contractors · Norwalk Fence Contractors · Attleboro Solar Energy Systems · Santa Maria Solar Energy Systems · South Whittier Solar Energy Systemslook4angel
harryshoe zone6 eastern Pennsylvania