


Hydrangea having to grow from ground up every year- problem
pickindaisies
10 years ago
Sort by:Oldest
Comments (5)
Related Stories
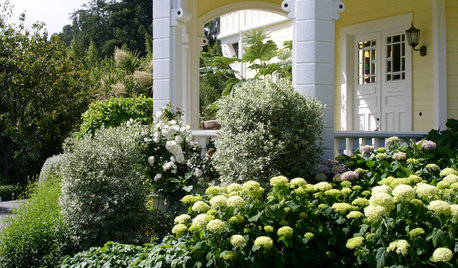
GARDENING AND LANDSCAPINGHave a Ball With Hydrangeas
Even if you don't tinker with the hue by changing the soil, hydrangeas have an entertaining range of uses in all kinds of landscapes
Full Story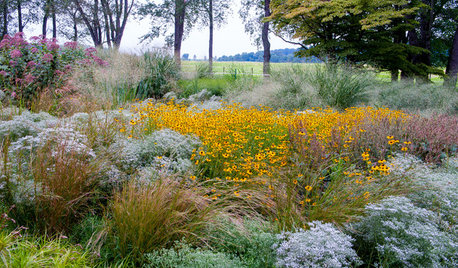
GARDENING GUIDESThe Surprising Ingredients Every Good Garden Should Have
See what to do — and not do — for lasting rewards in your landscape
Full Story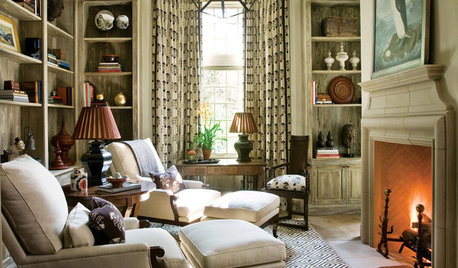
FEEL-GOOD HOMEBack Problems? Try Putting Your Feet Up
Consider these alternatives to that one-size-doesn’t-fit-all sofa to avoid slumping and spinal stress
Full Story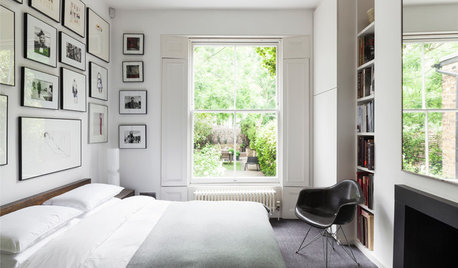
DECORATING GUIDES5 Things Every Home Should Have
A designer shares his top 5 style rules to take any room from boring to bold
Full Story
GARDENING AND LANDSCAPINGVegetable Growing Lessons From Longwood Gardens
Get ideas for your own edible landscape from a Pennsylvania showpiece and teaching garden
Full Story
SMALL SPACESLife Lessons From 10 Years of Living in 84 Square Feet
Dee Williams was looking for a richer life. She found it by moving into a very tiny house
Full Story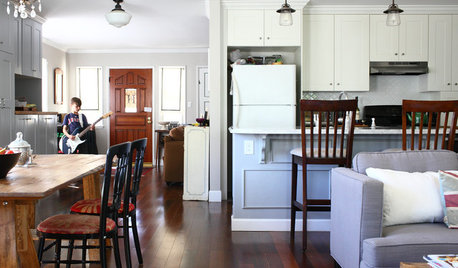
HOUZZ TOURSMy Houzz: 1940s Fixer-Upper Grows Up With the Family
After living in their post–World War II house for 8 years, a couple transform it into a home that works for their family today
Full Story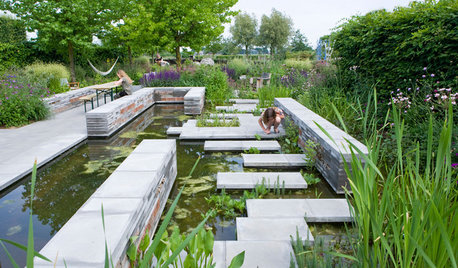
LANDSCAPE DESIGNProblem Solving With the Pros: A Garden Built From Scratch
Nature is reintroduced and redefined in a Dutch urban setting, to forge a dynamic relationship with city dwellers
Full Story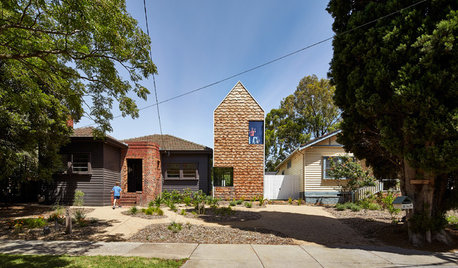
MOST POPULARHouzz Tour: A Playful Home Drawn Up by 8-Year-Old Twins
Plans for this innovative tower home in Melbourne were going nowhere — until the homeowners’ twins came to the rescue
Full Story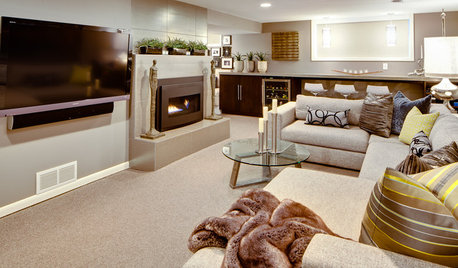
BASEMENTSBasement of the Week: From Dumping Ground to Family Zone in Minnesota
Erasing every trace of this basement's former life took creative thinking and smart design touches
Full StoryMore Discussions


luis_pr
JerryRaack
Related Professionals
Lowell Landscape Architects & Landscape Designers · Milwaukee Landscape Architects & Landscape Designers · Manchester Landscape Contractors · Athens Landscape Contractors · Coram Landscape Contractors · Desert Hot Springs Landscape Contractors · Hendersonville Landscape Contractors · Lemoore Landscape Contractors · Mastic Beach Landscape Contractors · Melrose Park Landscape Contractors · New Braunfels Landscape Contractors · Quincy Landscape Contractors · Camp Springs Landscape Contractors · Bethany Siding & Exteriors · Puyallup Siding & Exteriorskalla0007
Billy (Zone6 Mass)
NHBabs z4b-5a NH