


My 1st DIY, Rooftop, Out Door, Vert & Economical Hydro Plan.
azee_2009
12 years ago


Sort by:Oldest
Comments (5)
Related Stories
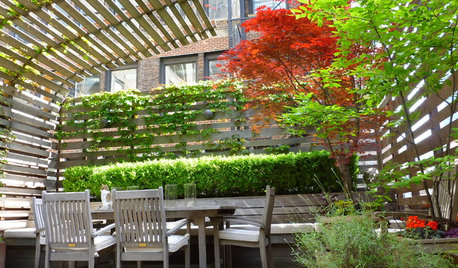
GARDENING AND LANDSCAPINGHouzz Call: Show Us Your Great Patio, Deck or Rooftop!
Give your patio a chance at the spotlight as we head outdoors for a new summer ideabook series
Full Story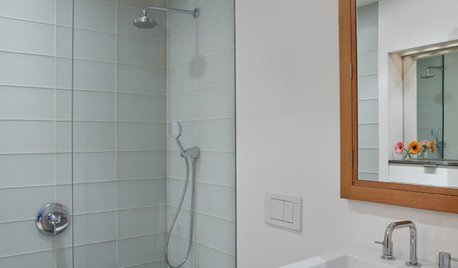
BATHROOM DESIGNConvert Your Tub Space to a Shower — the Planning Phase
Step 1 in swapping your tub for a sleek new shower: Get all the remodel details down on paper
Full Story
HOUZZ TOURSMy Houzz: A Country-Style Loft Comes Alive With DIY
Perched cozily above their shop, an Ontario couple's home brims with lovingly handmade and repurposed pieces
Full Story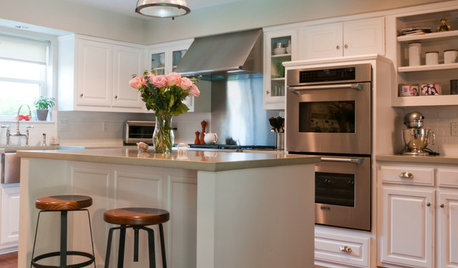
KITCHEN DESIGNShow Us Your Fabulous DIY Kitchen
Did you do a great job when you did it yourself? We want to see and hear about it
Full Story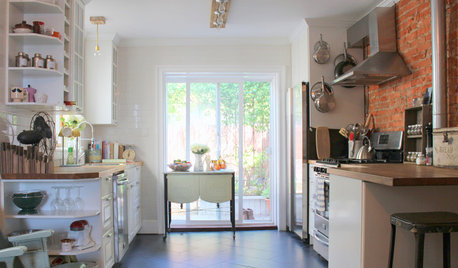
HOUZZ TOURSMy Houzz: DIY Efforts Transform a South Philly Row House
Elbow grease and creative thinking take an early-1900s home in Pennsylvania into the realm of knockout style
Full Story
MY HOUZZMy Houzz: DIY Charm and Thrifty Finds in Montreal
Color, reimagined secondhand discoveries and a roll-up-your-sleeves attitude transform this family’s rented apartment
Full Story
KITCHEN DESIGNHow to Plan a Kitchen That Extends Outside
Indoor-outdoor living gets easier with kitchen designs that bridge the divide
Full Story
WORKING WITH PROSHow to Find Your Renovation Team
Take the first steps toward making your remodeling dreams a reality with this guide
Full Story
ORGANIZING7-Day Plan: Get a Spotless, Beautifully Organized Home Office
Start your workday with a smile in a home office that’s neat, clean and special to you
Full Story
REMODELING GUIDESCreate a Master Plan for a Cohesive Home
Ensure that individual projects work together for a home that looks intentional and beautiful. Here's how
Full Story
grizzman
azee_2009Original Author
Related Professionals
Londonderry Landscape Architects & Landscape Designers · Middle River Landscape Architects & Landscape Designers · Mountain Brook Landscape Architects & Landscape Designers · Paradise Landscape Architects & Landscape Designers · Edmond Landscape Contractors · Barrington Landscape Contractors · Berwyn Landscape Contractors · Byram Landscape Contractors · Cambridge Landscape Contractors · Clayton Landscape Contractors · Fruit Heights Landscape Contractors · Newberg Landscape Contractors · Northbridge Landscape Contractors · Uxbridge Landscape Contractors · White Bear Lake Landscape Contractorshomehydro
azee_2009Original Author
homehydro