


Germination questions: when to uncover, fertilize, circulate air
shadoh6
14 years ago
Sort by:Oldest
Comments (5)
Related Stories
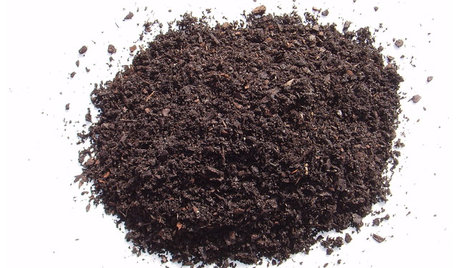
GARDENING GUIDESGet on a Composting Kick (Hello, Free Fertilizer!)
Quit shelling out for pricey substitutes that aren’t even as good. Here’s how to give your soil the best while lightening your trash load
Full Story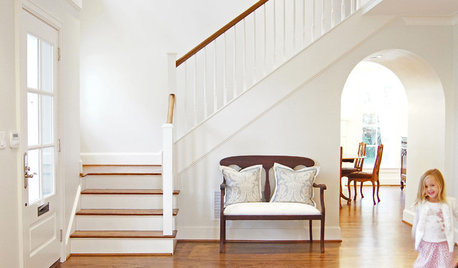
HEALTHY HOMEA Guide to Indoor Air Purifiers
Get the lowdown on air filtration systems for your house and the important ratings to look out for
Full Story
KITCHEN APPLIANCESWhat to Consider When Adding a Range Hood
Get to know the types, styles and why you may want to skip a hood altogether
Full Story
MOST POPULAR5 Ways to Hide That Big Air Conditioner in Your Yard
Don’t sweat that boxy A/C unit. Here’s how to place it out of sight and out of mind
Full Story
HEALTHY HOMEGet Cleaner Indoor Air Without Opening a Window
Mechanical ventilation can actually be better for your home than the natural kind. Find out the whys and hows here
Full Story
HOUSEPLANTS8 Essentials for Healthy Indoor Plants
Houseplants add so much to our homes — and can thrive when grown in the right conditions. Keep these tips in mind
Full Story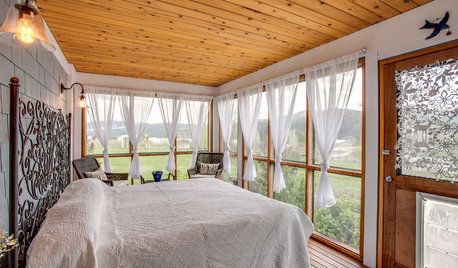
GARDENING AND LANDSCAPING11 Ways to Make Your Sleeping Porch Even Better
Turn off that air conditioner and tune in to the delights of slumbering in the nighttime breeze
Full Story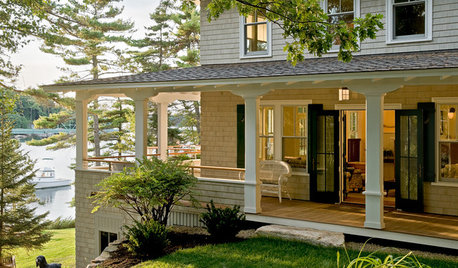
GARDENING AND LANDSCAPING7 Ideas to Get You Back on the Front Porch
Remember the good old days, when porches offered front-row seats to street scenes? They can be even better today
Full Story
PLANTING IDEASGreat Garden Combo: Rose + Clematis for Small-Space Impact
We all need somebody to lean on. And when a rose supports a climbing vine, the results can totally transform a small garden
Full Story
EDIBLE GARDENSHow to Add an Apple Tree to Your Edible Garden
Readily available, beautiful and fragrant, apple trees offer four-season interest along with crisp, juicy fruit
Full StoryMore Discussions
lucas_formulas
grizzman
Related Professionals
Middle Island Landscape Architects & Landscape Designers · Summit Landscape Architects & Landscape Designers · Wareham Landscape Architects & Landscape Designers · Elgin Landscape Contractors · Byram Landscape Contractors · Cordele Landscape Contractors · Fort Atkinson Landscape Contractors · Hawaii Landscape Contractors · Oklahoma City Landscape Contractors · Porterville Landscape Contractors · Eastlake Landscape Contractors · Goldenrod Landscape Contractors · Shafter Landscape Contractors · Castaic Gardeners & Lawn Care · Malibu Outdoor Lighting & Audio Visual Systemslucas_formulas
kilowattfarmer
chinamon