


Anyone made a 'tower' system?
bbrush
13 years ago
Sort by:Oldest
Comments (25)
Related Stories

DECORATING GUIDESThe Cure for Houzz Envy: Guest Room Touches Anyone Can Do
Make overnight guests feel comfy and cozy with small, inexpensive niceties
Full Story
HOME OFFICESThe Cure for Houzz Envy: Home Office Touches Anyone Can Do
Borrow these modest design moves to make your workspace more inviting, organized and personal
Full Story
CLOSETSThe Cure for Houzz Envy: Closet Touches Anyone Can Do
These easy and inexpensive moves for more space and better organization are right in fashion
Full Story
LAUNDRY ROOMSThe Cure for Houzz Envy: Laundry Room Touches Anyone Can Do
Make fluffing and folding more enjoyable by borrowing these ideas from beautifully designed laundry rooms
Full Story
BATHROOM DESIGNThe Cure for Houzz Envy: Bathroom Touches Anyone Can Do
Take your bath from blah to ‘ahhhh’ with just a few easy and inexpensive moves
Full Story
BUDGET DECORATINGThe Cure for Houzz Envy: Living Room Touches Anyone Can Do
Spiff up your living room with very little effort or expense, using ideas borrowed from covetable ones
Full Story
DECORATING GUIDESThe Cure for Houzz Envy: Family Room Touches Anyone Can Do
Easy and cheap fixes that will help your space look more polished and be more comfortable
Full Story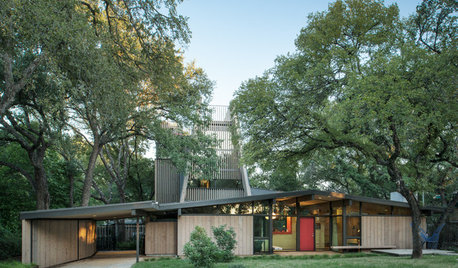
HOUZZ TOURSHouzz Tour: New Tower Rises From a Midcentury Ranch House
An Austin homeowner and her architect expand on the original vision of A.D. Stenger, who designed the ’60s-era home
Full Story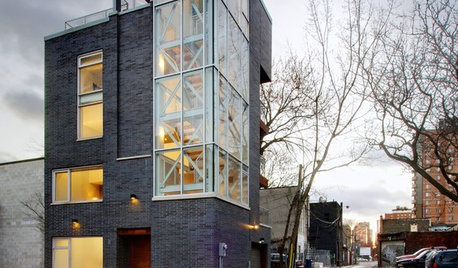
HOUZZ TOURSMy Houzz: A Tower Home Rises in Downtown Toronto
Aiming high, a Canadian couple builds a 5-floor residence on a compact, neglected urban plot
Full Story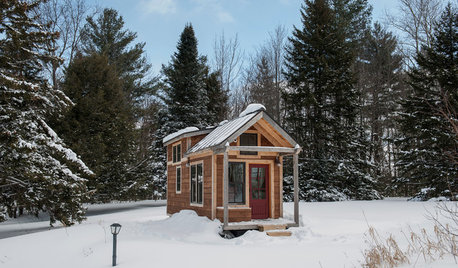
TINY HOUSESHouzz Tour: A Custom-Made Tiny House for Skiing and Hiking
Ethan Waldman quit his job, left his large house and spent $42,000 to build a 200-square-foot home that costs him $100 a month to live in
Full StorySponsored
More Discussions
homehydro
bbrushOriginal Author
Related Professionals
Arnold Landscape Architects & Landscape Designers · Fillmore Landscape Architects & Landscape Designers · Roosevelt Landscape Architects & Landscape Designers · Willowick Landscape Architects & Landscape Designers · Goodyear Landscape Contractors · Ashburn Landscape Contractors · Burien Landscape Contractors · Chesapeake Ranch Estates Landscape Contractors · Hannibal Landscape Contractors · Metairie Landscape Contractors · National City Landscape Contractors · North Ridgeville Landscape Contractors · Overland Park Landscape Contractors · Peoria Landscape Contractors · Sun Valley Landscape Contractorshomehydro
georgeiii
grizzman
sdgrower
taobass
bbrushOriginal Author
taobass
bbrushOriginal Author
taobass
homehydro
grizzman
georgeiii
grizzman
homehydro
sdgrower
grizzman
homehydro
bbrushOriginal Author
homehydro
grizzman
sdgrower
homehydro
taobass