


How to water seeds
Ken_N
19 years ago
Sort by:Oldest
Comments (4)
Related Stories
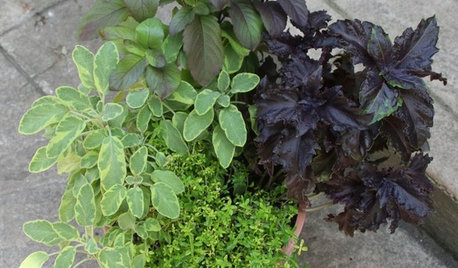
CONTAINER GARDENS8 Easy Container Plants to Grow From Seed
Get beautiful blooms and herbs in summer by starting these choice garden picks from seed in spring
Full Story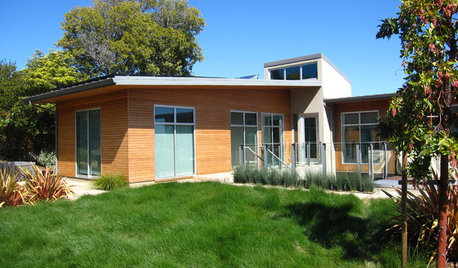
GARDENING GUIDESHow to Plant a New Lawn From Seed
Choose from more grass varieties and save money over sod by starting your lawn from seed
Full Story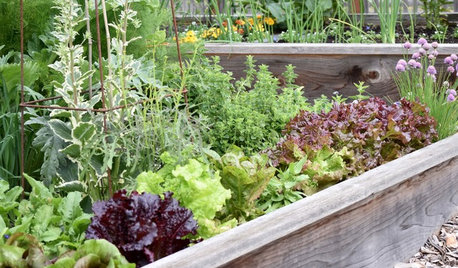
GARDENING GUIDESSeeds or Seedlings? How to Get Your Garden Started
Growing delicious herbs and vegetables starts with knowing your goals and when you want to plant
Full Story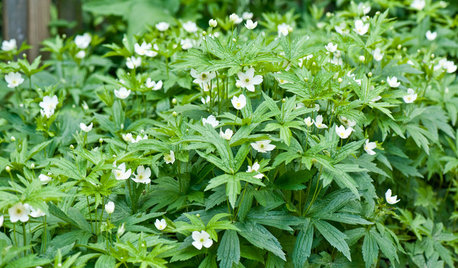
GARDENING GUIDESGreat Design Plant: Anemone Canadensis Adds Pizzazz to Water’s Edges
Plant Canadian anemone along pond, lake or stream edges for a splash of white flowers in late spring
Full Story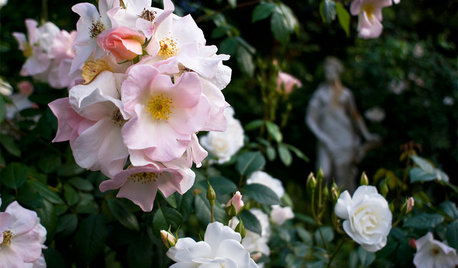
GARDENING GUIDESPacific Northwest Gardener: What to Do in July
Deadheading spent flowers, keeping up with watering and starting seeds indoors are the biggest gardening tasks for July
Full Story0

GARDENING GUIDESTexas Gardener's May Checklist
Be especially water wise this month as you sow seeds, tend to your lawn and plant edibles, grasses and flowers
Full Story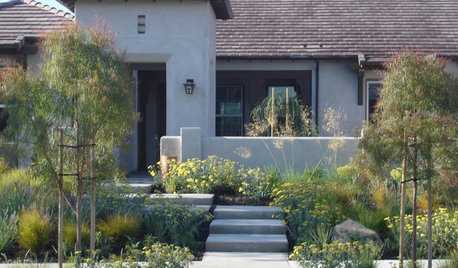
LANDSCAPE DESIGNGet Along With Less Lawn — Ideas to Save Water and Effort
Ditch the mower and lower your water bill while creating a feast for the eyes with diverse plantings and gathering places
Full Story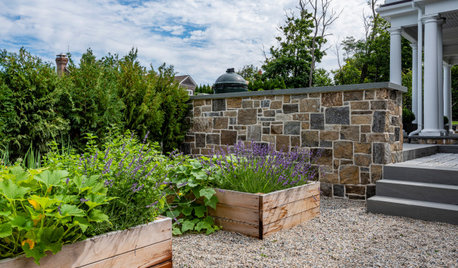
GARDENING GUIDES9 Ways to Be Water-Wise in the Edible Garden
Consider these tips to get a healthy backyard crop that uses less water
Full Story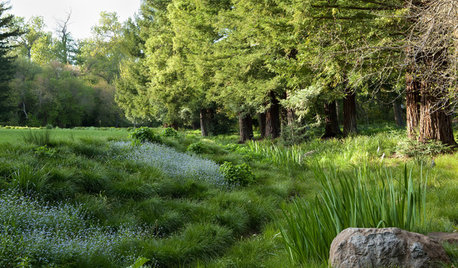
LANDSCAPE DESIGNHow to Move Water Through Your Landscape
Swales, underground pipes or a mix of both: There’s more than one way to distribute water in the garden
Full Story
SAVING WATERXeriscape Gardens: How to Get a Beautiful Landscape With Less Water
Conserve water and make gardening much easier with the xeriscape approach’s 7 principles
Full Story
kdjoergensen
Mandyvilla
Related Professionals
Beachwood Landscape Architects & Landscape Designers · Fillmore Landscape Architects & Landscape Designers · Havre de Grace Landscape Architects & Landscape Designers · Horsham Landscape Architects & Landscape Designers · Sand Springs Landscape Architects & Landscape Designers · Chattanooga Landscape Contractors · Danvers Landscape Contractors · El Segundo Landscape Contractors · Gainesville Landscape Contractors · Hicksville Landscape Contractors · Indianapolis Landscape Contractors · Whittier Landscape Contractors · Canton Fence Contractors · Grandview Fence Contractors · Sun City Fence Contractorskdjoergensen
Mandyvilla