


How to get rid of grass to prepare soil for flowers
nyaa_nyaa
18 years ago
Featured Answer
Comments (18)

iris321
18 years agolast modified: 9 years agowhatcheer
18 years agolast modified: 9 years agoRelated Professionals
Bridgeport Landscape Contractors · El Reno Landscape Contractors · Elkridge Landscape Contractors · Hicksville Landscape Contractors · La Mirada Landscape Contractors · Mission Viejo Landscape Contractors · North Highlands Landscape Contractors · Pueblo West Landscape Contractors · The Villages Landscape Contractors · Wailuku Landscape Contractors · Camp Springs Landscape Contractors · Boise Decks, Patios & Outdoor Enclosures · Fishers Decks, Patios & Outdoor Enclosures · Grandview Decks, Patios & Outdoor Enclosures · Norman Decks, Patios & Outdoor Enclosuresnyaa_nyaa
18 years agolast modified: 9 years agomarilou
18 years agolast modified: 9 years agoDianne42
18 years agolast modified: 9 years agokoszta_kid
18 years agolast modified: 9 years agoNushka_IA
18 years agolast modified: 9 years agogarasaki
18 years agolast modified: 9 years agoironbelly1
18 years agolast modified: 9 years agoironbelly1
18 years agolast modified: 9 years agomarilou
18 years agolast modified: 9 years agomarilou
18 years agolast modified: 9 years agoironbelly1
18 years agolast modified: 9 years agowhatcheer
18 years agolast modified: 9 years agogarasaki
18 years agolast modified: 9 years agohummingbirddaisy
18 years agolast modified: 9 years agoironbelly1
18 years agolast modified: 9 years ago
Related Stories
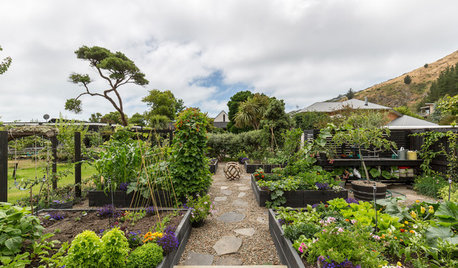
EDIBLE GARDENSNatural Ways to Get Rid of Weeds in Your Garden
Use these techniques to help prevent the spread of weeds and to learn about your soil
Full Story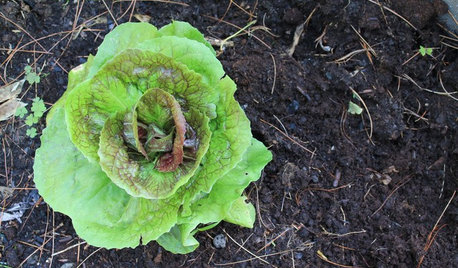
FARM YOUR YARDHow to Get Good Soil for Your Edible Garden
The nutrients in your soil feed the plants that feed you. Here are tips on getting it right — just in time for planting season
Full Story
MOST POPULARHow to Get Rid of Those Pesky Summer Fruit Flies
Learn what fruit flies are, how to prevent them and how to get rid of them in your home
Full Story
GARDENING GUIDESHow to Stop Worrying and Start Loving Clay Soil
Clay has many more benefits than you might imagine
Full Story
GARDENING GUIDESGardening Solutions for Heavy Clay Soils
What’s a gardener to do with soil that’s easily compacted and has poor drainage? Find out here
Full Story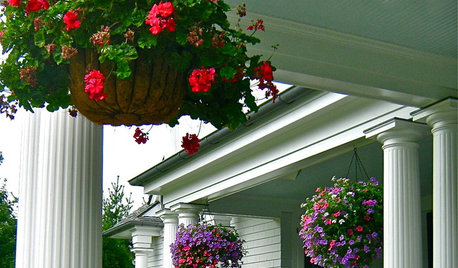
PORCHESGet the Hang of Hanging Flower Baskets
Learn all about container materials, soil and designing a hanging flower arrangement for a bountiful look on your porch or deck
Full Story
GARDENING GUIDES10 Solutions for Soggy Soil
If a too-wet garden is raining on your parade, try these water-loving plants and other ideas for handling all of that H2O
Full Story
GARDENING GUIDESGreat Design Plant: Purple Needle Grass, California’s State Grass
The long-lived, drought-tolerant Stipa pulchra is as admired for its benefits as for its good looks
Full Story
GARDENING GUIDESHow to Pick a Mulch — and Why Your Soil Wants It
There's more to topdressing than shredded wood. Learn about mulch types, costs and design considerations here
Full Story
GARDENING GUIDESHow to Get Your Prairie On
Have a field day with your landscape, even if you've got just a few modern containers on a paved path
Full Story
ironbelly1