


Japanese Garden Gate
pharris
19 years ago
Sort by:Oldest
Comments (20)
Related Stories

INSPIRING GARDENSStroll Through a Magnificent Japanese Garden, Newly Renovated
Get a glimpse of the Huntington's Japanese Garden today along with its storied past in a glossy new book
Full Story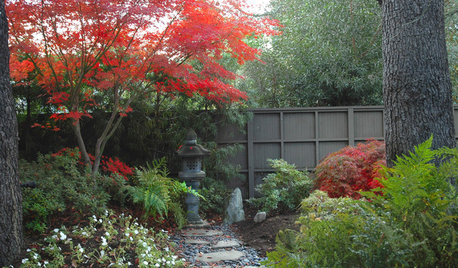
LANDSCAPE DESIGNLay of the Landscape: Create the Beauty of a Japanese Garden
Balance, enclosures and the forms of nature combine in serene Japanese garden design. Bring the look home with some of these principles
Full Story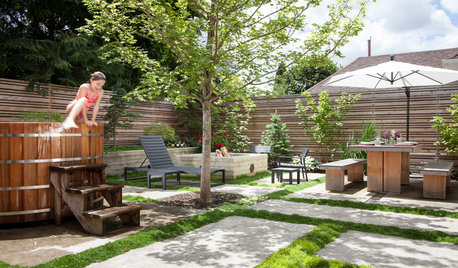
PATIOSBackyard Ideas: Writer's Studio and a Japanese-Inspired Garden
A nearby Japanese garden inspires a feature-packed backyard and studio for a work-from-home Portland writer
Full Story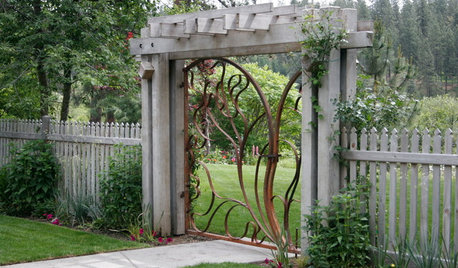
LANDSCAPE DESIGNThe Garden Gate: A Preface to the Story Your Garden Wants to Tell
Setting the tone for your garden starts with the right entry
Full Story
GROUND COVERSNative Alternatives to English Ivy, Japanese Pachysandra and Periwinkle
These shade-loving ground covers are good for the environment and say something about where you are
Full Story
GARDENING AND LANDSCAPINGGreat Design Tree: Japanese Maple
Lacy form and fiery fall color make Japanese maple a welcome tree for garden or patio
Full Story
RED FOLIAGEGreat Design Plant: Japanese Blood Grass
This dramatic, ruby-tinged grass bridges the gap between red and green, short and tall plants
Full Story
HOMES AROUND THE WORLDEast Meets West in 3 Modern Japanese Homes
Contemporary Japanese houses often mix traditional and Western elements. These hybrids offer the best of both worlds
Full Story
MODERN ARCHITECTUREHouzz Tour: A Concrete Box Home With Japanese Style
A love of Japan’s minimalistic style and the use of concrete make for a mystical experience in this Houston home
Full Story
ARCHITECTURE12 Elements of the Traditional Japanese Home
Privacy, natural light and harmony with nature are enhanced through these design features
Full StorySponsored
davissue_zone9
bungalow_mikee
Related Professionals
Arnold Landscape Architects & Landscape Designers · Kyle Landscape Architects & Landscape Designers · Lake Oswego Landscape Architects & Landscape Designers · Mount Sinai Landscape Contractors · North Chicago Landscape Contractors · San Pedro Landscape Contractors · Wethersfield Landscape Contractors · Reisterstown Landscape Contractors · Sun Valley Landscape Contractors · Bethany Decks, Patios & Outdoor Enclosures · Fishers Decks, Patios & Outdoor Enclosures · Minneapolis Decks, Patios & Outdoor Enclosures · Pittsburgh Decks, Patios & Outdoor Enclosures · Vero Beach Decks, Patios & Outdoor Enclosures · Glendale Decks, Patios & Outdoor EnclosuresHerb
dslangrock
Herb
nandina
davissue_zone9
pharrisOriginal Author
Herb
pharrisOriginal Author
Herb
MrNorth
Herb
yama
Herb
coachsmyth
Gorfram
archae2
davissue_zone9
Herb