


soaker hose + fertilizer?
sashapasta
19 years ago
Related Stories
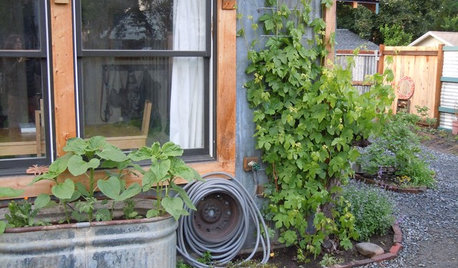
GARDENING GUIDESEdible Gardening Essentials: Tips for Traditional Hand Watering
Save the expense and hassle of a complicated garden system with a simple watering can or inexpensive hose add-ons
Full Story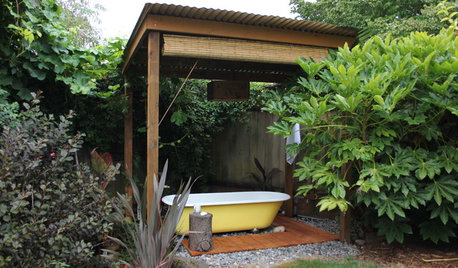
GARDENING AND LANDSCAPINGWhy Is There a Bathtub in the Backyard?
Nope, it's not waiting for bulk trash pickup. These days outdoor tubs are serving soakers, beer drinkers and even the fishes
Full Story
GARDENING GUIDESCalifornia Gardener: What to Do in July
Active green thumb or not, top priorities for peak fruit and veggie season: watering, feeding, keeping up with growth
Full Story
GARDENING GUIDESNorthern California Gardener's September Checklist
Welcome to the best season for planting just about everything, and for tackling major landscaping projects to boot
Full Story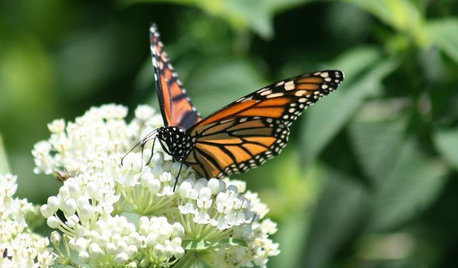
GARDENING GUIDES7 Ecofriendly Gardening Ideas That Also Cut Chore Time
Spend less time weeding, less money watering and more moments just sitting back and enjoying your healthy garden
Full Story
EDIBLE GARDENSHow to Grow Your Own Luscious Cherries
Nope, they’re not the easiest fruit to grow. But with spectacular blossoms and pies as possibilities, cherries are sure worth a try
Full Story
BATHROOM DESIGNDreaming of a Spa Tub at Home? Read This Pro Advice First
Before you float away on visions of jets and bubbles and the steamiest water around, consider these very real spa tub issues
Full Story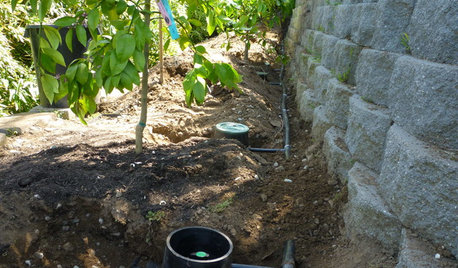
EARTH DAYGrow a Beautiful Garden With Ecofriendly Greywater
Reducing home water waste means lower bills and a healthier planet. Here's how to set up a greywater home irrigation system that can help
Full Story
GARDENING GUIDESGarden Myths to Debunk as You Dig This Fall and Rest Over Winter
Termites hate wood mulch, don’t amend soil for trees, avoid gravel in planters — and more nuggets of garden wisdom
Full Story
GARDENING GUIDESHow to Install a Drip Irrigation System
Save time and water with a drip watering system in your vegetable garden — a little patience now will pay off later
Full Story
jkirk3279
henry_kuska
Related Professionals
Fort Lee Landscape Architects & Landscape Designers · Arlington Landscape Contractors · Commack Landscape Contractors · Eagle Landscape Contractors · Gallatin Landscape Contractors · Pikesville Landscape Contractors · Suitland Landscape Contractors · 07920 Landscape Contractors · Bethany Decks, Patios & Outdoor Enclosures · Huntington Decks, Patios & Outdoor Enclosures · Medford Decks, Patios & Outdoor Enclosures · Overland Park Decks, Patios & Outdoor Enclosures · South Milwaukee Decks, Patios & Outdoor Enclosures · Broomfield Siding & Exteriors · Tigard Siding & ExteriorsJacky5