


Pic's of light stands
obrionusa
14 years ago
Sort by:Oldest
Comments (11)
Related Stories
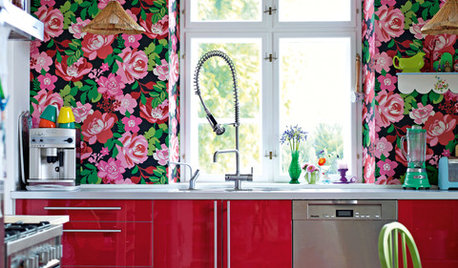
KITCHEN DESIGN14 Indie Kitchen Designs That Stand Out From the Pack
Bored with white, cream and 50 shades of gray? Break out of the box with a daring kitchen that highlights your own style
Full Story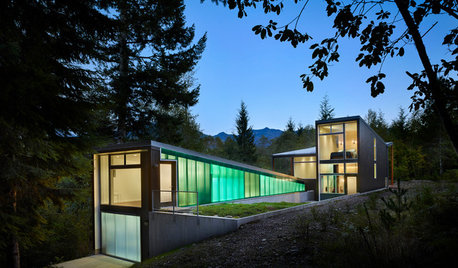
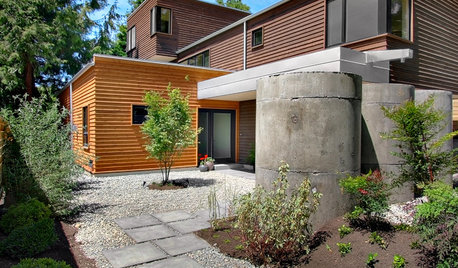
HOUZZ TOURSHouzz Tour: Cascades Retreat Blends In and Stands Out
A mountain getaway’s simple design echoes the landscape, while green polycarbonate cladding adds drama
Full Story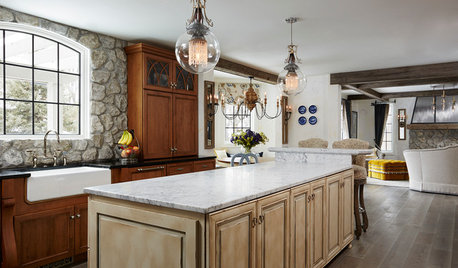
KITCHEN OF THE WEEKKitchen of the Week: Designed to Stand the Test of Time
Ageless beauty abounds in this elegant European-inspired kitchen in Minnesota
Full Story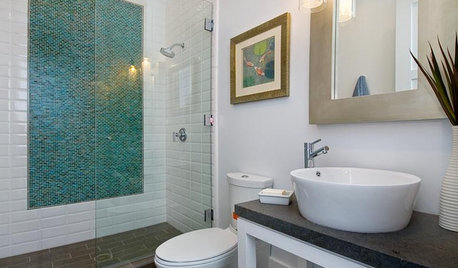
BATHROOM DESIGNAccent Tile Stands Out in the Shower
A Little of Your Favorite Tile Adds a Lot of Color and Fun
Full Story
CONTEMPORARY HOMESHouzz Tour: Strong, Modern Lines Stand Up to the Trees
Modernism takes kindly to the New York woods, with double-height ceilings for openness and a burbling creek for music
Full Story
REMODELING GUIDESHow Small Windows Help Modern Homes Stand Out
Amid expansive panes of glass and unbroken light, smaller windows can provide relief and focus for modern homes inside and out
Full Story
PRODUCT PICKSGuest Picks: 22 Delectable Cake Stands
Whether you go sweet or savory, these pretty pedestals, domes and tiers will make your delicacies stand out
Full Story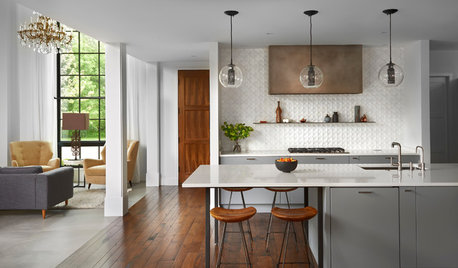
MODERN ARCHITECTUREHouzz Tour: Blending In and Standing Out
In a historic Chicago suburb, this new kid on the block fits in even with modern lines and Mediterranean arches
Full Story
DIY PROJECTSCreate a Pretty Jewelry Stand From Vintage China
Give treasured dishes new life as a beautiful jewelry stand with this DIY project
Full Story
luv_2_gardn
zen_man
Related Professionals
Signal Hill Landscape Architects & Landscape Designers · Aurora Landscape Contractors · Wakefield Landscape Contractors · Berwyn Landscape Contractors · Cambridge Landscape Contractors · Costa Mesa Landscape Contractors · Davidson Landscape Contractors · Matteson Landscape Contractors · Setauket-East Setauket Landscape Contractors · Wayland Landscape Contractors · Olean Fence Contractors · Salt Lake City Fence Contractors · Wauconda Fence Contractors · West Jordan Fence Contractors · Kyle Roofing & Gutterstaz6122
Steven Laurin & Company
zen_man
taz6122
zink
taz6122
zen_man
adc14
zen_man