


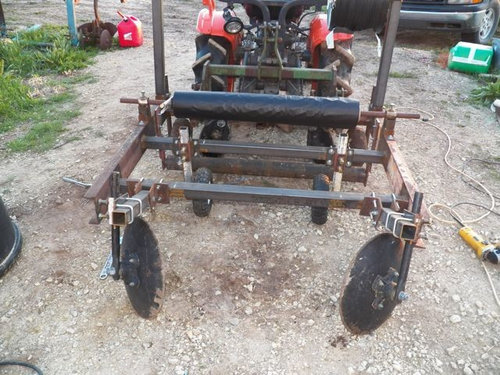
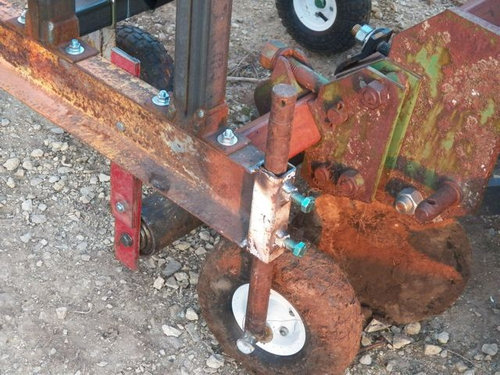
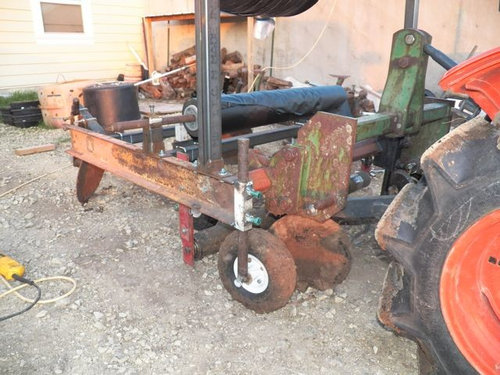
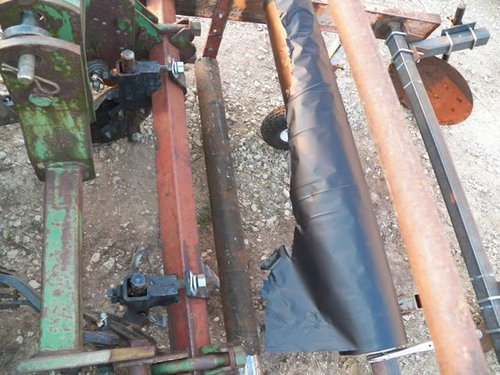
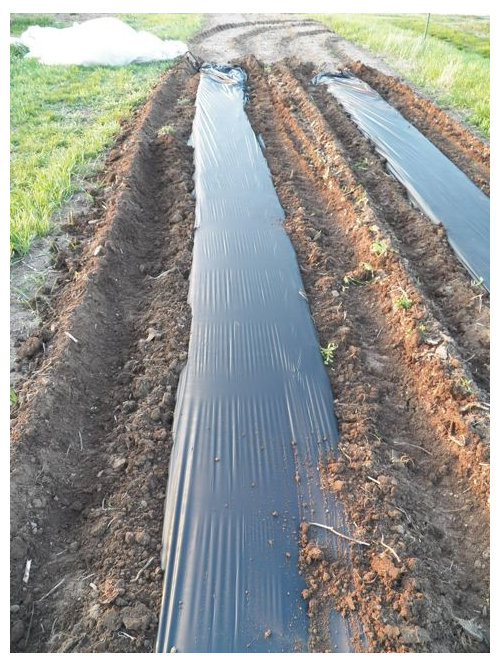
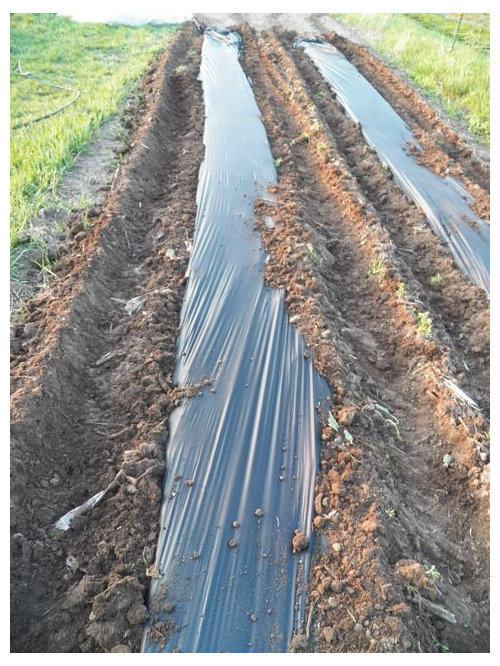
Homemade plastic mulch layer
jrslick (North Central Kansas, Zone 5B)
10 years ago
Sort by:Oldest
Comments (27)
Related Stories
OUTDOOR PROJECTSBring In the Birds With a Homemade Bubble Rock
An avian expert from Southern Indiana shows how to make a burbling fountain that migrating birds will love
Full Story
GARDENING GUIDESHow to Pick a Mulch — and Why Your Soil Wants It
There's more to topdressing than shredded wood. Learn about mulch types, costs and design considerations here
Full Story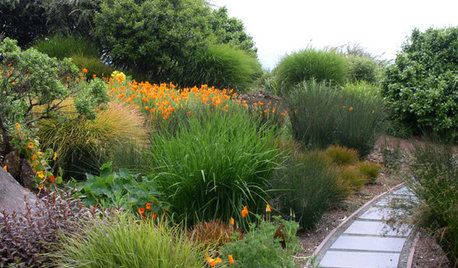
GARDENING GUIDESNew Ways to Think About All That Mulch in the Garden
Before you go making a mountain out of a mulch hill, learn the facts about what your plants and soil really want
Full Story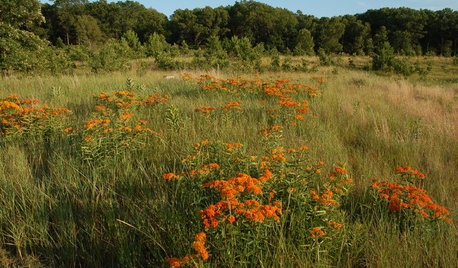
GARDENING GUIDESThe Art of Green Mulch
You can design a natural garden that doesn’t rely on covering your soil with wood and bark mulch
Full Story
GARDENING GUIDESGarden Myths to Debunk as You Dig This Fall and Rest Over Winter
Termites hate wood mulch, don’t amend soil for trees, avoid gravel in planters — and more nuggets of garden wisdom
Full Story
REGIONAL GARDEN GUIDESNortheast Gardener's October Checklist
Go for the gold, get ready for frosts and note your garden combos that looked great
Full Story
DECORATING GUIDES8 Reasons to Jump Off the DIY Bandwagon
You heard right. Stop beating yourself up for not making stuff yourself, and start seeing the bright side of buying from others
Full Story
DIY PROJECTSMake a Wild, Organic Floral Table Garland for a Holiday Dinner Party
Flowers, fruit and foliage in reds, pinks, golds and greens form a colorful runner for a special winter celebration
Full Story
FALL GARDENING5 Ways to Put Fall Leaves to Work in Your Garden
Improve your soil and yard the organic way with a valuable garden booster that grows on trees
Full Story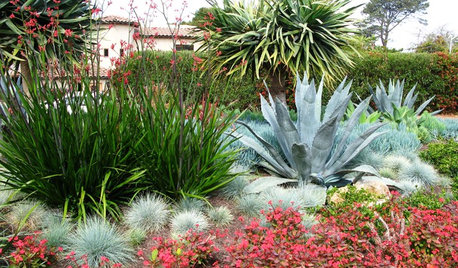
GARDENING GUIDESGardening Solutions for Dry, Sandy Soils
Has your desert or beachy site withered your gardening creativity? Try these ideas for a beautiful, easy-care landscape
Full Story
tomatoesandthings
little_minnie
Related Professionals
Erie Landscape Architects & Landscape Designers · Foothill Ranch Landscape Architects & Landscape Designers · Fort Lee Landscape Architects & Landscape Designers · Aloha Landscape Contractors · Gallatin Landscape Contractors · Kearny Landscape Contractors · New Providence Landscape Contractors · Parkland Landscape Contractors · Plymouth Landscape Contractors · San Bruno Landscape Contractors · Santa Maria Landscape Contractors · Shaker Heights Landscape Contractors · West Chicago Landscape Contractors · New Carrollton Landscape Contractors · Cheshire Solar Energy Systemstomatoesandthings
jrslick (North Central Kansas, Zone 5B)Original Author
cole_robbie
jrslick (North Central Kansas, Zone 5B)Original Author
myfamilysfarm
jrslick (North Central Kansas, Zone 5B)Original Author
henhousefarms
cole_robbie
Rio_Grande
jrslick (North Central Kansas, Zone 5B)Original Author
Rio_Grande
little_minnie
jrslick (North Central Kansas, Zone 5B)Original Author
Rio_Grande
myfamilysfarm
jrslick (North Central Kansas, Zone 5B)Original Author
little_minnie
derock_gw
kelise_m
jrslick (North Central Kansas, Zone 5B)Original Author
cole_robbie
jrslick (North Central Kansas, Zone 5B)Original Author
cole_robbie
myfamilysfarm
jrslick (North Central Kansas, Zone 5B)Original Author