


Planning a hoop house
2ajsmama
11 years ago
Sort by:Oldest
Comments (52)
Related Stories
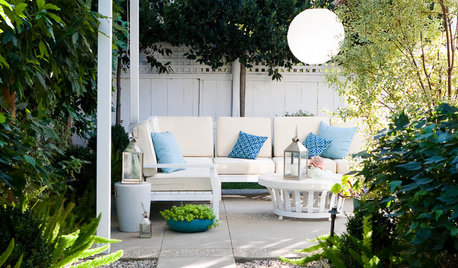
LIFEFall Planning for a Successful Big Spring Party
Get started now on assessing, completing home projects and cleaning to keep party stress and effort to a minimum come spring
Full Story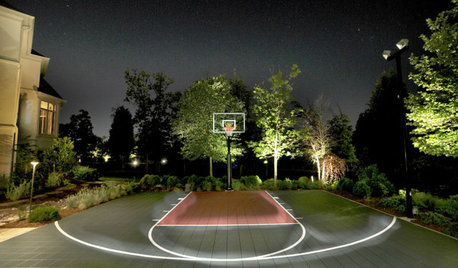
GARDENING AND LANDSCAPINGBe a Good Sport: Build a Backyard Basketball Court
With March Madness in the air, be the coolest parent ever or live out your own hoop dreams with a slammin' basketball court
Full Story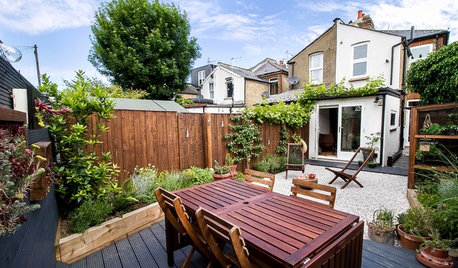
GARDENING GUIDESHow to Plan Your Edible Garden
Get organized before you plant to ensure that your fruits and vegetables have a chance to thrive
Full Story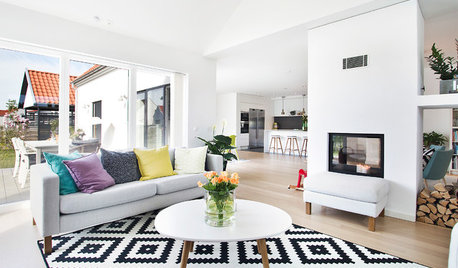
ARCHITECTUREOpen Plan Not Your Thing? Try ‘Broken Plan’
This modern spin on open-plan living offers greater privacy while retaining a sense of flow
Full Story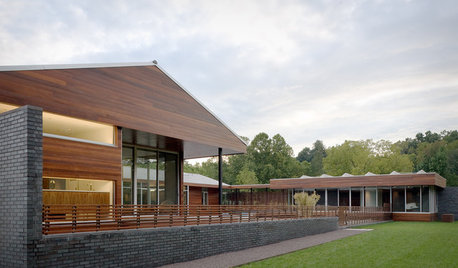
REMODELING GUIDESHome Designs: The U-Shaped House Plan
For outdoor living spaces and privacy, consider wings around a garden room
Full Story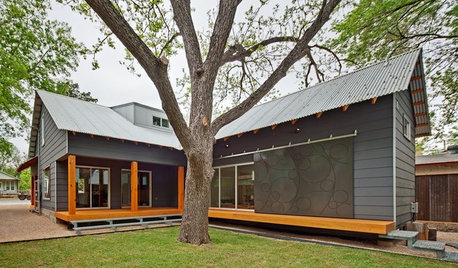
REMODELING GUIDESGreat Compositions: The L-Shaped House Plan
Wings embracing an outdoor room give home and landscape a clear sense of purpose
Full Story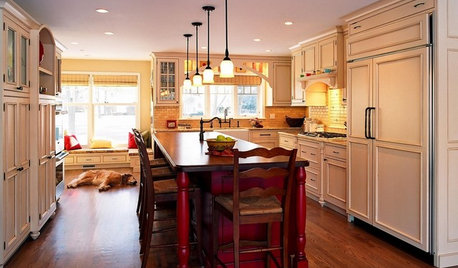
REMODELING GUIDESHouse Planning: When You Want to Open Up a Space
With a pro's help, you may be able remove a load-bearing wall to turn two small rooms into one bigger one
Full Story
BATHROOM DESIGNHouse Planning: 6 Elements of a Pretty Powder Room
How to Go Whole-Hog When Designing Your Half-Bath
Full Story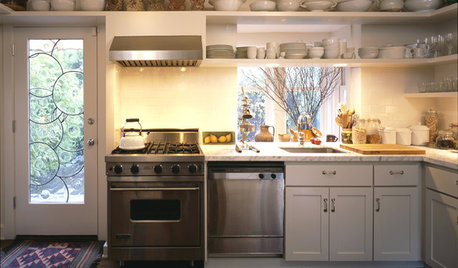
KITCHEN DESIGNHouse Planning: How to Set Up Your Kitchen
Where to Put All Those Pots, Plates, Silverware, Utensils, Casseroles...
Full Story
REMODELING GUIDESHouse Planning: How to Choose Tile
Glass, Ceramic, Porcelain...? Three Basic Questions Will Help You Make the Right Pick
Full StorySponsored
Slimy_Okra
2ajsmamaOriginal Author
Related Professionals
Wixom Landscape Architects & Landscape Designers · Bound Brook Landscape Contractors · College Park Landscape Contractors · Davidson Landscape Contractors · Fairview Landscape Contractors · Farmington Landscape Contractors · Holtsville Landscape Contractors · Homewood Landscape Contractors · La Mirada Landscape Contractors · Louisville Landscape Contractors · Snoqualmie Landscape Contractors · Wethersfield Landscape Contractors · Maplewood Landscape Contractors · Muscoy Solar Energy Systems · Menifee Solar Energy SystemsSlimy_Okra
myfamilysfarm
2ajsmamaOriginal Author
randy41_1
myfamilysfarm
Slimy_Okra
cole_robbie
jrslick (North Central Kansas, Zone 5B)
myfamilysfarm
2ajsmamaOriginal Author
cole_robbie
myfamilysfarm
2ajsmamaOriginal Author
cole_robbie
Slimy_Okra
myfamilysfarm
cole_robbie
myfamilysfarm
2ajsmamaOriginal Author
myfamilysfarm
cole_robbie
jrslick (North Central Kansas, Zone 5B)
myfamilysfarm
myfamilysfarm
randy41_1
myfamilysfarm
cole_robbie
myfamilysfarm
2ajsmamaOriginal Author
myfamilysfarm
jrslick (North Central Kansas, Zone 5B)
myfamilysfarm
jrslick (North Central Kansas, Zone 5B)
myfamilysfarm
cole_robbie
jrslick (North Central Kansas, Zone 5B)
myfamilysfarm
Slimy_Okra
2ajsmamaOriginal Author
myfamilysfarm
2ajsmamaOriginal Author
2ajsmamaOriginal Author
myfamilysfarm
myfamilysfarm
Sherwood Botsford (z3, Alberta)
2ajsmamaOriginal Author
myfamilysfarm
2ajsmamaOriginal Author