


Equipment need for start-up market garden
jimhoff
14 years ago
Featured Answer
Comments (31)

herbgardener
14 years agoRelated Professionals
Ashland Landscape Architects & Landscape Designers · Sand Springs Landscape Architects & Landscape Designers · South Orange Landscape Architects & Landscape Designers · Brookfield Landscape Contractors · Fort Worth Landscape Contractors · Gresham Landscape Contractors · Kaneohe Landscape Contractors · New Cassel Landscape Contractors · Raleigh Landscape Contractors · Reedley Landscape Contractors · Round Lake Landscape Contractors · Lauderdale Lakes Landscape Contractors · Palos Heights Landscape Contractors · Green Valley Solar Energy Systems · Waltham Solar Energy Systems
jrslick (North Central Kansas, Zone 5B)
14 years agojimhoff
14 years agojrslick (North Central Kansas, Zone 5B)
14 years agoscavengingangel
14 years agofreedhardwoods
14 years agometamc
14 years agojrslick (North Central Kansas, Zone 5B)
14 years agowhitechampaca
14 years agohanselmanfarms
14 years agojrslick (North Central Kansas, Zone 5B)
14 years agojrslick (North Central Kansas, Zone 5B)
14 years agohanselmanfarms
14 years agojrslick (North Central Kansas, Zone 5B)
14 years agowhitechampaca
14 years agojrslick (North Central Kansas, Zone 5B)
14 years agowhitechampaca
14 years agojrslick (North Central Kansas, Zone 5B)
14 years agowhitechampaca
14 years agoboardmaker
14 years agojrslick (North Central Kansas, Zone 5B)
14 years agobackyardgrown
14 years agofarmsteward
14 years agohanselmanfarms
14 years agobackyardgrown
14 years agomyfamilysfarm
14 years agomikee22712
14 years agomyfamilysfarm
14 years agosoonergrandmom
14 years agojrslick (North Central Kansas, Zone 5B)
14 years ago
Related Stories
DESIGN PRACTICEDesign Practice: Start-up Costs for Architects and Designers
How much cash does it take to open a design company? When you use free tools and services, it’s less than you might think
Full Story
CONTRACTOR TIPS10 Things to Discuss With Your Contractor Before Work Starts
Have a meeting a week before hammers and shovels fly to make sure everyone’s on the same page
Full Story
DECLUTTERING5 Ways to Jump-Start a Whole-House Decluttering Effort
If the piles of paperwork and jampacked closets have you feeling like a deer in the headlights, take a deep breath and a baby step
Full Story
GARDENING GUIDESHow to Stop Worrying and Start Loving Clay Soil
Clay has many more benefits than you might imagine
Full Story
HOUSEPLANTSHow to Grow Orchids Indoors
Orchids are the exotic aristocrats of the flower world and can make themselves comfortable in almost any home
Full Story
KITCHEN DESIGNSimple Pleasures: Wake Up and Smell the Coffee
Slugging down any old sludge while pulling on socks is no way to start the day. Learn to brew amazing java and savor the experience here
Full Story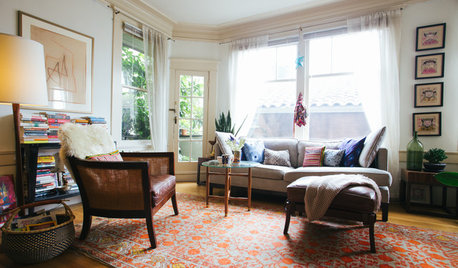
HOUZZ TOURSMy Houzz: It All Started With a Rug
One floor covering from Kazakhstan inspires a whole global vibe in a traveler’s San Francisco apartment
Full Story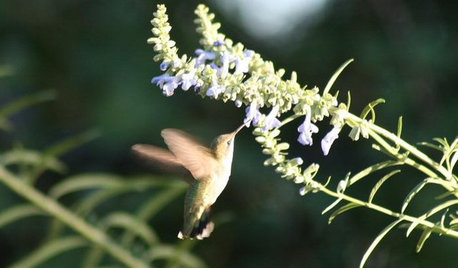
GARDENING FOR BUTTERFLIESA Quick-Start Guide to Bird-Watching for Fun and Learning
Set out some seed and grab your field guide. Bird-watching is an easy, entertaining and educational activity for the whole family
Full Story
REMODELING GUIDESWhat to Consider Before Starting Construction
Reduce building hassles by learning how to vet general contractors and compare bids
Full Story
DECORATING GUIDESDecorating 101: How to Start a Decorating Project
Before you grab that first paint chip, figure out your needs, your decorating style and what to get rid of
Full Story
jrslick (North Central Kansas, Zone 5B)