


Galvanized Water Trough Raised Bed Design Help
lowie
10 years ago
Sort by:Oldest
Comments (3)
Related Stories
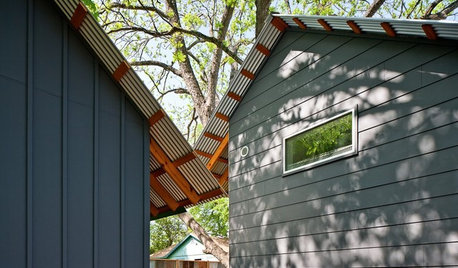
DESIGN DICTIONARYCorrugated Galvanized Iron
Metal for roofs and walls stays strong and repels rust when it gets special treatment
Full Story0
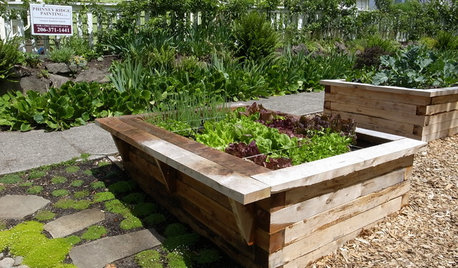
FARM YOUR YARDHow to Build a Raised Bed for Your Veggies and Plants
Whether you’re farming your parking strip or beautifying your backyard, a planting box you make yourself can come in mighty handy
Full Story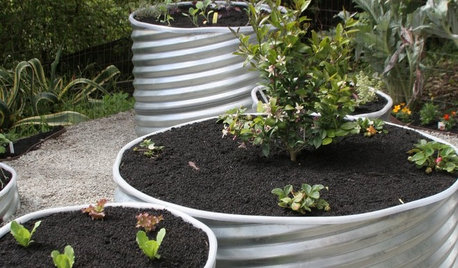
GARDENING GUIDES8 Materials for Raised Garden Beds
Get the dirt on classic and new options for raised vegetable and plant beds, to get the most from your year-round garden
Full Story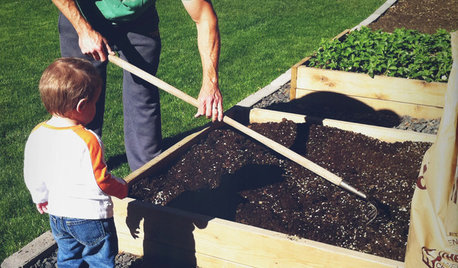
GARDENING AND LANDSCAPINGBuild a Raised Bed to Elevate Your Garden
A bounty of homegrown vegetables is easier than you think with a DIY raised garden bed to house just the right mix of soils
Full Story
MOST POPULAR7 Ways to Design Your Kitchen to Help You Lose Weight
In his new book, Slim by Design, eating-behavior expert Brian Wansink shows us how to get our kitchens working better
Full Story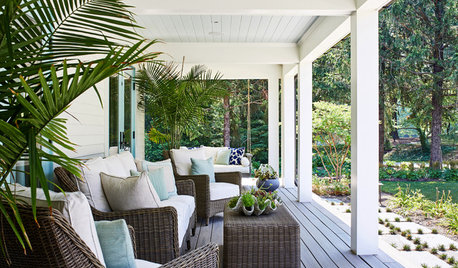
STANDARD MEASUREMENTSThe Right Dimensions for Your Porch
Depth, width, proportion and detailing all contribute to the comfort and functionality of this transitional space
Full Story
GARDENING AND LANDSCAPINGRaise Backyard Chickens Without Ruffling Neighbors' Feathers
Before you build a coop in the backyard, follow these strategies to help keep your neighbors from squawking
Full Story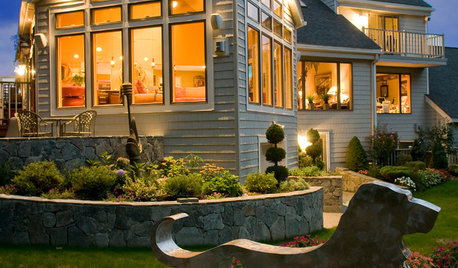
PETS6 Ways to Help Your Dog and Landscape Play Nicely Together
Keep your prized plantings intact and your dog happy too, with this wisdom from an expert gardener and dog guardian
Full Story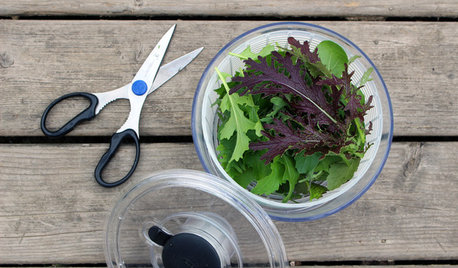
FARM YOUR YARDThe 8 Tools That Help Bring the Farm to Your Table
Vegetable gardeners get a big assist from these essential helpers
Full Story
ORGANIZINGDo It for the Kids! A Few Routines Help a Home Run More Smoothly
Not a Naturally Organized person? These tips can help you tackle the onslaught of papers, meals, laundry — and even help you find your keys
Full Story
jean001a
plantknitter
Related Professionals
Panama City Landscape Architects & Landscape Designers · Annandale Landscape Contractors · Bridgeview Landscape Contractors · Chattanooga Landscape Contractors · Euclid Landscape Contractors · Eureka Landscape Contractors · Seminole Landscape Contractors · Vineyard Landscape Contractors · Maple Heights Landscape Contractors · Bonney Lake Fence Contractors · Collierville Fence Contractors · Falls Church Fence Contractors · Newark Fence Contractors · Rome Fence Contractors · Palmetto Outdoor Lighting & Audio Visual Systemsoliveoyl3