


How soon do we start our seeds for transplants?
okcdan
16 years ago
Sort by:Oldest
Comments (12)
Related Stories
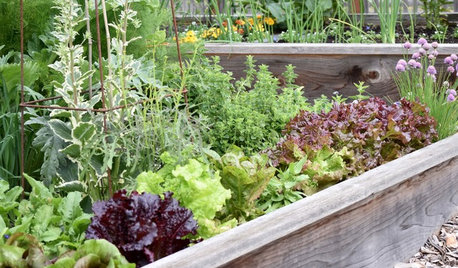
GARDENING GUIDESSeeds or Seedlings? How to Get Your Garden Started
Growing delicious herbs and vegetables starts with knowing your goals and when you want to plant
Full Story
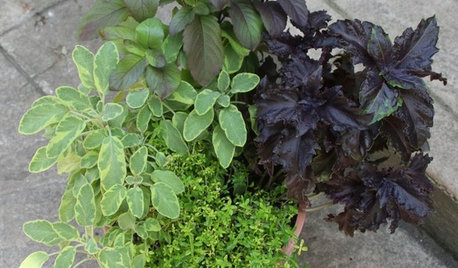
CONTAINER GARDENS8 Easy Container Plants to Grow From Seed
Get beautiful blooms and herbs in summer by starting these choice garden picks from seed in spring
Full Story
GARDENING GUIDES10 Tips to Start a Garden — Can-Do Ideas for Beginners
Green up your landscape even if you're short on time, money and knowledge, with these manageable steps for first-time gardeners
Full Story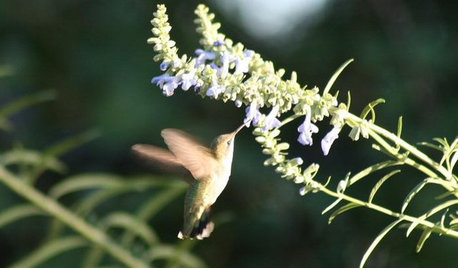
GARDENING FOR BUTTERFLIESA Quick-Start Guide to Bird-Watching for Fun and Learning
Set out some seed and grab your field guide. Bird-watching is an easy, entertaining and educational activity for the whole family
Full Story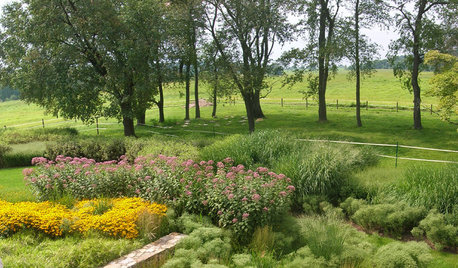
GARDENING GUIDESHow to Stop Worrying and Start Loving Clay Soil
Clay has many more benefits than you might imagine
Full Story
GARDENING GUIDESGet a Head Start on Planning Your Garden Even if It’s Snowing
Reviewing what you grew last year now will pay off when it’s time to head outside
Full Story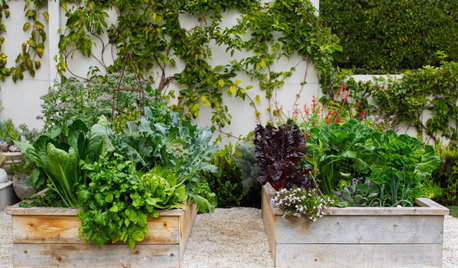
MOST POPULARHow to Start a Cool-Season Vegetable Garden
Late summer and late winter are good times to plan and plant cool-season crops like salad greens, spinach, beets, carrots and peas
Full Story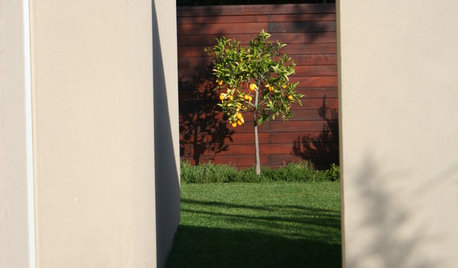
GARDENING AND LANDSCAPINGCitrus 101: Start Your Own Backyard Orchard
This Earth Day Weekend, Add Some Green, Style and Deliciousness to Your Landscape
Full Story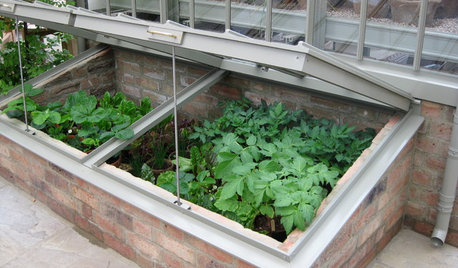
WINTER GARDENINGExtend Your Growing Season With a Cold Frame in the Garden
If the sun's shining, it might be time to sow seeds under glass to transplant or harvest
Full StorySponsored
Columbus Area's Luxury Design Build Firm | 17x Best of Houzz Winner!
More Discussions
Okiedawn OK Zone 7
okcdanOriginal Author
Related Professionals
Derry Landscape Architects & Landscape Designers · Carson Landscape Architects & Landscape Designers · Winder Landscape Architects & Landscape Designers · Hawaii Landscape Contractors · Huntington Landscape Contractors · Kahului Landscape Contractors · Lynchburg Landscape Contractors · Nashua Landscape Contractors · New Braunfels Landscape Contractors · Newberg Landscape Contractors · Pomona Landscape Contractors · San Carlos Park Landscape Contractors · Secaucus Landscape Contractors · Smyrna Landscape Contractors · Medford Decks, Patios & Outdoor EnclosuresOkiedawn OK Zone 7
sheri_nwok
Okiedawn OK Zone 7
sheri_nwok
scottokla
Okiedawn OK Zone 7
sheri_nwok
scottokla
Okiedawn OK Zone 7
okcdanOriginal Author