


Setting up a seed starting system - please help
Shelley Smith
10 years ago
Sort by:Oldest
Comments (20)
Related Stories
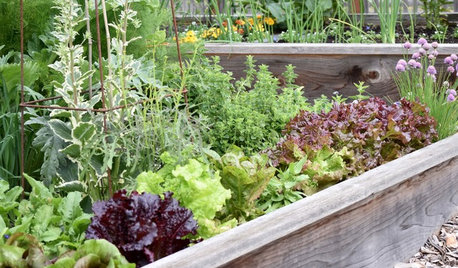
GARDENING GUIDESSeeds or Seedlings? How to Get Your Garden Started
Growing delicious herbs and vegetables starts with knowing your goals and when you want to plant
Full Story
MOST POPULAROrganized From the Start: 8 Smart Systems for Your New House
Establishing order at the outset will help prevent clutter from getting its foot in the door
Full Story
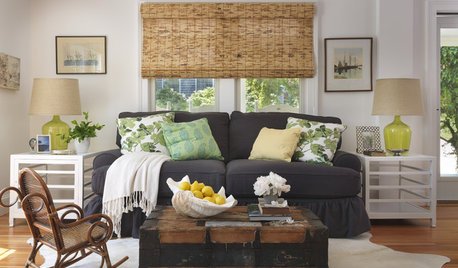
DECORATING GUIDESHow to Decorate When You're Starting Out or Starting Over
No need to feel overwhelmed. Our step-by-step decorating guide can help you put together a home look you'll love
Full Story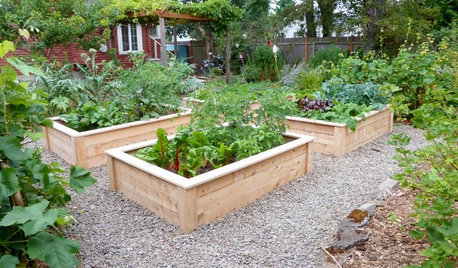
GARDENING GUIDES12 Tips to Help You Start an Edible Garden
Get on your way to growing your own vegetables with a raised bed or a few containers on the patio
Full Story
HOME OFFICESQuiet, Please! How to Cut Noise Pollution at Home
Leaf blowers, trucks or noisy neighbors driving you berserk? These sound-reduction strategies can help you hush things up
Full Story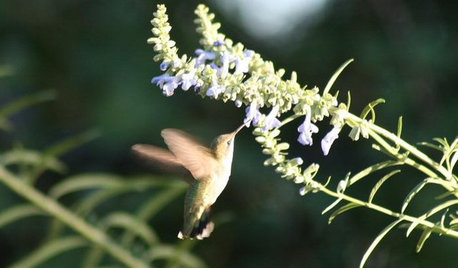
GARDENING FOR BUTTERFLIESA Quick-Start Guide to Bird-Watching for Fun and Learning
Set out some seed and grab your field guide. Bird-watching is an easy, entertaining and educational activity for the whole family
Full Story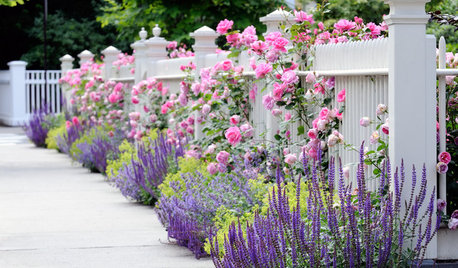
GARDENING GUIDES10 Tips to Start a Garden — Can-Do Ideas for Beginners
Green up your landscape even if you're short on time, money and knowledge, with these manageable steps for first-time gardeners
Full Story
DESIGN PRACTICEDesign Practice: Start-up Costs for Architects and Designers
How much cash does it take to open a design company? When you use free tools and services, it’s less than you might think
Full StoryMore Discussions
slowpoke_gardener
seedmama
Related Professionals
Canton Landscape Architects & Landscape Designers · Vernon Hills Landscape Architects & Landscape Designers · Buford Landscape Contractors · Elgin Landscape Contractors · Lees Summit Landscape Contractors · Live Oak Landscape Contractors · Pomona Landscape Contractors · Wallingford Landscape Contractors · Northlake Landscape Contractors · Boise Decks, Patios & Outdoor Enclosures · Dearborn Decks, Patios & Outdoor Enclosures · Fishers Decks, Patios & Outdoor Enclosures · Fort Myers Decks, Patios & Outdoor Enclosures · Lebanon Decks, Patios & Outdoor Enclosures · Salisbury Decks, Patios & Outdoor Enclosuresslowpoke_gardener
MiaOKC
soonergrandmom
MiaOKC
Shelley SmithOriginal Author
helenh
helenh
lat0403
Okiedawn OK Zone 7
dulahey
helenh
slowpoke_gardener
mulberryknob
MiaOKC
GreatPlains1
MiaOKC
p_mac
dulahey