


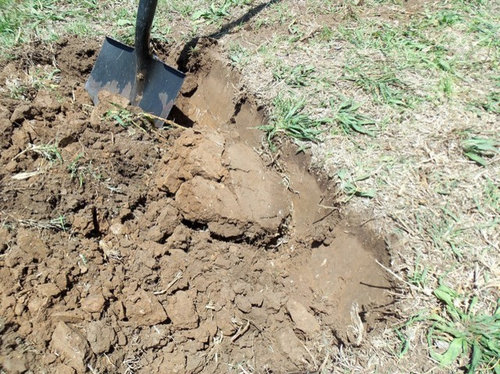
Soil: Before and After.
wbonesteel
10 years ago
Related Stories
FRONT YARD IDEASBefore and After: Front Lawn to Prairie Garden
How they did it: Homeowners create a plan, stick to it and keep the neighbors (and wildlife) in mind
Full Story
GARDENING GUIDESGardening Solutions for Heavy Clay Soils
What’s a gardener to do with soil that’s easily compacted and has poor drainage? Find out here
Full Story
GARDENING GUIDES5 Prairie Wildflowers That Can Heal Your Soil
Get free, organic soil fertilizer with nitrogen-pumping plants that draw pollinators too
Full Story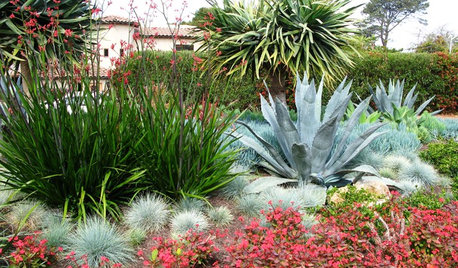
GARDENING GUIDESGardening Solutions for Dry, Sandy Soils
Has your desert or beachy site withered your gardening creativity? Try these ideas for a beautiful, easy-care landscape
Full Story
GARDENING GUIDESInvite Cellophane Bees to Your Garden by Providing Patches of Bare Soil
Look for cellophane bees (Colletes) pollinating flowering trees and shrubs in U.S. gardens this spring
Full Story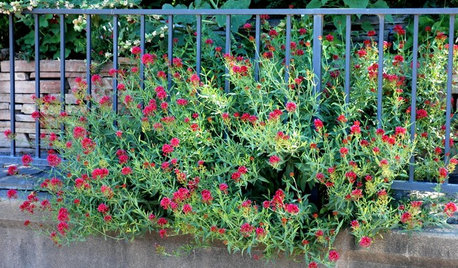
GARDENING GUIDESGrow a Beautiful Garden in Alkaline Soil
Got alkaline soil? Learn how to manage it and the many beautiful plants that will thrive in this ‘sweet’ soil
Full Story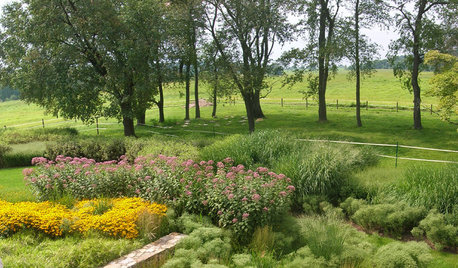
GARDENING GUIDESHow to Stop Worrying and Start Loving Clay Soil
Clay has many more benefits than you might imagine
Full Story
FARM YOUR YARDHow to Get Good Soil for Your Edible Garden
The nutrients in your soil feed the plants that feed you. Here are tips on getting it right — just in time for planting season
Full Story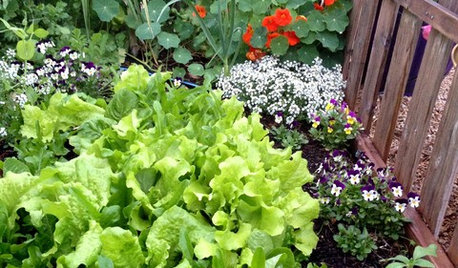
GARDENING GUIDESThe Poop Scoop: Enrich Your Soil With Good Old Manure
Get over the ick factor already — this natural super-ingredient for soil has so many benefits, you'll wonder why you ever went chemical
Full Story
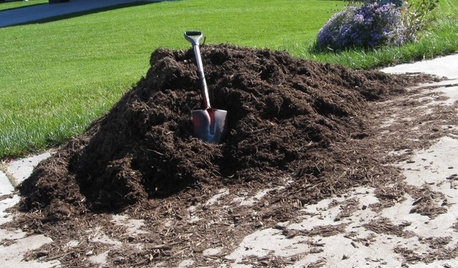
GARDENING GUIDESHow to Pick a Mulch — and Why Your Soil Wants It
There's more to topdressing than shredded wood. Learn about mulch types, costs and design considerations here
Full Story
wbonesteelOriginal Author
susanlynne48
Related Professionals
Danbury Landscape Architects & Landscape Designers · Canton Landscape Contractors · Edmond Landscape Contractors · Deerfield Beach Landscape Contractors · Kerman Landscape Contractors · Lake Zurich Landscape Contractors · Lancaster Landscape Contractors · New Brighton Landscape Contractors · Pikesville Landscape Contractors · Wethersfield Landscape Contractors · Wheat Ridge Landscape Contractors · Boston Decks, Patios & Outdoor Enclosures · Fort Myers Decks, Patios & Outdoor Enclosures · Methuen Decks, Patios & Outdoor Enclosures · Oswego Decks, Patios & Outdoor EnclosureswbonesteelOriginal Author
slowpoke_gardener
wbonesteelOriginal Author
slowpoke_gardener
wbonesteelOriginal Author