


tomato cages/pictures
sammy zone 7 Tulsa
13 years ago
Related Stories

EDIBLE GARDENSSummer Crops: How to Grow Tomatoes
Plant tomato seedlings in spring for one of the best tastes of summer, fresh from your backyard
Full Story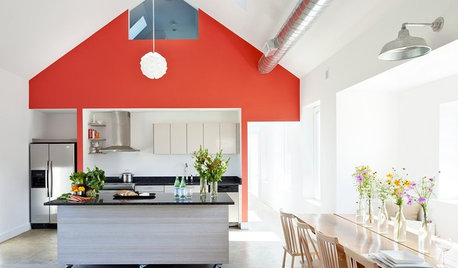
COLOR10 Reasons to Make a Splash With Tomato Red
You won’t duck at these tomatoes. See how bold red shades can play up architecture, light up a dark spot and add drama
Full Story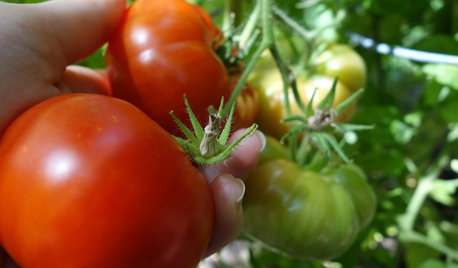
LIFEKitchen Traditions: Tomato Season Meets a Family Legacy
Somewhere a Sicilian great-great-grandmother is smiling at a bowl of American-made sauce
Full Story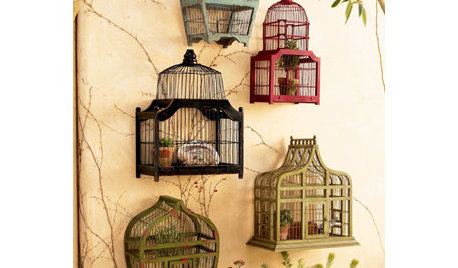
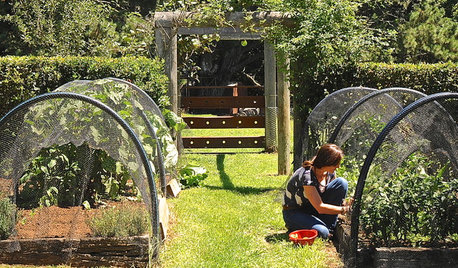
FARM YOUR YARDHouzz Call: Home Farmers, Show Us Your Edible Gardens
We want to see where your tomatoes, summer squashes and beautiful berries are growing this summer
Full Story
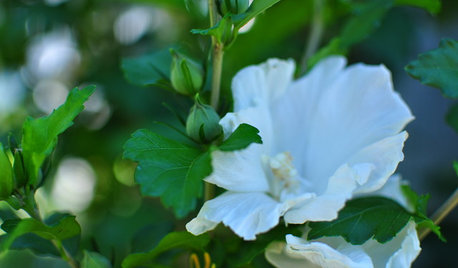
GARDENING GUIDESCalifornia Gardener's June Checklist
Update your hydrangeas, catch up on tomatoes and more ways to enjoy your California garden in June
Full Story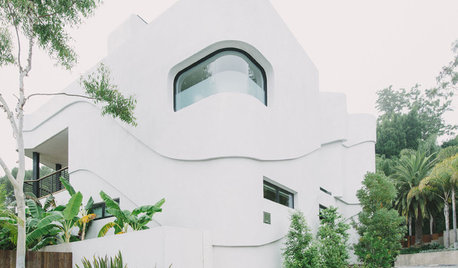
HOUZZ TOURSHouzz Tour: A Photographer's Picture-Perfect Home Comes Into Focus
An ultramodern house in the Hollywood Hills is a study in contrasts: curvy and boxy, forward thinking and retro
Full Story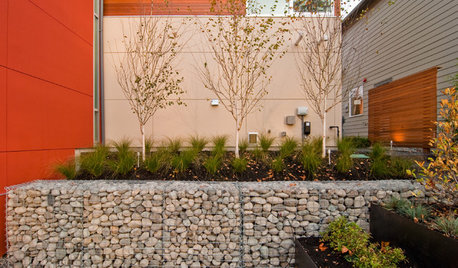
LANDSCAPE DESIGNGarden Walls: Gabion Evolves From Functional to Fabulous
The permeable rock-, concrete- or glass-filled steel cages are showing up as retaining walls, planters, benches and more
Full Story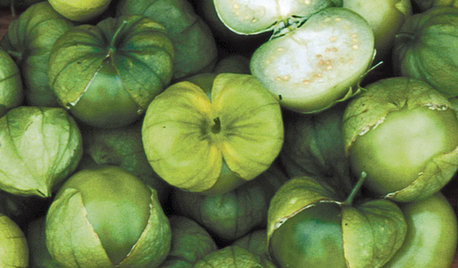
SUMMER FRUITS AND VEGETABLESSummer Crops: How to Grow Tomatillos
Grow this Mexican native for the freshest salsa verde — and for fewer problems than its tomato cousins
Full Story0
GARDENING GUIDESMid-Atlantic Gardener's August Checklist
Bring in the bounty of tomatoes, savor the show of grasses and start seeding some cool-season plants
Full StoryMore Discussions
granygreenthumb
joellenh
Related Professionals
Forest Acres Landscape Architects & Landscape Designers · Jennings Landscape Architects & Landscape Designers · Paradise Landscape Architects & Landscape Designers · College Park Landscape Contractors · Dixon Landscape Contractors · Fort Payne Landscape Contractors · Fort Worth Landscape Contractors · Miller Place Landscape Contractors · Pomona Landscape Contractors · Northlake Landscape Contractors · Shorewood Decks, Patios & Outdoor Enclosures · Beavercreek Decks, Patios & Outdoor Enclosures · Cedar Falls Decks, Patios & Outdoor Enclosures · Saint Louis Park Decks, Patios & Outdoor Enclosures · White Bear Lake Decks, Patios & Outdoor Enclosuressammy zone 7 TulsaOriginal Author
marcy3459
crm2431
sammy zone 7 TulsaOriginal Author
joellenh
sammy zone 7 TulsaOriginal Author
swokiedokie
marcy3459
owiebrain