


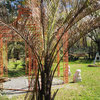
Easiest/Best way to remove pups?
Carol love_the_yard (Zone 9A Jacksonville, FL)
18 years ago
Sort by:Oldest
Comments (12)
Related Stories
HOUSEPLANTSGo Tropical the Easy Way With Bromeliads
Months of blooms and a tolerance for low light make tropical bromeliads ideal as gifts, indoor centerpieces and outdoor eye catchers
Full Story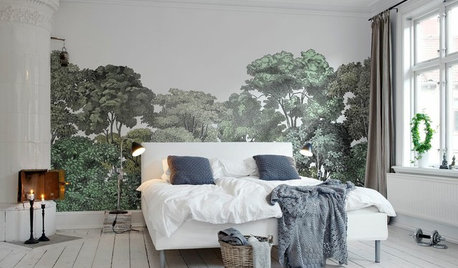
DECORATING GUIDES13 Stylish Ways to Accent a Bedroom Wall
From tried-and-true favorites to the latest textures, these creative ideas can strengthen your bedroom’s design
Full Story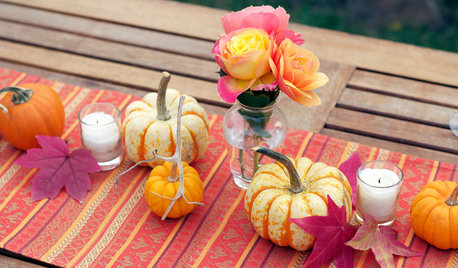
HOLIDAYSYour Easiest Fall Decorating Ever
Create a nearly effortless tabletop with the naturally beautiful colors and shapes of fall
Full Story
FIREPLACES10 Unexpected Ways to Style a Gorgeous Fall Mantel
Been there, done that with the pumpkins and corncobs? Try these wonderfully fresh ideas for a beautifully decorated mantel this autumn
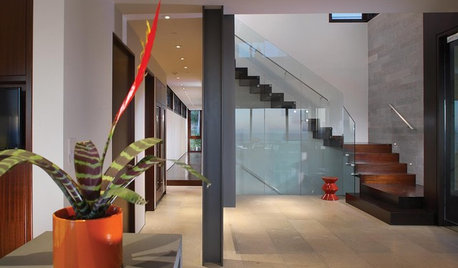
Full StoryARCHITECTURE5 Ways to Define Spaces Without Walls
Establish zones in an open layout without relying on typical barriers, using changes in material, level, color and more
Full Story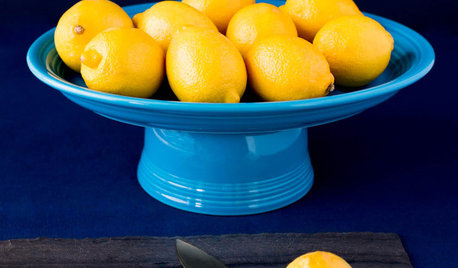
MOST POPULARThe Easiest, Most Versatile Cake Stand You'll Ever Make
Show off sweet somethings and your own impressive handiwork — just don't let on how little effort it took
Full Story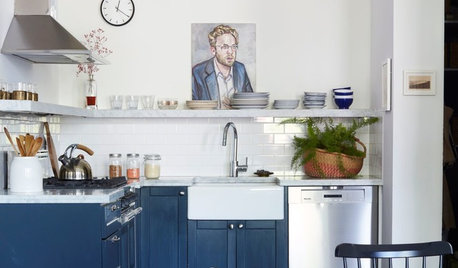
SMALL KITCHENS12 Ways to Make Your Kitchen Look and Feel Bigger
Try these clever design moves to get more storage and create a roomier feel
Full Story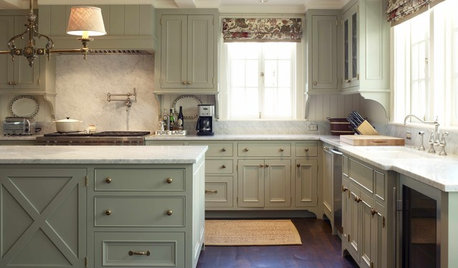
KITCHEN DESIGN9 Ways to Save on Your Kitchen Remodel
A designer shares key areas where you can economize — and still get the kitchen of your dreams
Full Story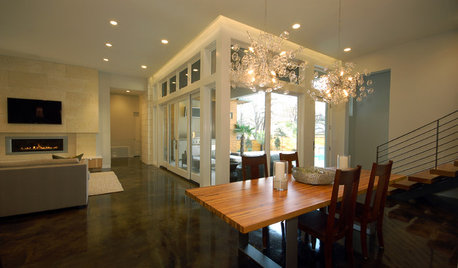
REMODELING GUIDES15 Ways to Design an Easy-Clean Home
Spend more time doing what you love with these pointers for minimizing cleaning needs throughout the entire house
Full Story
UNIVERSAL DESIGN11 Ways to Age-Proof Your Bathroom
Learn how to create a safe and accessible bathroom without sacrificing style
Full Story

kevip711
cycadjungle
Related Professionals
Glen Ellyn Landscape Architects & Landscape Designers · Harrison Landscape Architects & Landscape Designers · Bridgeport Landscape Contractors · Edinburg Landscape Contractors · Eustis Landscape Contractors · Louisville Landscape Contractors · Oviedo Landscape Contractors · Post Falls Landscape Contractors · Setauket-East Setauket Landscape Contractors · Vineyard Landscape Contractors · Wallingford Landscape Contractors · Waltham Landscape Contractors · 63040 Window Contractors · Lauderhill Window Contractors · Milwaukee Window ContractorsCarol love_the_yard (Zone 9A Jacksonville, FL)Original Author
cycadjungle
Carol love_the_yard (Zone 9A Jacksonville, FL)Original Author
kevip711
cycadjungle
mattyb1
Carol love_the_yard (Zone 9A Jacksonville, FL)Original Author
john1069
donray
Al Tucson AZ Zone 9a, Sunset's Zone 12