


The story so far
jblaschke
16 years ago
Sort by:Oldest
Comments (14)
Related Stories
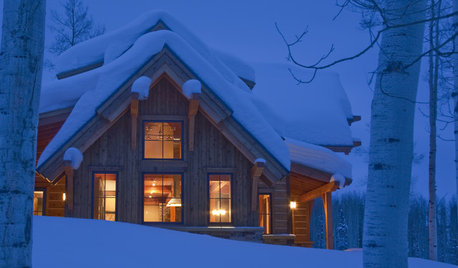
LIFEIs Cabin Fever Real? Share Your Story
Are snow piles across the U.S. leading to masses of irritability and boredom? We want to hear your experience
Full Story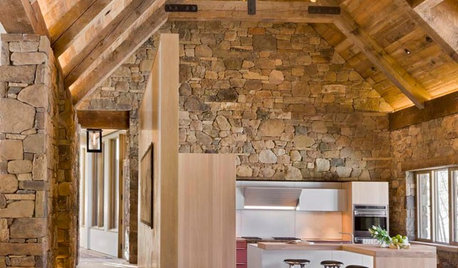
ARCHITECTUREDesign Workshop: Materials That Tell a Story
See how wood, concrete and stone convey ideas about history, personal taste and much more
Full Story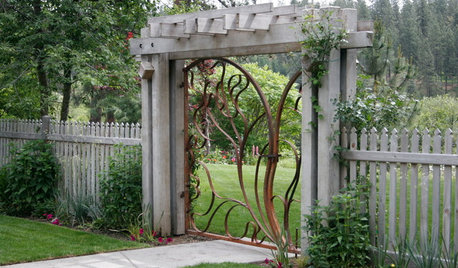
LANDSCAPE DESIGNThe Garden Gate: A Preface to the Story Your Garden Wants to Tell
Setting the tone for your garden starts with the right entry
Full Story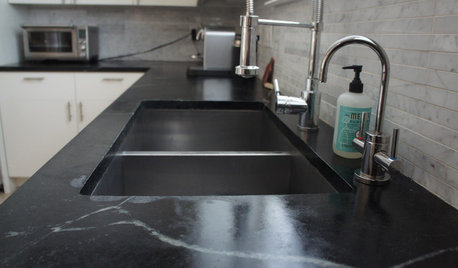
KITCHEN DESIGNSoapstone Counters: A Love Story
Love means accepting — maybe even celebrating — imperfections. See if soapstone’s assets and imperfections will work for you
Full Story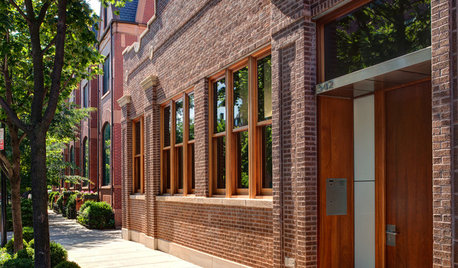
HOUZZ TOURSHouzz Tour: A Three-Story Barn Becomes a Modern-Home Beauty
With more than 9,000 square feet, an expansive courtyard and a few previous uses, this modern Chicago home isn't short on space — or history
Full Story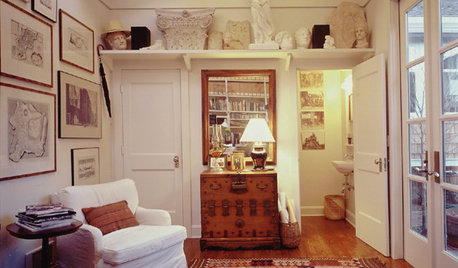
Home Design: What's Your Story?
Inspired by the sets on 'Parenthood,' 13 ways to express your household's personal style
Full Story
TRANSITIONAL HOMESHouzz Tour: 3-Story Design Extends a Bungalow’s Living Space
A couple stays within an approved footprint and gets more room by adding a basement and a loft to a new home’s design
Full Story
INSIDE HOUZZTell Us Your Houzz Success Story
Have you used the site to connect with professionals, browse photos and more to make your project run smoother? We want to hear your story
Full Story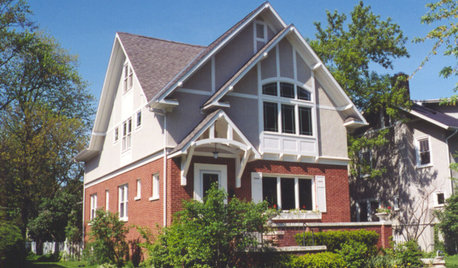
REMODELING GUIDESMovin’ On Up: What to Consider With a Second-Story Addition
Learn how an extra story will change your house and its systems to avoid headaches and extra costs down the road
Full Story
ARCHITECTURETell a Story With Design for a More Meaningful Home
Go beyond a home's bones to find the narrative at its heart, for a more rewarding experience
Full StorySponsored
Columbus Design-Build, Kitchen & Bath Remodeling, Historic Renovations
chrismac_flutter
jblaschkeOriginal Author
Related Professionals
Ilchester Landscape Architects & Landscape Designers · Cockeysville Landscape Contractors · East Lake-Orient Park Landscape Contractors · Edwardsville Landscape Contractors · El Mirage Landscape Contractors · Hayden Landscape Contractors · National City Landscape Contractors · Setauket-East Setauket Landscape Contractors · Suitland Landscape Contractors · Athens General Contractors · Cottage Grove General Contractors · Exeter General Contractors · Mankato General Contractors · Mobile General Contractors · Seabrook General Contractorschena
karyn1
MissSherry
jblaschkeOriginal Author
sultry_jasmine_nights (Florida-9a-ish)
odyssey3
jblaschkeOriginal Author
jblaschkeOriginal Author
cincinnata
odyssey3
jblaschkeOriginal Author
MissSherry