


petesapie5's ideas
petesapie5
9 years ago
Featured Answer
Sort by:Oldest
Comments (26)

petesapie5
9 years agoDMForcier
9 years agoRelated Professionals
Barrington Hills Landscape Architects & Landscape Designers · Middle River Landscape Architects & Landscape Designers · Montgomeryville Landscape Architects & Landscape Designers · Roxbury Crossing Landscape Architects & Landscape Designers · Paradise Landscape Architects & Landscape Designers · Ashburn Landscape Contractors · Cordele Landscape Contractors · Cornelius Landscape Contractors · Fort Wayne Landscape Contractors · Hendersonville Landscape Contractors · Kearny Landscape Contractors · Manhattan Landscape Contractors · Soddy Daisy Landscape Contractors · The Woodlands Landscape Contractors · West Orange Landscape Contractorspetesapie5
9 years agopetesapie5
9 years agopetesapie5
9 years agopetesapie5
9 years agopetesapie5
9 years agopetesapie5
9 years agopetesapie5
9 years agopetesapie5
9 years ago
northeast_chileman
9 years agopetesapie5
9 years agopetesapie5
9 years agopetesapie5
9 years agonortheast_chileman
9 years agopetesapie5
9 years agoDMForcier
9 years agopetesapie5
9 years agopetesapie5
9 years agonortheast_chileman
9 years ago
cottonwood468
9 years ago
the_northeast_chileman
8 years agopetesapie5
8 years agopetesapie5
8 years agopetesapie5
8 years ago


Related Stories
5 Homes, 5 Uniquely Feminine Styles
Get ideas from very personal takes on the classic estate, Victorian retreat, '70s ranch, beach getaway, and French country home
Full Story
GARDENING GUIDES5 Easy Plants for a Romantic Entry Garden
Abundant flowers, a heady fragrance and striking foliage combine for a romantic front-yard garden that's deceptively low maintenance
Full Story
HOUZZ TOURS5 Homes Full of Far Eastern Influences
Get ideas for Asian-style architecture and interiors from 5 distinctly different homes
Full Story
INSPIRING GARDENS5 Gardens to Inspire Your Outdoor Rooms
Get a peek at some exceptional Silicon Valley gardens and borrow ideas for your own landscape
Full Story
LANDSCAPE DESIGN5 Ways to Make Your Concrete Patio More Attractive
These design ideas can liven up your paved outdoor space
Full Story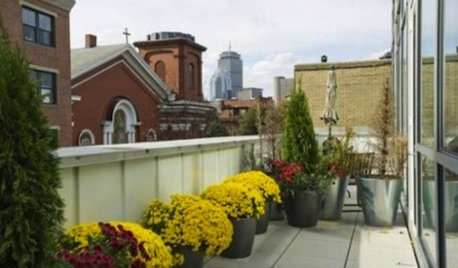
5 Questions for Design Stars
Add Your Ideas for Outdoor Storage, Cheering Up a Fireplace and More
Full Story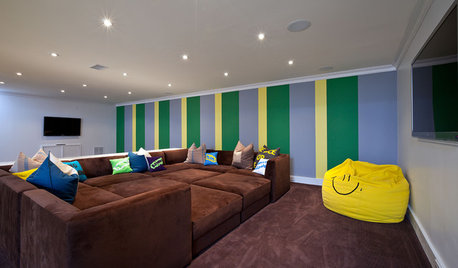
MORE ROOMS5 Basement Renovations Designed for Fun
Get inspired to take your basement to the next level with ideas from these great multipurpose family spaces
Full Story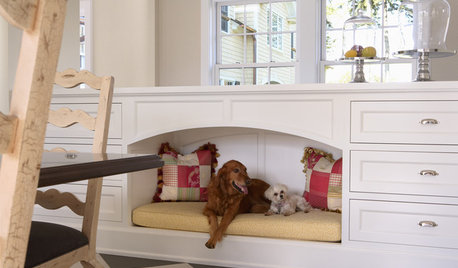
DECORATING GUIDES5 Pet Problems Solved by Design
Design-Friendly Ideas for Pet Beds, Bowls, Doors — and yes, the Litter Box
Full Story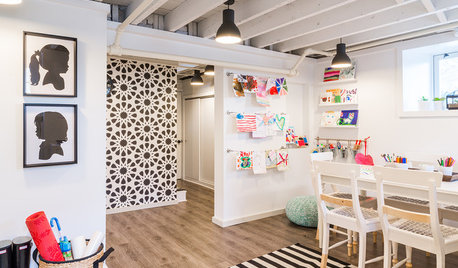
DECORATING GUIDES5 Tips for a More Flexible, Creativity-Boosting Space
These decorating ideas will encourage your creative side to come out and play
Full Story
REMODELING GUIDES5 Innovative Wood Floors
Natural Forms? Wine Barrels? Peach Pits? Take a Look at Some New Ideas for a Warm Wood Floor
Full Story
petesapie5Original Author