


Raised beds with concrete sides? Leaf or ash layers?
terrabeth
17 years ago
Sort by:Oldest
Comments (16)
Related Stories
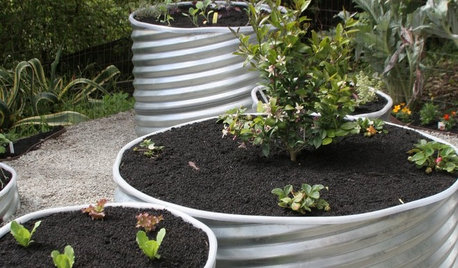
GARDENING GUIDES8 Materials for Raised Garden Beds
Get the dirt on classic and new options for raised vegetable and plant beds, to get the most from your year-round garden
Full Story
DECORATING GUIDESHouzz Tour: Layered Look Adds a Fresh Sense of Style
Midcentury art, pottery and a mix of furnishings bring a hip edge to a traditional Los Angeles home
Full Story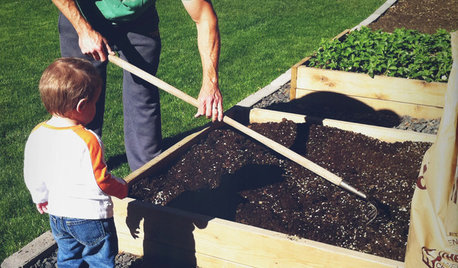
GARDENING AND LANDSCAPINGBuild a Raised Bed to Elevate Your Garden
A bounty of homegrown vegetables is easier than you think with a DIY raised garden bed to house just the right mix of soils
Full Story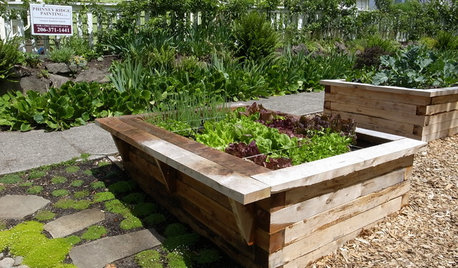
FARM YOUR YARDHow to Build a Raised Bed for Your Veggies and Plants
Whether you’re farming your parking strip or beautifying your backyard, a planting box you make yourself can come in mighty handy
Full Story
WINDOW TREATMENTSRoller Shades Raise the Curtain on Style
The humble window treatment is stealing the scene with fresh patterns, color and pizzazz
Full Story
BARN HOMES12 Bar-Raising Barns
Homeowners make hay out of renovated, reclaimed and newly raised outbuildings
Full Story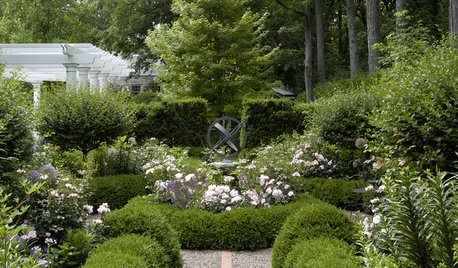
LANDSCAPE DESIGNDefine Your Garden Softly With Planted Borders
Why make things hard for your garden's edges? Embrace a softer side by trading brick and concrete for shrubs, grasses and ground covers
Full Story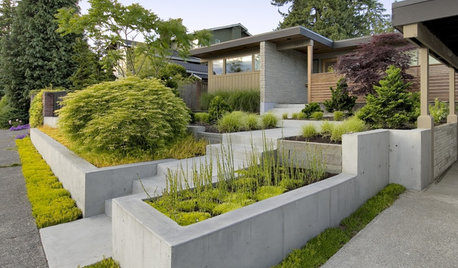
LANDSCAPE DESIGNGarden Walls: Pour On the Style With Concrete
There's no end to what you — make that your contractor — can create using this strong and low-maintenance material
Full Story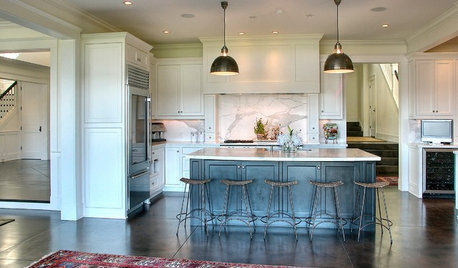
FLOORS5 Benefits to Concrete Floors for Everyday Living
Get low-maintenance home flooring that creates high impact and works with home styles from traditional to modern
Full Story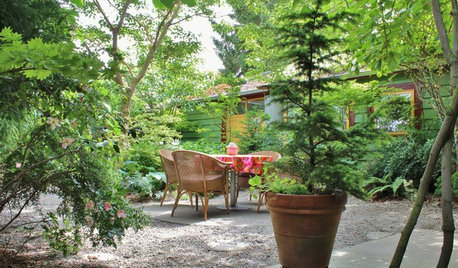
INSPIRING GARDENSFrom Concrete Lot to Gracious Organic Garden in Seattle
Plants, pests and even weeds have a place in this landscape, which offers an edible bounty and a feast for the eyes
Full Story
seraphima
pablo_nh
Related Professionals
Glen Ellyn Landscape Architects & Landscape Designers · Harrison Landscape Architects & Landscape Designers · Westwood Landscape Contractors · Gaithersburg Landscape Contractors · Las Vegas Landscape Contractors · Lorain Landscape Contractors · Mequon Landscape Contractors · Wilton Landscape Contractors · Cherry Hill Siding & Exteriors · Millburn Siding & Exteriors · Providence Siding & Exteriors · Saint Charles Siding & Exteriors · Alafaya Solar Energy Systems · Chanhassen Solar Energy Systems · Lake Mary Solar Energy Systemsgardenlen
sandylighthouse
stoneunhenged
Aubergine Texiana
ingalls
terrabethOriginal Author
gardenlen
led_zep_rules
missinformation
frankie_zippo
tclynx
Demeter
jaybc
tclynx