


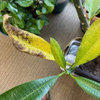
Plumeria cutting already rotting while drying
Florian
10 years ago
Sort by:Oldest
Comments (13)
Related Stories
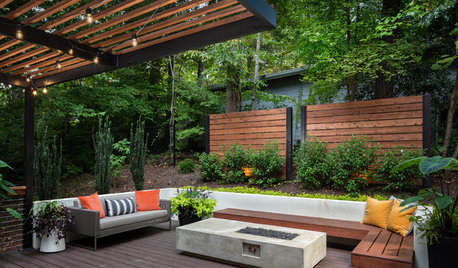
GARDENING AND LANDSCAPING8 Rot-Resistant Woods for Your Outdoor Projects
No need for chemical treatments on your deck or pergola. These woods stand up to weather, insects and time beautifully on their own
Full Story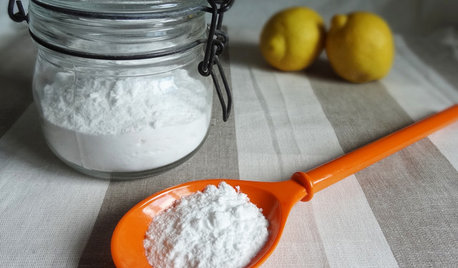
HOUSEKEEPINGBaking Soda: The Amazing All-Natural Cleanser You Already Own
Battle grime, banish odors and freshen clothes with this common nontoxic cupboard staple
Full Story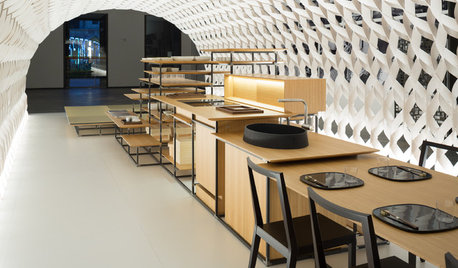
HOMES AROUND THE WORLDThe Kitchen of Tomorrow Is Already Here
A new Houzz survey reveals global kitchen trends with staying power
Full Story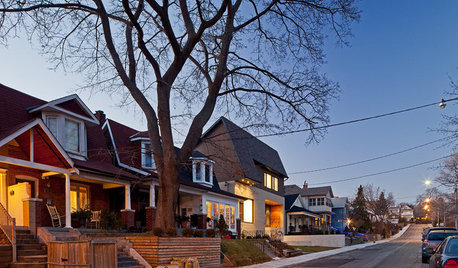
LIFE10 Ways to Keep Your Home Safe While You're Traveling
Set off on your trip with peace of mind, knowing you've taken the right steps toward keeping your home secure
Full Story
HOME OFFICESQuiet, Please! How to Cut Noise Pollution at Home
Leaf blowers, trucks or noisy neighbors driving you berserk? These sound-reduction strategies can help you hush things up
Full Story
GARDENING GUIDES7 Ecofriendly Gardening Ideas That Also Cut Chore Time
Spend less time weeding, less money watering and more moments just sitting back and enjoying your healthy garden
Full Story
LANDSCAPE DESIGNDitch the Ordinary Ditch: Create a Realistic Dry Creek Bed
Here’s how to turn your water runoff system into an eye-catching accent for your landscape
Full Story
GREEN DECORATINGBamboo Products — Earth Friend or Foe?
The ecofriendliness of this grass for flooring, wall coverings and furniture isn't cut and dried. Get the facts here
Full Story
LANDSCAPE DESIGNGarden Walls: Dry-Stacked Stone Walls Keep Their Place in the Garden
See an ancient building technique that’s held stone walls together without mortar for centuries
Full Story
TILETop Tile Trends From the Coverings 2013 Show — the Wood Look
Get the beauty of wood while waving off potential splinters, rotting and long searches, thanks to eye-fooling ceramic and porcelain tiles
Full StoryMore Discussions
wally_1936
the_first_kms2
Related Professionals
Glendora Landscape Architects & Landscape Designers · La Marque Landscape Architects & Landscape Designers · Lakewood Landscape Architects & Landscape Designers · Leawood Landscape Architects & Landscape Designers · Suffern Landscape Architects & Landscape Designers · Stamford Landscape Contractors · Broadlands Landscape Contractors · Brockton Landscape Contractors · Burlington Landscape Contractors · East Haven Landscape Contractors · Royal Oak Landscape Contractors · Stallings Landscape Contractors · Black Forest Siding & Exteriors · Conyers Siding & Exteriors · Kenosha Siding & ExteriorsFlorianOriginal Author
FlorianOriginal Author
FlorianOriginal Author
FlorianOriginal Author
FlorianOriginal Author
FlorianOriginal Author
FlorianOriginal Author
FlorianOriginal Author
FlorianOriginal Author
jandey1
FlorianOriginal Author