


Plant photography
Sherwood Botsford (z3, Alberta)
9 years ago
Related Stories

HOW TO PHOTOGRAPH YOUR HOUSEAttract Home Buyers Easily With Great Photography
Show your home's best face in real estate listing photos to have potential buyers knocking down your door
Full Story
HOW TO PHOTOGRAPH YOUR HOUSEHow to Compose Your Shot for Stunning Home Photography
A photo pro shares secrets like camera height, lighting and lens type for creating images that do your home justice
Full Story
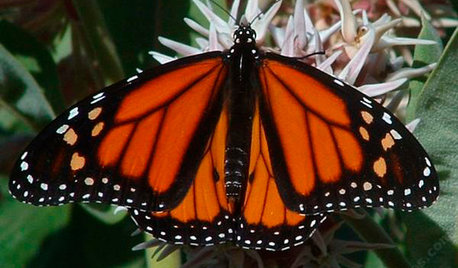
CALIFORNIA NATIVE PLANTSGreat Design Plant: Asclepias Is Attractive to Monarch Butterflies
Increase monarch butterfly populations in California by planting stunning native milkweeds
Full Story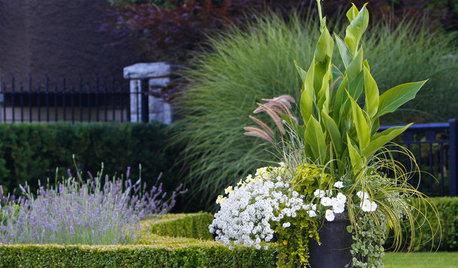
GARDENING GUIDESGreat Design Plant: Cannas
Easy to grow and maintain, these showy, colorful plants are perfect for beginning gardeners
Full Story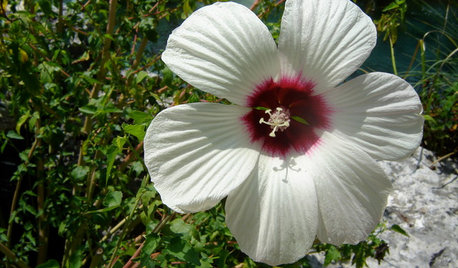
GARDENING GUIDESGreat Design Plant: Hibiscus Moscheutos
Crimsoneyed rosemallow is an ideal flowering perennial for wet sites and is ready to propagate now
Full Story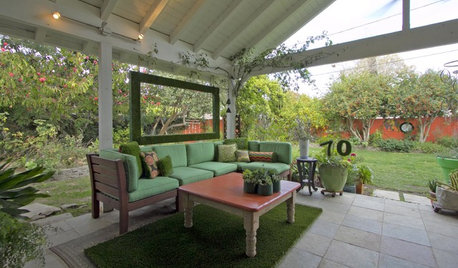
HOUZZ TOURSHouzz Tour: Firmly Planted Southern California Home
Clear garden views, turf-covered accessories and one very green outdoor room make this sunny home just right for a garden designer
Full Story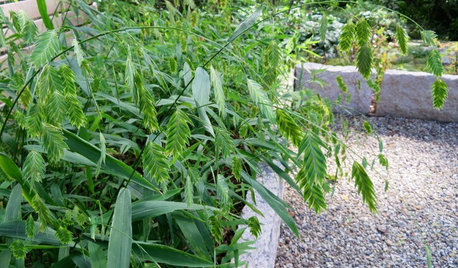
GARDENING GUIDESGreat Design Plant: Chasmanthium Latifolium
Inland sea oats is an easy native grass for a moist, shady garden spot
Full Story
EVENTSDesign Calendar: Feb. 17-March 9, 2012
Take in the Venice Modern Home Tour, a terrarium exhibit, an interior photography workshop and more
Full Story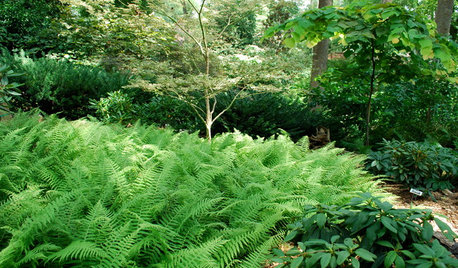
PLANTING IDEASFerns: A Shade Gardener’s Best Friend
Bring rich texture and contrast to a dark woodland landscape with wonderfully diverse ferns
Full StorySponsored
jean001a
Sherwood Botsford (z3, Alberta)Original Author
Related Professionals
Benbrook Landscape Architects & Landscape Designers · Glendora Landscape Architects & Landscape Designers · Marco Island Landscape Architects & Landscape Designers · Mitchellville Landscape Architects & Landscape Designers · Clark Landscape Contractors · College Park Landscape Contractors · La Verne Landscape Contractors · Lake Zurich Landscape Contractors · Newnan Landscape Contractors · Parkland Landscape Contractors · Paterson Landscape Contractors · West Orange Landscape Contractors · Lauderdale Lakes Landscape Contractors · Baileys Crossroads Landscape Contractors · Hockessin Driveway Installation & Maintenanceannab39