


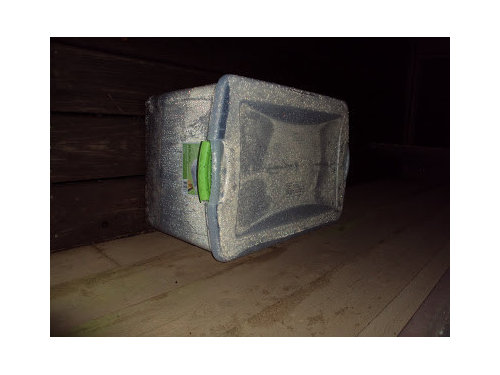
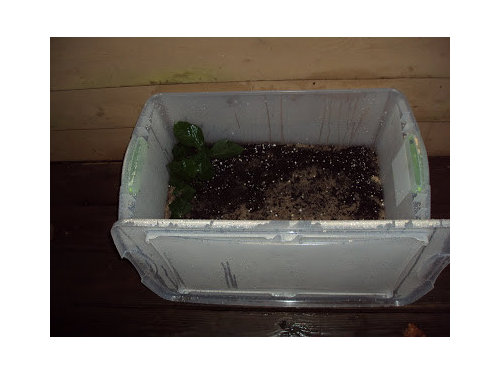
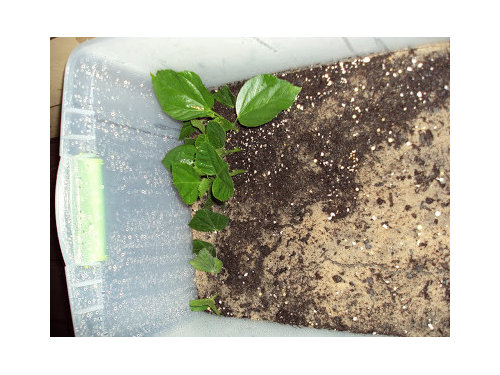
My 2010 Mini Greenhouse and experiments to come
milieu_serene
13 years ago
Sort by:Oldest
Comments (17)
Related Stories
FARM YOUR YARD9 Ways to Change Up Your Vegetable Garden for the Coming Season
Try something new for edible plantings that are more productive than ever
Full Story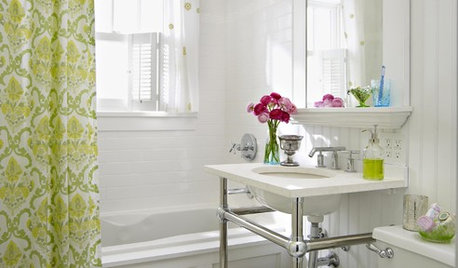
BATHROOM MAKEOVERSMini Bathroom Makeovers You Can Conquer in a Weekend
Perk up your tired-looking bathroom with these simple styling tricks
Full Story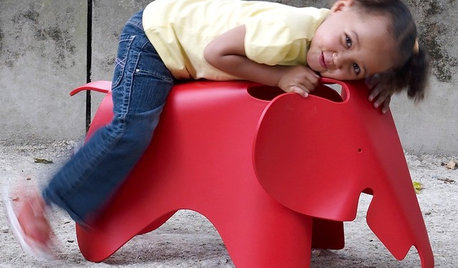
ACCESSORIES40 Design-Friendly Gifts for Modern Kids
Houzz Gift Guide 2010: Gifts to Inspire Feel-Good Fun, Creativity, and Even Clutter Control
Full Story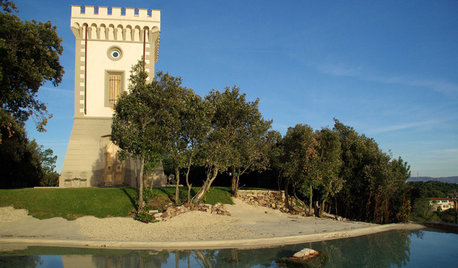
FUN HOUZZWorld of Design: 10 Unconventional Homes Packed With Personality
Life inside a former church, missile silo or greenhouse? Be it in Japan, Denmark or somewhere in between, not every home begins as a house
Full Story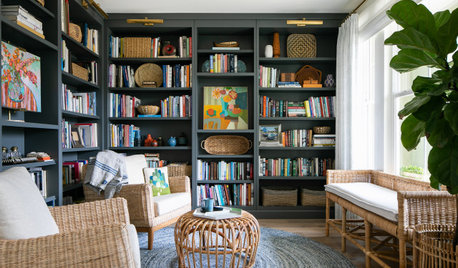
FEEL-GOOD HOMESimple Pleasures: Plan a Rejuvenating Retreat at Home
Crave a quiet day or a weekend devoted to yoga? Design a mini retreat without going anywhere
Full Story
MOVINGRelocating Help: 8 Tips for a Happier Long-Distance Move
Trash bags, houseplants and a good cry all have their role when it comes to this major life change
Full Story
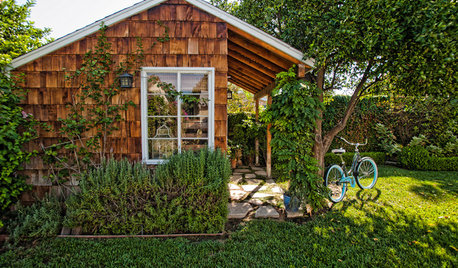
BACKYARD IDEAS7 Backyard Sheds Built With Love
The Hardworking Home: Says one homeowner and shed builder, ‘I am amazed at the peace and joy I feel when working in my garden shed’
Full Story
EARTH DAYGrow a Beautiful Garden With Ecofriendly Greywater
Reducing home water waste means lower bills and a healthier planet. Here's how to set up a greywater home irrigation system that can help
Full Story
FARM YOUR YARD6 Things to Know Before You Start Growing Your Own Food
It takes time and practice, but growing edibles in the suburbs or city is possible with smart prep and patience
Full Story
Suzi AKA DesertDance So CA Zone 9b
milieu_sereneOriginal Author
Related Professionals
West Milford Landscape Architects & Landscape Designers · Summit Landscape Architects & Landscape Designers · Addison Landscape Contractors · Athens Landscape Contractors · Canby Landscape Contractors · Englewood Landscape Contractors · Gurnee Landscape Contractors · Lake Zurich Landscape Contractors · Las Vegas Landscape Contractors · Saint Paul Landscape Contractors · Stony Brook Landscape Contractors · Thonotosassa Landscape Contractors · Vermilion Landscape Contractors · Wethersfield Landscape Contractors · Lauderdale Lakes Landscape Contractorsmilieu_sereneOriginal Author
nancyanne_2010
Suzi AKA DesertDance So CA Zone 9b
milieu_sereneOriginal Author
nancyanne_2010
milieu_sereneOriginal Author
nancyanne_2010
milieu_sereneOriginal Author
milieu_sereneOriginal Author
milieu_sereneOriginal Author
milieu_sereneOriginal Author
rain2fall
milieu_sereneOriginal Author
buylady
milieu_sereneOriginal Author