


Passion fruit
tracydr
9 years ago
Sort by:Oldest
Comments (2)
Related Stories
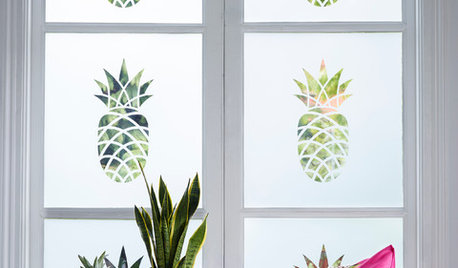
DECORATING GUIDESElements of Style: A Passion for Pineapples
See the many ways you can infuse your home with tropical-fruit-inspired decor
Full Story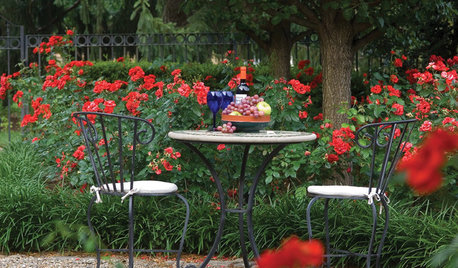
GARDENING GUIDES5 Red Roses to Stir Garden Passions
Show your devotion to color, scent and more with these regal landscape beauties
Full Story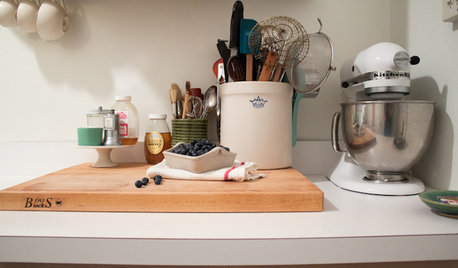
KITCHEN DESIGNKitchen of the Week: Tiny, Fruitful New York Kitchen
Desserts and preserves emerge from just a sliver of counterspace and a stove in this New York food blogger's creatively used kitchen
Full Story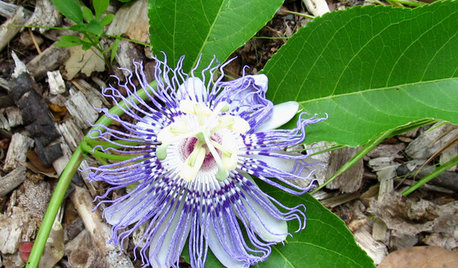
GARDENING GUIDESGreat Design Plant: Passiflora Incarnata
Enjoy the amazing flowers and edible fruit of U.S. native Passiflora incarnata (also known as maypop) — the butterflies sure do
Full Story
FARMHOUSESWorld of Design: See How 9 Families Live and Farm on Their Land
Join us as we visit the homes and farms of passionate food producers and hear about rural life around the globe
Full Story
HOUZZ TOURSMy Houzz: The Orchard and the Life-Changing Decision
Toxins give way to pure, wholesome produce and passionately green living in this home and orchard in Eastern Oregon
Full Story
DECORATING GUIDESEveryday Shrines for a Happier Home
Honor your passions — family, fond memories, collections — by creating displays that reflect their importance to you
Full Story
REGIONAL GARDEN GUIDESNortheast Gardener's February Checklist
Follow your passions during the month of love with bursts of your favorite colors and fragrances via indoor plants
Full Story
HOUZZ TOURSMy Houzz: Quirky Charm on Aussie Farmland
With skateboards adorning the kitchen, a trash-inspired backsplash and a retro trailer, this home shows passionate creativity
Full Story
LANDSCAPE DESIGNRecipe for Tropical Edible Garden Style
Appeal to exotic good taste with fruit trees, palms and tropical look-alikes in your temperate-climate garden
Full StorySponsored
Central Ohio's Trusted Home Remodeler Specializing in Kitchens & Baths
More Discussions
Charlie
dbarron
Related Professionals
Wrentham Landscape Architects & Landscape Designers · Glassmanor Landscape Architects & Landscape Designers · Saint Matthews Landscape Architects & Landscape Designers · Wixom Landscape Architects & Landscape Designers · East Hanover Landscape Contractors · Fair Lawn Landscape Contractors · Goodlettsville Landscape Contractors · Lebanon Landscape Contractors · Oxnard Landscape Contractors · Palm Beach Gardens Landscape Contractors · Saint John Landscape Contractors · San Benito Landscape Contractors · Soddy Daisy Landscape Contractors · North Aurora Landscape Contractors · Springdale Handyman