


Propagation Chamber
jbest123
16 years ago
Related Stories
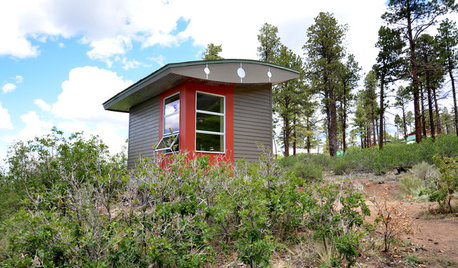
SMALL SPACESCalm Yourself in a Former Hippie Commune’s Tiny Hut
Need to relax? Check into this simple, secluded lodging at a New Mexico retreat and say, “Om”
Full StoryLet me start by saying that, I used the propagation box from Freeplants.com with great success. The box filled with wet coarse sand and an aquarium weighed 60 to 70 lb, which was a little to heavy for me to be moving around (I'm almost 70 yrs old). I made 6 boxed and they are still in good use by my Daughter and Son in law. I liked the idea of little_dani's Easy Propagation Chamber but thought it would be a little to small for my use.
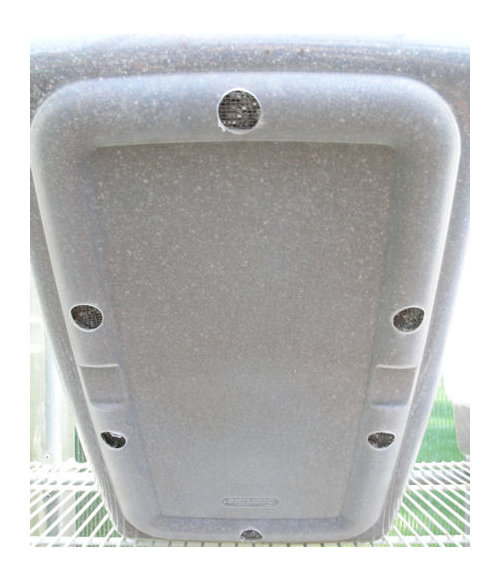
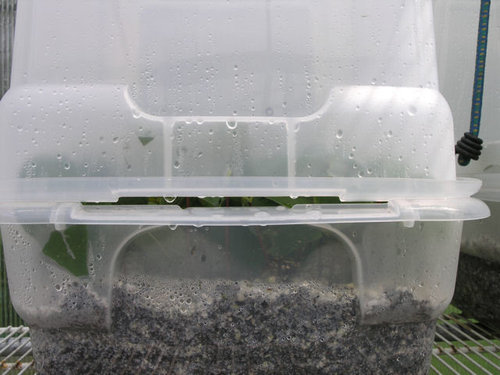
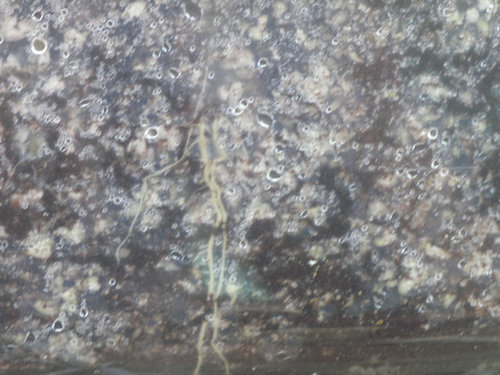
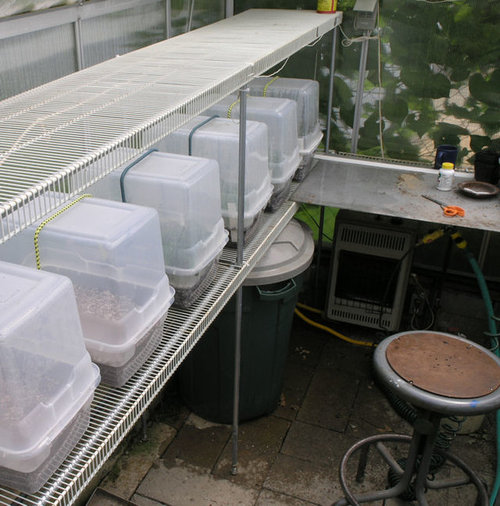
I found 2 food storage containers at Walmart one a 20 quart and one a 12 quart with the same dimensions around the perimeter. I drilled six 5/8 in holes for drainage in the 12 quart container, and lade a piece of hardware cloth on the bottom to keep the potting soil from washing out. (photo 1) There is a little gap at both ends of the containers, allowing for ventilation, no need for further holes. ( photo 2) . For the potting soil I use 50/50 peat moss and vermiculite. What I like about the near transparent container for the bottom is you can see root development and water needs. Photo 3 shows root development and beads of condensation which indicates adequate air space and water. Each container will hold 120 to130 cuttings and all seem to be doing well and pass the tug test. (photo 4) When I stick the cuttings, I will leave them outside in the shade for 1 week and then move them to the greenhouse. Six chambers fit on an 8 ft shelf very nicely. (photo 5). I also use a 24 in bungie cord to keep the two containers aligned.

maternut
jbest123Original Author
Related Professionals
Benbrook Landscape Architects & Landscape Designers · Cary Landscape Architects & Landscape Designers · Port Royal Landscape Architects & Landscape Designers · West Chester Landscape Architects & Landscape Designers · Garden City Landscape Architects & Landscape Designers · Alamo Landscape Contractors · Battle Ground Landscape Contractors · Brownsville Landscape Contractors · Deer Park Landscape Contractors · Ellensburg Landscape Contractors · Fountain Valley Landscape Contractors · Quincy Landscape Contractors · Roswell Landscape Contractors · Weymouth Landscape Contractors · 07920 Landscape Contractorsmaternut
little_dani
jbest123Original Author
annafl
jbest123Original Author
mollymaples
jbest123Original Author
mollymaples
ladybarber101
jbest123Original Author
ladybarber101
calistoga_al ca 15 usda 9
ladylotus
calistoga_al ca 15 usda 9
jbest123Original Author
bubbalove
ncdaisies
jbest123Original Author
msalex28a
ms_minnamouse
ms_minnamouse
jbest123Original Author
ms_minnamouse
wildmantrav
suzegarden
jbest123Original Author
suzegarden
angelady777 (Angela) - Zone 6
jpagliai
trini1trini