


Easy Propagation Methods 2
johnva
18 years ago


Sort by:Oldest
Comments (27)
Related Stories

LIFE11 Easy Ways to Keep Your New Year’s Resolutions
Work smarter, not harder, to reach your goals — success is more about taking the right approach than about slogging your way there
Full Story
GARDENING GUIDES5 Easy Ways to Break Free of a Gardening Rut
Experience your garden in a whole new way — no big budget or major effort required — with these invigorating ideas
Full Story
HOUSEKEEPINGThe Quick and Easy Way to Clean a Microwave
All you need is water and a couple of other natural ingredients to get your appliance sparkling and smelling fresh again
Full Story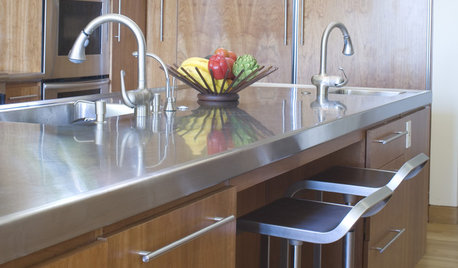
KITCHEN DESIGNDesign an Easy-Clean Kitchen
"You cook and I'll clean" might no longer be a fair trade with these ideas for low-maintenance kitchen countertops, cabinets and floors
Full Story
KITCHEN DESIGNKitchen Counters: Stunning, Easy-Care Engineered Quartz
There's a lot to like about this durable blend of quartz and resin for kitchen countertops, and the downsides are minimal
Full Story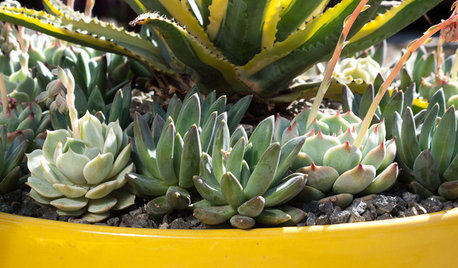
CONTAINER GARDENS3 Steps to Creating Quick, Easy and Colorful Succulent Containers
Take a bright container, add a colorful succulent or two and have a professional, summery design in minutes
Full Story
MOST POPULAREasy Green: 23 Ways to Reduce Waste at Home
Pick from this plethora of earth-friendly ideas to send less to the landfill and keep more money in your pocket
Full Story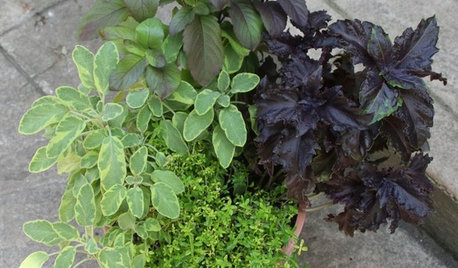
CONTAINER GARDENS8 Easy Container Plants to Grow From Seed
Get beautiful blooms and herbs in summer by starting these choice garden picks from seed in spring
Full Story
GARDENING GUIDES6 Wonderfully Easy Roses for Any Gardener
Look like an expert even if you're just starting out, with these low-maintenance gems of the rose world
Full Story
GARDENING GUIDES10 Easy Edibles for First-Time Gardeners
Focus on these beginner-friendly vegetables, herbs, beans and salad greens to start a home farm with little fuss
Full StoryMore Discussions
kayjones
little_dani
Related Professionals
Birmingham Landscape Architects & Landscape Designers · Essex Landscape Architects & Landscape Designers · Harvey Landscape Architects & Landscape Designers · Tempe Landscape Contractors · Alpharetta Landscape Contractors · Commack Landscape Contractors · El Segundo Landscape Contractors · Kahului Landscape Contractors · Kerman Landscape Contractors · Mason Landscape Contractors · Milton Landscape Contractors · Olympia Landscape Contractors · Salem Landscape Contractors · Waldorf Landscape Contractors · Waterford Landscape ContractorsjohnvaOriginal Author
roxy77
johnvaOriginal Author
johnvaOriginal Author
soundgarden
johnvaOriginal Author
johnvaOriginal Author
soundgarden
johnvaOriginal Author
Binky
nance
johnvaOriginal Author
baci
johnvaOriginal Author
nance
johnvaOriginal Author
vnginger
johnvaOriginal Author
johnvaOriginal Author
donna_rae_kc
nyssaman
johnvaOriginal Author
nyssaman
johnvaOriginal Author
sengyan