


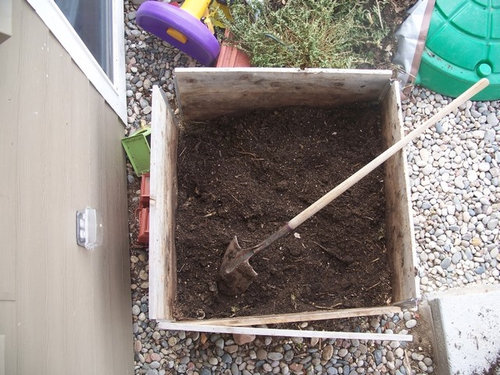
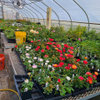
Compost Bin Plans
Azura
16 years ago
Related Stories

GARDENING GUIDESHouzz TV: Make a Worm Bin for Rich Soil and Happy Plants
A worm-powered compost bin that can fit under a sink turns food scraps into a powerful amendment for your garden. Here’s how to make one
Full Story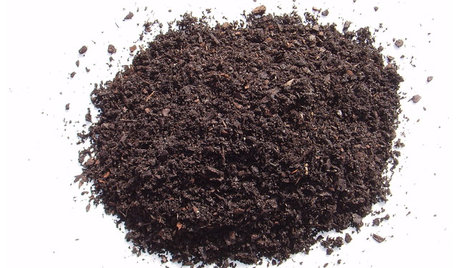
GARDENING GUIDESGet on a Composting Kick (Hello, Free Fertilizer!)
Quit shelling out for pricey substitutes that aren’t even as good. Here’s how to give your soil the best while lightening your trash load
Full Story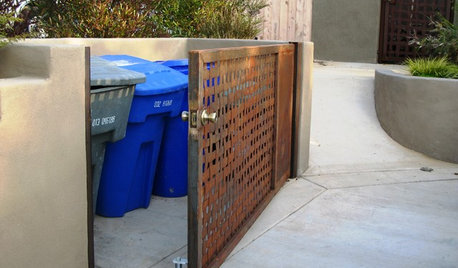
GARDENING AND LANDSCAPINGLet's Talk Trash Bins
No one gazes fondly on garbage cans. Keep your street cred intact and your bins under wraps with these camouflage solutions
Full Story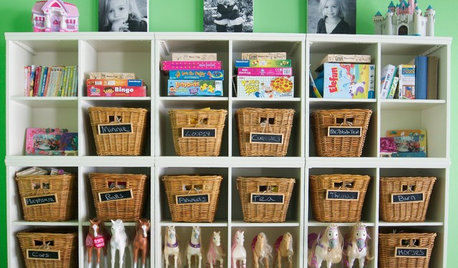
DECLUTTERINGTame the Toy Chaos: Bin Storage for All
New project for a new year: With bins, totes and shelves, a clutter-free playroom can be yours
Full Story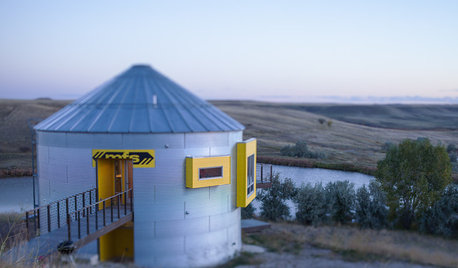
HOUZZ TOURSHouzz Tour: Prairie Grain Bin Turned Bucolic Retirement Home
An agrarian structure and a big dream combine in this one-of-a-kind home that celebrates 250 acres of Montana grasslands
Full Story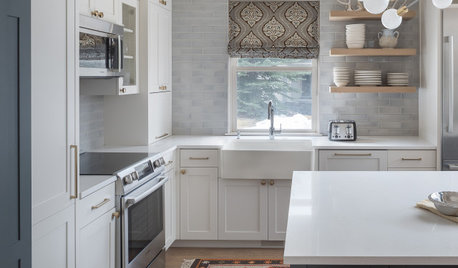
ORGANIZING7-Day Plan: Get a Spotless, Beautifully Organized Kitchen
Our weeklong plan will help you get your kitchen spick-and-span from top to bottom
Full Story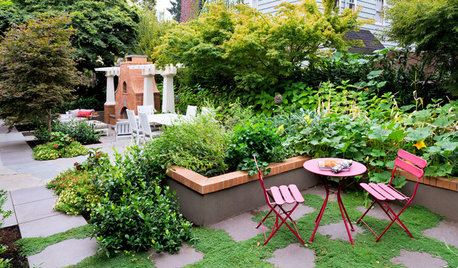
GARDENING GUIDESHow to Switch to an Organic Landscape Plan
Ditch the chemicals for a naturally beautiful lawn and garden, using living fertilizers and other nontoxic treatments
Full Story
DECLUTTERINGYour Clutter-Clearing Plan for the New Year
Tackle these tasks month by month for a decluttering strategy that will really pay off
Full Story
KITCHEN DESIGNHouse Planning: How to Set Up Your Kitchen
Where to Put All Those Pots, Plates, Silverware, Utensils, Casseroles...
Full Story
KITCHEN WORKBOOKNew Ways to Plan Your Kitchen’s Work Zones
The classic work triangle of range, fridge and sink is the best layout for kitchens, right? Not necessarily
Full StorySponsored
Leading Interior Designers in Columbus, Ohio & Ponte Vedra, Florida
More Discussions
david52 Zone 6
digit
Related Professionals
Rossville Landscape Architects & Landscape Designers · Aurora Landscape Contractors · Conroe Landscape Contractors · Elmhurst Landscape Contractors · Lorain Landscape Contractors · New Braunfels Landscape Contractors · Norristown Landscape Contractors · Placerville Landscape Contractors · Pompton Lakes Landscape Contractors · South Farmingdale Landscape Contractors · Tehachapi Landscape Contractors · West Allis Landscape Contractors · Bel Air Solar Energy Systems · Maple Grove Solar Energy Systems · Richfield Solar Energy SystemsAzuraOriginal Author
gandalf_digital_net
mstywoods